Showing posts with label DIY. Show all posts

Thursday, October 24, 2013

1/100 Lanzegeist Inner Frame *Official Photos*

Hey All,
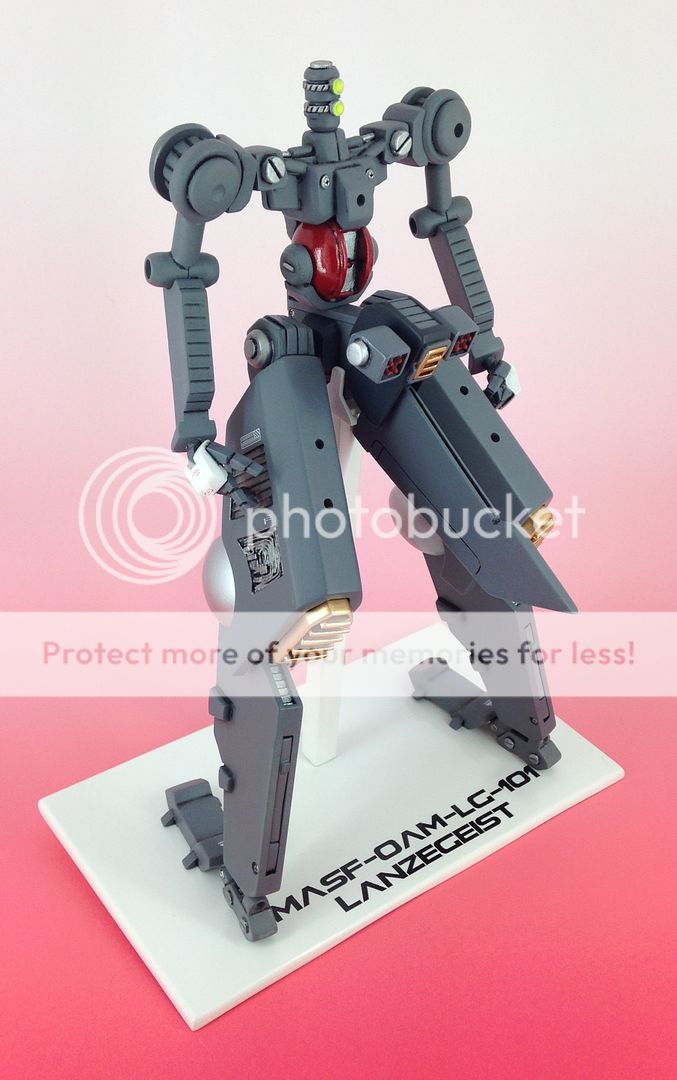
   I got my new light box today for doing photoshoots, and I wanted to get the inner frame photographed so I could start putting the armor on the kit.  So without further delay here are the official inner frame box images for the kit.  (At least I think these are going to be the final images.)


I will post the full finished photos of the kit with the armor on as soon as I finish the painting process.  I still have about 5 small parts to paint and then to assemble the Hulkatr Cannon before I can do a final assembly before I take the final images.  This process has been a long time in working,and I'm nearing the finality of the box art paint up.  I will keep you all updated.

Stay tuned mechaholics...

Sunday, September 8, 2013

Introduction to Scrach Building Part 1

Hey All,
   Since I was asked so politely by many on YouTube and finally had time, I made a tutorial on scratch building.  It's about an hour long and goes over every step of scratch building a part from nothing to a detailed primed part.  The focus isn't on painting so that parts not really as relevant I just showed it to acknowledge that the part is basically ready to paint.  Anyway I hope you guys like it, and if you find it useful or if you just love my gorgeous face share the video with someone you know.  The goal is to get more people into the hobby, and for me to get more subscribers on my YouTube page.  If I get enough subscribers or hits I will make another video teaching how to do other things such as more complicated SB methods, or perhaps how to cast replicate parts.  Here's the video:


Stay tuned mechaholics...

Monday, July 29, 2013

Fleischer Truppe Figure Sculpt: Part One

Hey All,
   I felt a bit of inspiration today so I started my sculpt for what I'm calling the Fleischer Truppe.  I think that roughly translates to butcher squad in German.  The concept is that this is a chemically enhanced and engineered human soldier who fights what are called "smiling men".  The smiling men are humanoid predators that have the ability to unhinge their jaws, making their mouths open quite wide which makes their lips and mouths always look like they are smiling.  Long story short the name Fleischer Truppe is a name given to the soldiers who fight the smiling men to embolden the humans in their fight against the superior predators they fight.  This figure I'm sculpting is going to be a 12" figure with articulation all over, and hopefully good detail.  It's my first organic looking sculpt so I may have to rework or remake certain parts as I'm going, but that's how I work anyway so nothing new there.  I'm starting with the basic muscular humanoid form, and then I'm going to add the armor on top of that after the form is finished.  Here is what I did today.


I'm using sculpey for the sculpt.  I find that the super sculpey is better for this work as it holds fine details well, and is easy to bake quickly.  For the larger forms I've just rolled up bits of aluminum foil and just sculpted a thin layer of sculpey on top of that.  

Thursday, October 11, 2012

LG Crowned King Armor pack and Casting Update

Hey all,
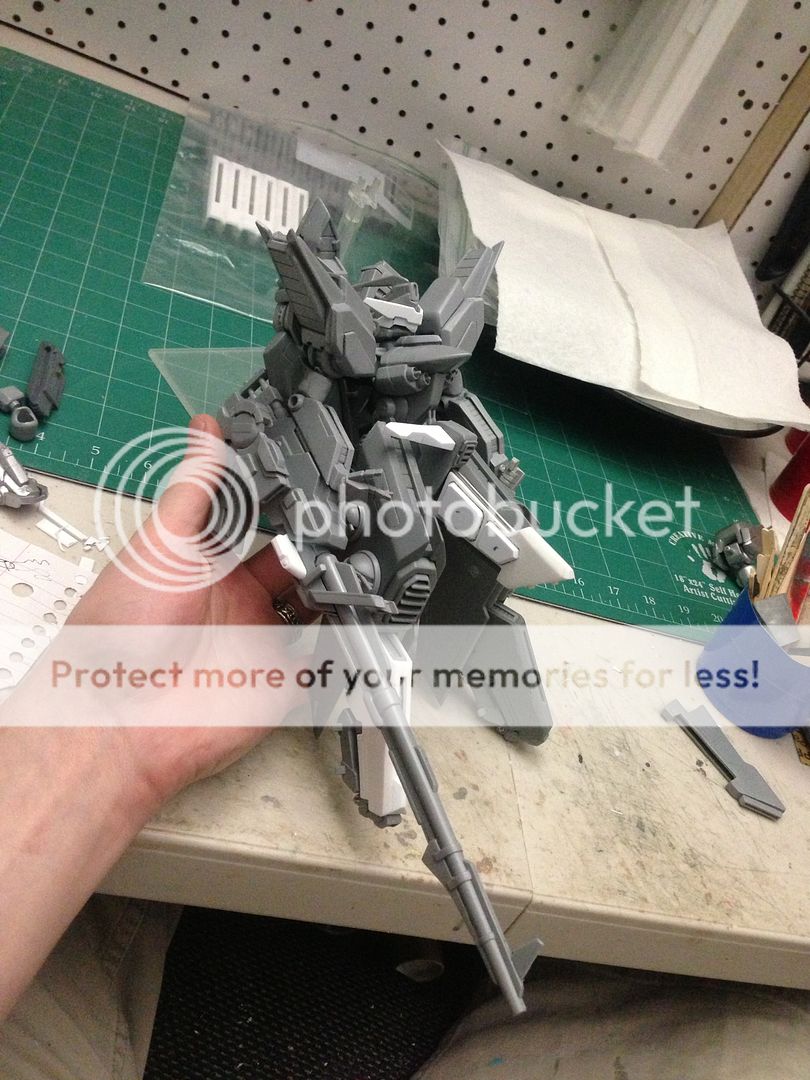
   I recently had an issue with one of the molds where a piece of the mold rubber just broke off.  The part was the crotch/tailfin armor and that mold was a pain to make.  So I had a little soul searching to do to decide how to proceed.  I basically just decided to remake the mold as it was, and the molds for a few other parts where the mold was getting worn out for some reason or another.  This is what I spent the last weekend doing with wifey between other things.  The problem came in on Monday night when I went to separate the molds.  They had sealed together.  It turns out that I had used Mann Ease release 300 mold release instead of 200, and the silicone had basically just cured to itself right through the release, since the 300 isn't made for releasing rubber from rubber.  After I had a major rage spell, I tried to cut the parts out of the molds.  I ended up snapping the prototype for the crotch armor altogether.  I really only needed to still make the casts for the white versions of the kit with this mold, but still now no mold, no parts.  Well I came up with a solution that I liked so I went with it.  The Crowned King Armor pack.  The deal is that the white casts of the kit are going to come with a few extra add ons that have a little bit heavier armor than the gray casts.  This solution allowed me to make a new crotch armor piece with a little bit thicker plating for the armor, and to make a few new neat extra parts that will basically just be a neat difference between the gray and white casts.  Here are the basics parts of the Armor Pack.

-New optional head crest
-New optional bicep armor
-New optional front skirt armor
-New optional Hulkatr Cannon weight block
-New optional lower leg armor
-for the white kits a mandatory different heavy armor tailfin cover

Also here is my casting update photo keeping in mind that I'm two and a half weekend (more casting on weekend days) days behind schedule:


Tuesday, October 2, 2012

Good news and bad news

Hey all,
    I guess the blog title sounds a bit more ominous than it really is, but it's been a day of mixed things.  I had planned to print out the drekky instruction manual and finish up the packing for sending out, but that was before our male ferret started having seizures and had to be put down.  It's been a rough year for relatives passing away.  Le sigh.  And the not necessarily comparable but still downer problem I was having with a particular mold today just compounded my already kinda crappy day.  (I have a particular mold where the surface of the mold keeps getting a weird matte surface quality to a part that is usually pretty glossy, the parts are still good but it just makes it look like there is a surface quality flaw and I don't know why it's happening.)  So today I just haven't really felt much in the mood to do anything productive. 

  I did, however decide that it would be a good day to maybe start rounding up the cured lenses and toy with them for a few minutes.

I'm pleased that a good portion of the lenses came out wonderful.  Some were oddly shaped or distorted and gotta be tossed out, but most were good.

I took one of my old kits that I modified a little bit when I was first learning to model (an old crappish kampfer mod I did) and cemented on a little bit oversized pink lens.  I used pink as in the animations usually the mono eyed mobile suits have pink eyes when the suit is on.  I used a slightly oversized eye because it catches the light a little better and shows off the clarity.  The smaller better sized version is harder to photograph well, but I do have plenty of those too.  I think I'm gonna use these for my SMS Kampfer conversion kit I'm gonna build soon.  Anyhow here are some eye lens photos.

DISCLAIMER: The work and paint on this kampfer head is old and I just grabbed it to test out the mono eye lens, it's not my current work.  

Saturday, September 29, 2012

These took four hours, but they're pretty!

Hey all,
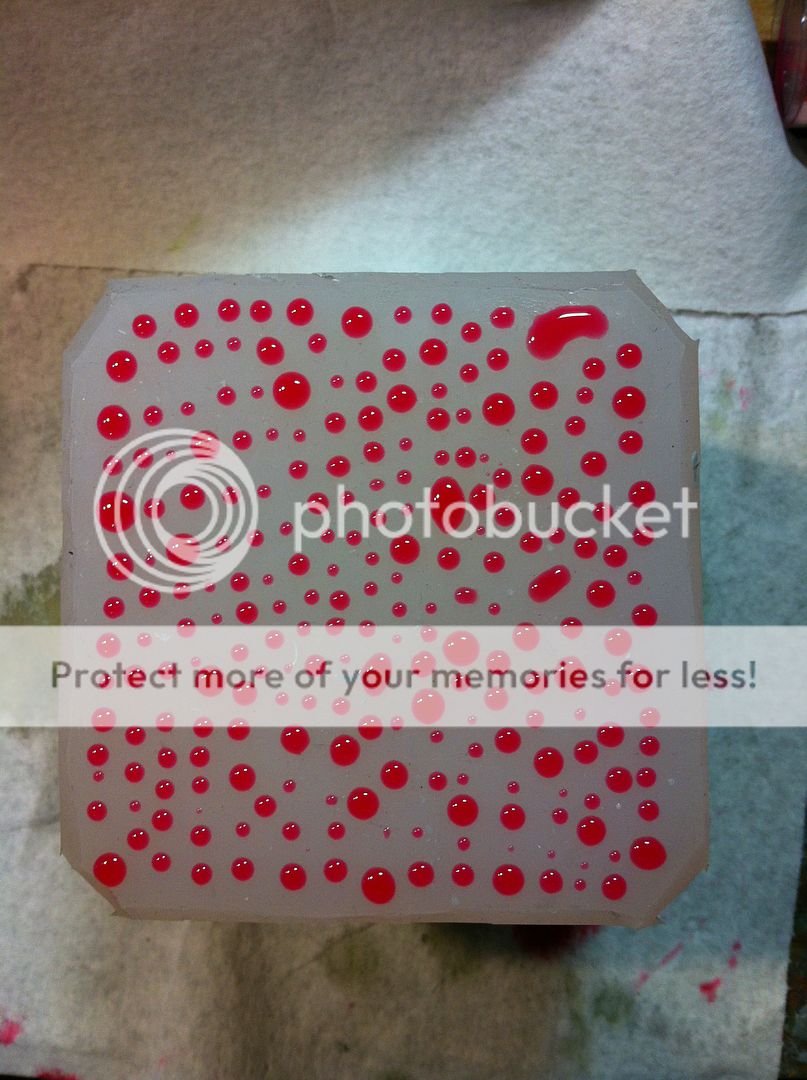
   I decided to go ahead and make a small mountain of mono eyes, lenses, and random round things tonight.  Not that I just had tons of extra time, but I couldn't wait to test the colors and get some small lenses cured.  I made sure to make tons of the pink ones for zeon mono eyes for any future builds like that sms kampfer conversion I got a little while ago.  I also have a neat idea for the clear lenses that I haven't seen done before that I plan to share soon once I make a test version.  (possible detail up add on part kit accessory)  But anyway here is my bunch of curing colored clear apoxy resin.

I mixed up the clear apoxy resin and since it has a 5 hour pot life (really more like 3.5 with the conditions in this room) I had plenty of time to color tint the various little pallets of apoxy.  I carefully used a bamboo skewer and dabbed it into the liquid and let gravity do the rest when I dabbed it again onto a smooth mold top.  I use the tops of various molds because they are smooth number one, and two because the apoxy won't cure to it.  Now there are some oblong shapes and circles that merged or were made mishapen, but no worries as if even half of them are good its a crapload of good lenses of various sizes and colors, and this in reality only took 65 grams of apoxy.  Yeah and I had a ton leftover because I'm stupid and always mix too much.  hehe.  So it would require even less than I used by half.  But you do need a certain amount of material just to make sure your mix ratio has a little play.

Thursday, September 27, 2012

Neon Clear Casting!

Hey All,
    The neon yellow clear beam saber blade finally cured enough to demold and I wanted to show it off. 

I gotta say I like the coloring.  I think it will look sweeter once it's dunked in future floor polish.  I'm gonna try out a pink one next I think. 

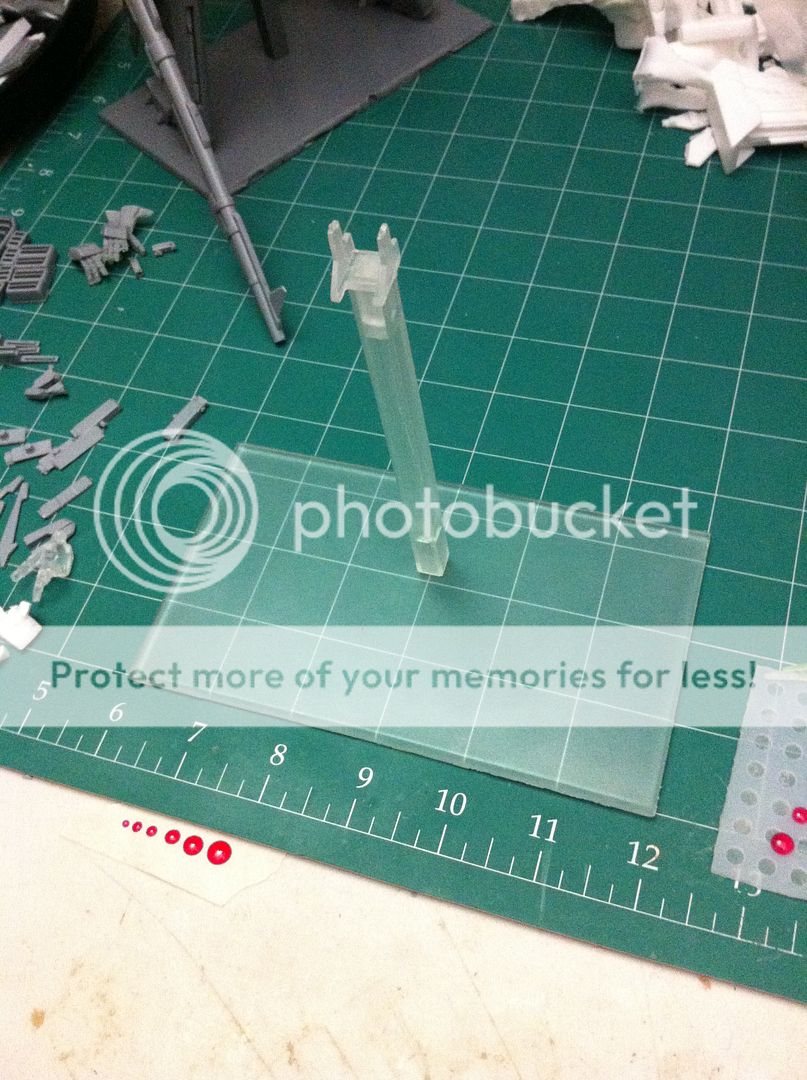
The clear stand was cured enough to demold too.  I gotta say I really like it!

It still needs a little bit more cure time to harden all the way as this clear stuff takes FOEVAH!  But it will add to the kit presentation a lot and I think I really may use these for the sellable kits.  I am going to try to have an update on the different color casts of the clear lens parts next.  I may pour those tomorrow night in a variety of colors and sizes.  I also have a friend who is starting up working with aluminum so we all may have the capability of designing and making our own custom aluminum parts soon!  But I'll fill you all in as that happens.  He's working on making the LG thruster vents in aluminum right now, but I'll fill you all in as that happens.

Stay tuned mechaholics...

Wednesday, September 26, 2012

DIY Clear Tinted Detail Lenses

Hey All,
   I just had a kewl experience yesterday with an experiment I did.  I had poured a bunch of clear apoxy resin for my clear parts I'm casting for the kits I'm gonna sell, and I had a bunch of extra clear apoxy left over.  Let me start off by saying I hate wasting materials when I don't have to.  So with that in mind I had to find something to use the material for, and I found it.  Clear lenses!  Now these don't look clear because I tinted them with two drops of red pigment and some yellow, pink, and red fluorescent pigment for a little brightness, but if I hadn't they would be totally clear.

So what I did was just dab a bamboo skewer flat head down into the liquid and then onto the smooth silicone until it beaded up the natural way liquids do.  Some didn't turn out circular enough, but the greater majority of them are round and usable once they cure all the way.
Just showing off the various sizes that were created.


This is in actuality less liquid than in a couple thimbles believe it or not.

The awesome thing is I barely used enough apoxy resin to fill a couple thimbles.  I can make TONS of detail lenses in clear resin now and I can color cast them in any color pretty much.  I'm gonna try neon green next I think or maybe I'll do a bunch of different colors.  It's a possibility that I may gather up some variety packs of the lenses in various sizes and colors and sell a few if folks want them.  (They are incredibly useful and pretty I think.)  Now let me show off what they look like on some otherwise kinda crappy items.


Before adding lens onto this Gundam Fix Figuration FAZZ.
After adding lens onto the FAZZ.