
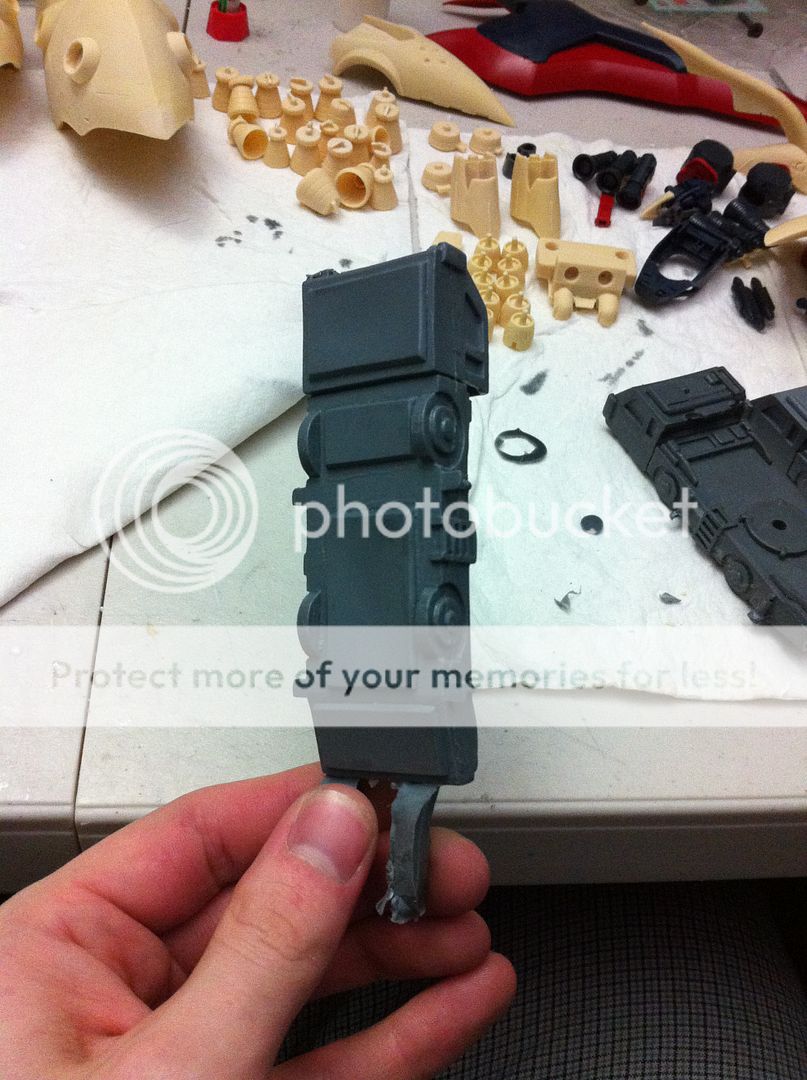
After a couple agonizing tries with the mold I came to the (what should have been obvious) conclusion that the mold had a deep under cut that wasnt filling in due to gravity. Picture that you have made a mold of the letter "J". Now picture you are pouring in the resin at the top of the "J". The lower part that loops up again is the part that doesn't fill in, mainly just from gravity and/or trapped air. Now I could up the pressure I'm using to cast, but that has a tendency to warp the mold due to lack of registration bumps. Can't stress how important a step that part is. (that I skipped like a genius.) Anyway my only other option to avoid the problem is doing a pre-pouring. This is what I've done here. I poured the problem are and let it cure before I pour the rest. The resin will stick to itself when I pour the rest, as long as I don't add any more mold release. After I took the photo I poured the rest and I'm waiting for it to cure now. For the pigmentation of the resin I poured a half dose of resin (8 drams) so I used one drop of black pigment to make my gray. For the full batch (16 drams) I used two drops. You get it. Anyhow it's not exact when it comes to "drops" and volume, so hopefully the color will match, but I don't really know why I care as I'm going to paint it anyway. I'm just trying to figure out the best way to make the replicas exact and nice with little waste. I'll update more later tonight if I don't decide that my pillow takes precedence.
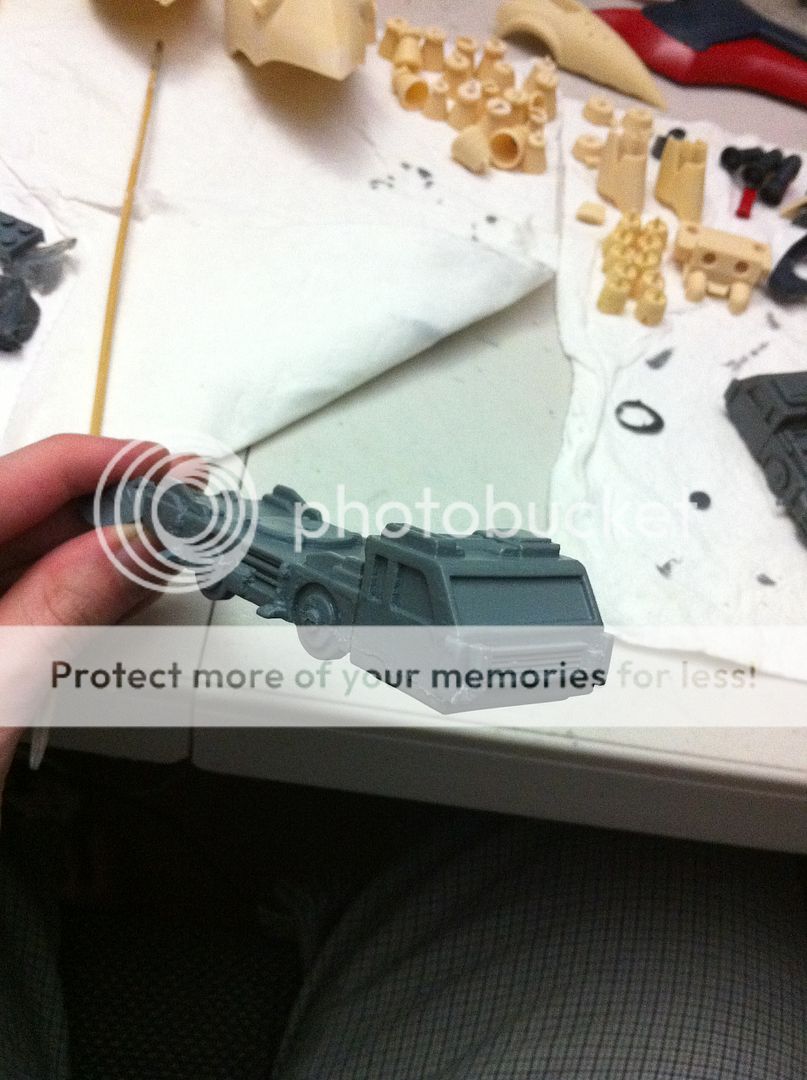
Okay so Micky Loves Ya and decided to post. Success! The pre pouring worked. To give a few more details the prepouring was done under 40 psi, and the final pouring was done after the pre pouring cured, and was done under 32 psi. I may up it a little next time, but the part came out whole and mostly problem free. Just needs some love on the seam flash. Here is the pure sex that is the part.


No comments:
Post a Comment