Thursday, June 14, 2012

Drehksturm Box Art Completed! Decay is awesome.

Hey All,
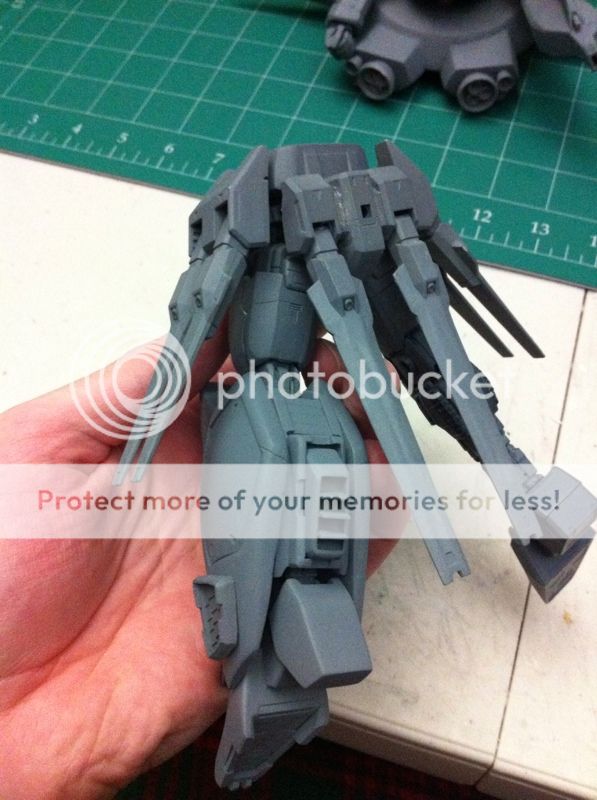
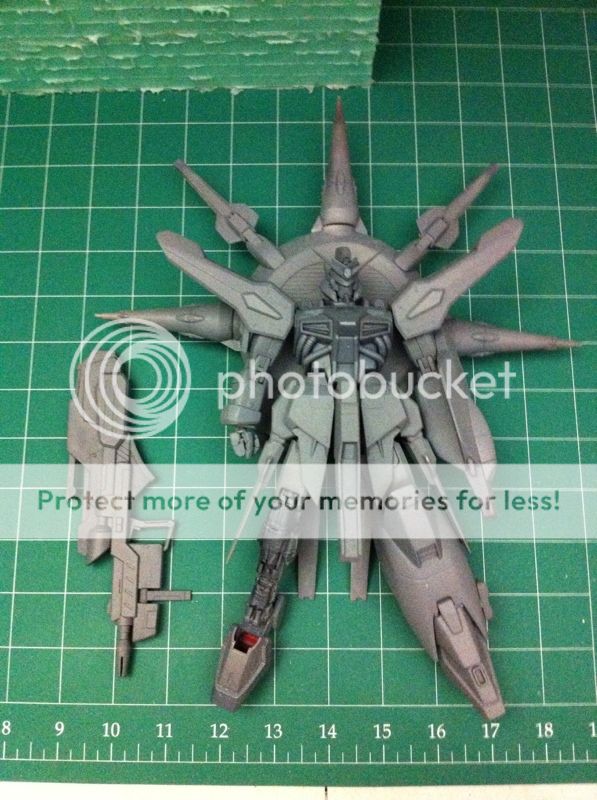
   I'm not dead, in fact I've been incredibly busy working on my mecha projects lately.  I haven't posted them for a reason but I will fill you all in on them soon.  I do however have awesome news that most of you who read this (all four of you hehe) already know; Decay has finished the first cast of the Drehksturm!  Yay!!

I must say it looks amazing, the painting and weathering looks beautiful, and the decals that Decay and Kamm designed and printed are perfect.  I am totally proud to be a part of the making of this kit, even though I had nothing to do with the painting or the decals, which may just be the coolest part.  I have taken my two favorite photos of Decay's post on this, (which you can find here) and used them to make the top and bottom labels for the box art.  There will be a cool surprise relative to the box labels that I will share soon, but for now let us just bask in the glory that is the culmination of at least three modeler's hard work.  And yeah I know I'm totally feeling egotistical that I had a part in such a cool looking project.  My hat is off to Marc and Kamm as well.  Love you guys and great job.

BOX ART!!


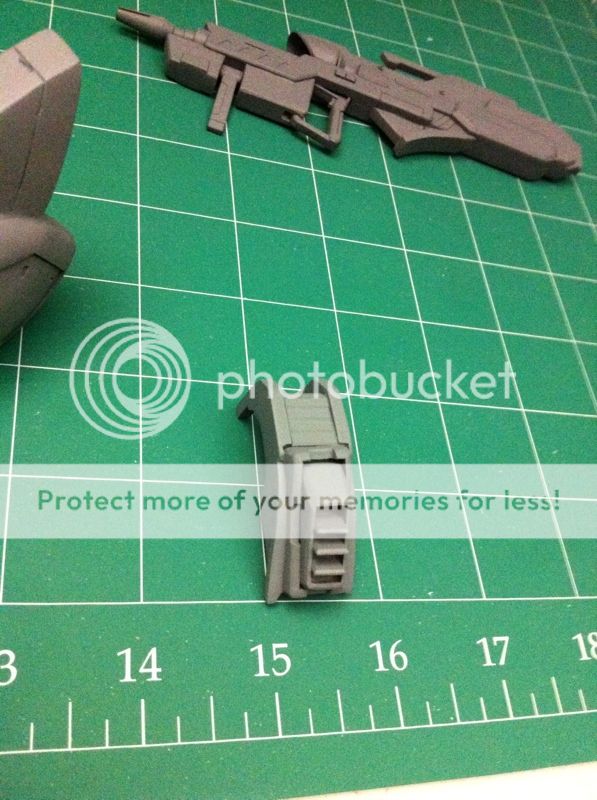
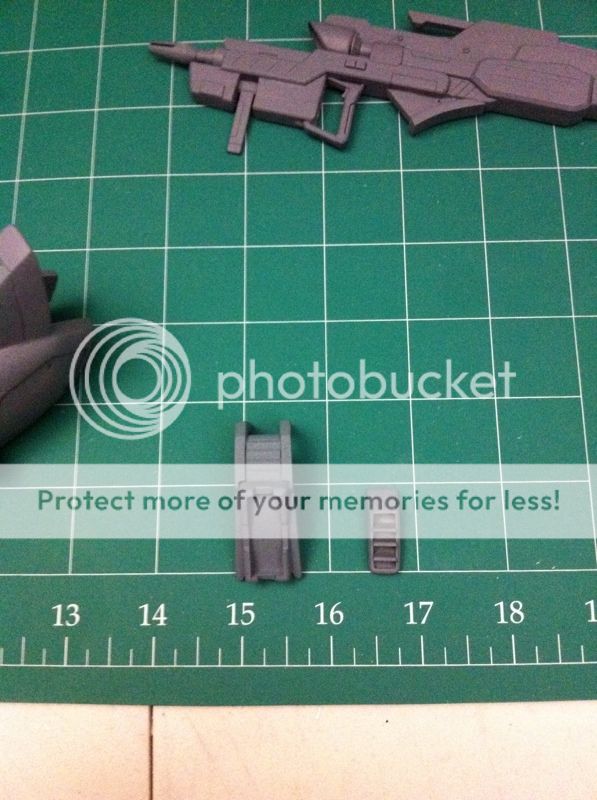
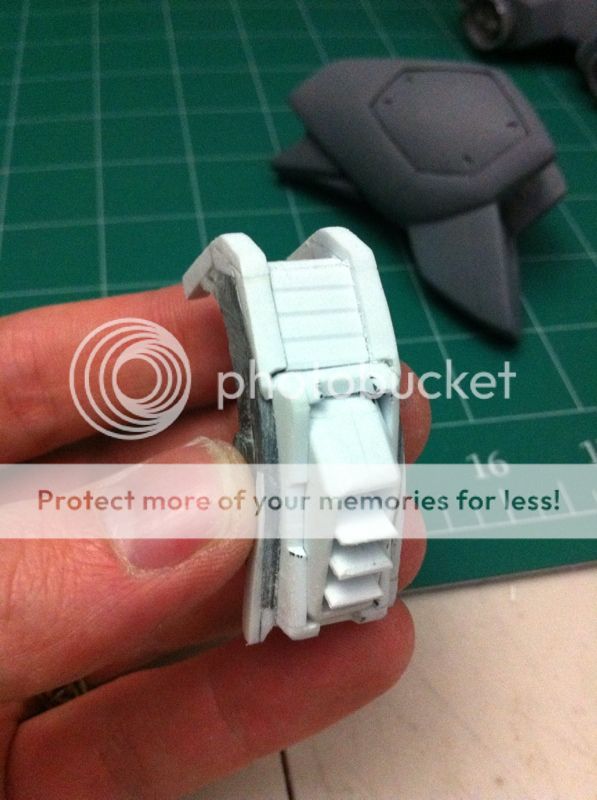
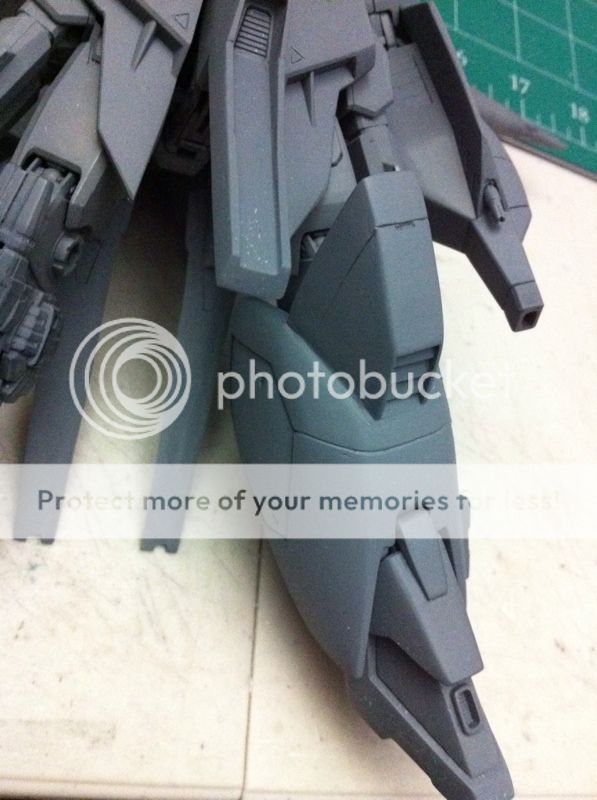
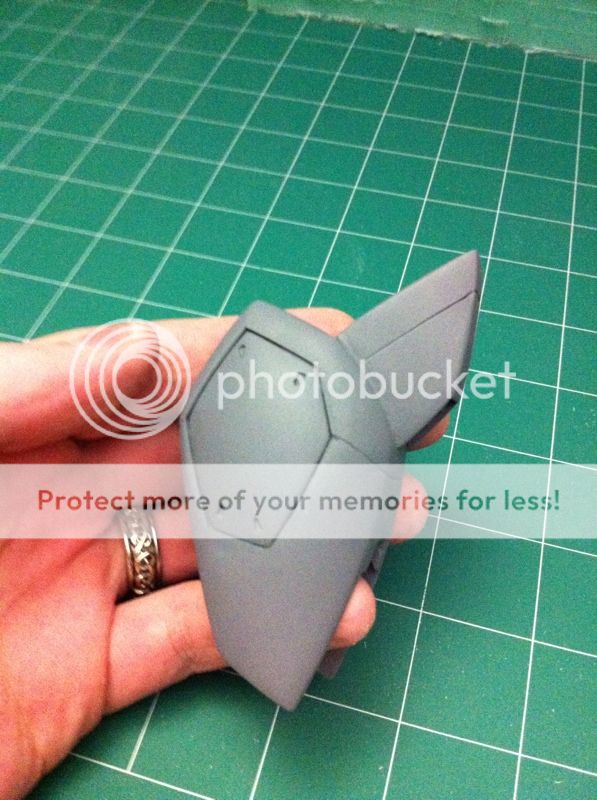
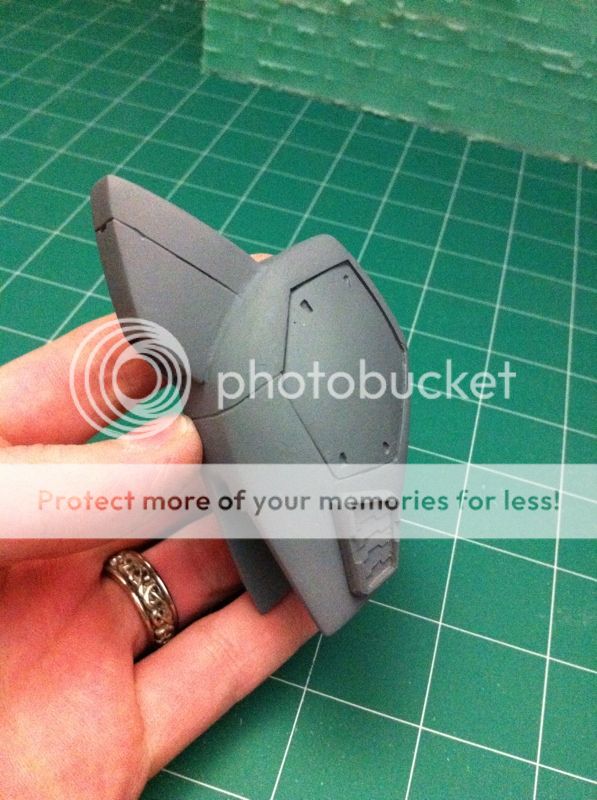
Thanks to all of you guys who have shown an interest in getting one of the drehksturm conversion kits, (Russ) and know that I'm working on getting the instruction manual together now, and will be making the casts in the weeks to come.  It's finally warm enough to start up castin' again.  As Marc said in his post however, since this is my first kit casting it is not the most user friendly kit, and if you haven't worked with resin before I suggest you maybe hold off on getting one.  I'll make the instructions as complete and thorough as I can, but I didn't use any peg guides, which would have helped a bit in assembly.  Most of the part just snap on the inner frame quite well, but there are those that need to be glued that you will have to visually line up.  I'll go into more detail on that for any interested parties.  I'm only gonna maybe cast at most 8-10 of these, and probably only like 5 or so if there are interested people.  The price is gonna be about $55-60 just for the cost of the materials used, no profit for me.  I just want to see people making them.  You gotta pay your own shipping though.  I hope to see a couple of you guys try one of these out.

In a separate tangent I have a project that I've been working on for the last few months almost completed, and I can't wait to share it but I want it to be a surprise.  Needless to say it is something that I have put all of myself into, so hopefully it will show in the work.  I will hopefully be able to announce this really soon, maybe in a few weeks.

Stay tuned mechaholics...

Saturday, March 24, 2012

Build Off: Rear Leg Insert Primer Update

Hey All,
   This update is just what it sounds like.  I primed the rear leg inserts and made them a tad cleaner.  I've said this before but I do this to get a better idea of what it will look like finished with homogenous color so I can better judge the shape and line of the kit.  Here are the parts before they were assembled.

The thruster vent just pops in the housing.  I saw something like this on a kit I liked so I emulated it.  It makes for a decent part separation for painting also. 

Here are some shots with the parts on the leg again.  They just slide into the slots where the RX-78-2 OYW armor would go.  Everything just pops on. 

Thursday, March 22, 2012

HANDEYE: Logo Update

Hey all,

 Second post for today but I'll keep it short, I wanted to do a second post as it's unrelated to my Providence build and build off stuff.  I'm no longer going to be working with Kamm on the Handeye workshop (no drama, and I still love his modeling), but I am still going ahead with the workshop nonetheless.  I made a cleaned up version of the workshop logo that I wanted to share as well.  Forgive the blinking gimmick, I'm nerdy and can't help myself.

hehe.  I may still go ahead with the selling of the Drehksturm Assault Type conversion kit if I get good feedback from a certain modeler who is helping me on that project, but even if I decide not to sell casts of that, I will still be producing conversion kits and other kits in the future.  My ultimate goal is to be producing full kit builds (somewhat frequently) maybe once or twice a year, and maybe some conversion kits here and there for fun.  (If you have suggestion for conversion kits that you would like to see done feel free to send me a message or drop a comment of course, but know that I usually work in 1/100 scale, and no promises, but I may choose to do it for a fun side project if I like the anime design.) I may choose to work with certain modelers on certain projects or I may end up working with some people long term if it works out and we are homogenous, but either way the workshop is going to forge ahead.  Just wanted to say that guys and gals, hope you are as excited as I am!  Feel free to post your feedback on the logo or the workshop below.  As usual, stay tuned mechaholics!

Build Off: Update on Rear Leg Insert and Thrusters

Hey All,
   Yesterday I worked on the rear of the leg and basically just made the insert and the removable thruster for the rear of the leg.  It still has to be cast so everything just comes apart easily.  I'm still trying to decide whether or not I want to go through the monster trouble of making this a conversion kit or not, but I'm gonna make all the parts as if I was just in case.  Here is the work I did yesterday, I haven't primed it yet, but I plan to tonight. 

Monday, March 19, 2012

Build Off: Recessed Access Panel On Leg

Hey All,
   Yesterday I decided to go head and make the access panels on the side of the leg armor recessed.  The way I did this was by building a frame around the panels using thin rectangular styrene rods, and then using putty to graduate the sides up to meet the rods.  This gives the illusion that the panels are recessed or make them recessed by raising up the area around them.  End result being something I'm kinda happy with.  Still needs cleanup, but it's looking pretty good so far I think.  PHOTOS!


It's almost done!  Just need to make the rear insert of the lower leg, and then another vent for the outside of the left leg and then casting.  Yay!  I'm soo close I can taste it.  Not literally that would probably taste like plastic.  Mmmmmm plastic.  Stay tuned mechaholics!!