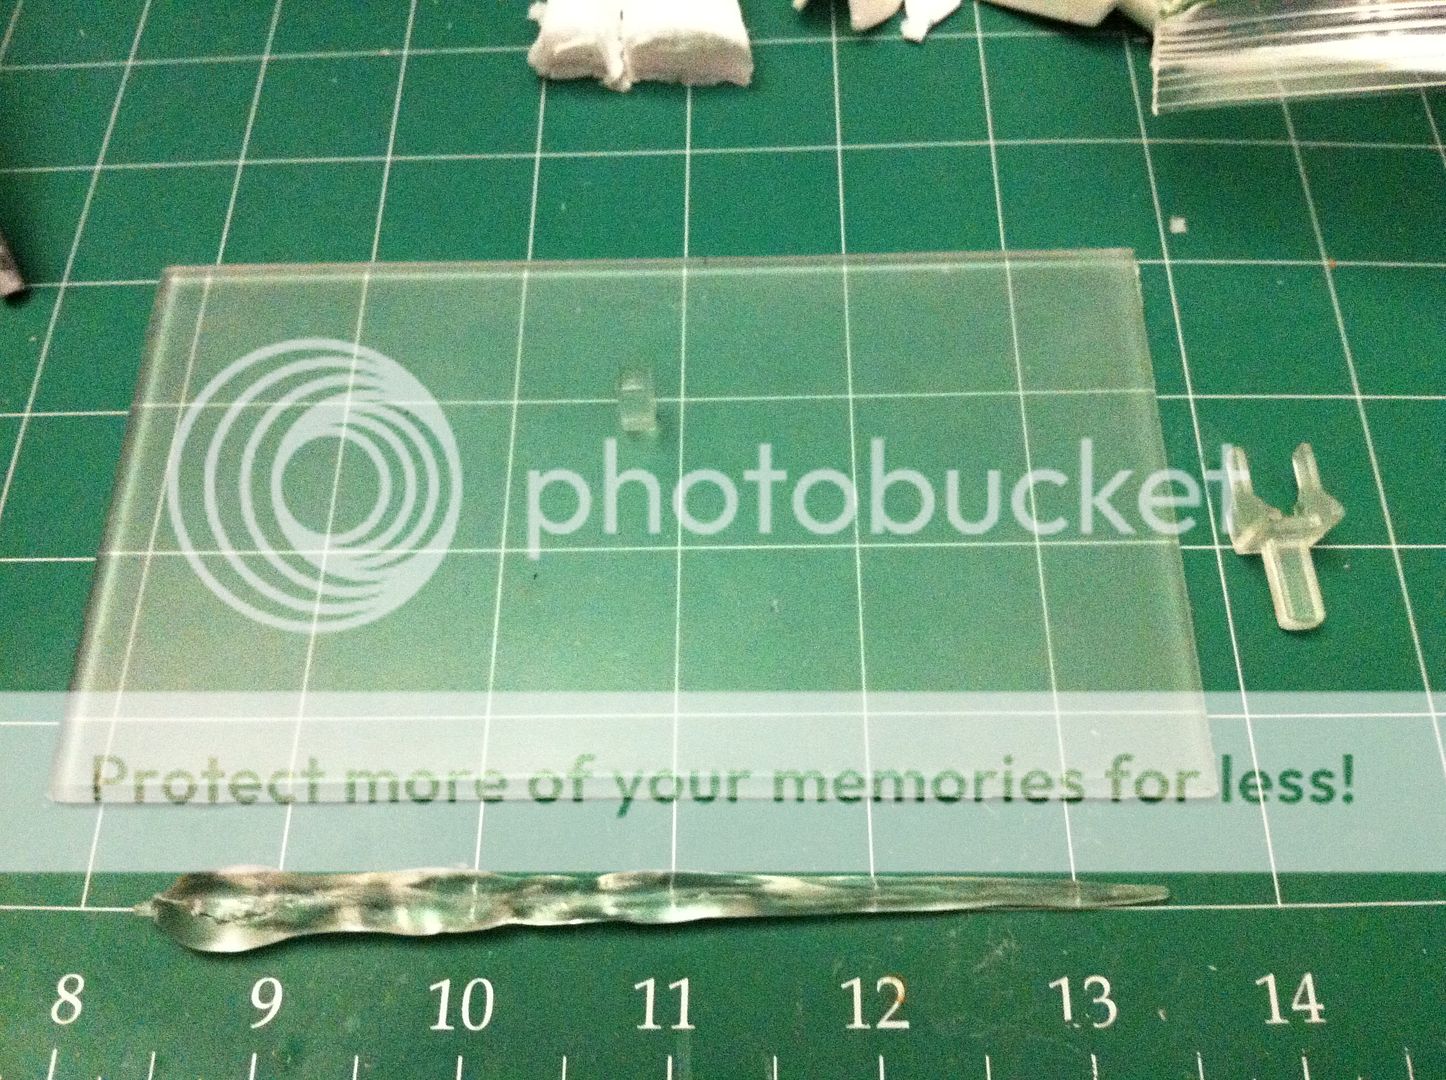
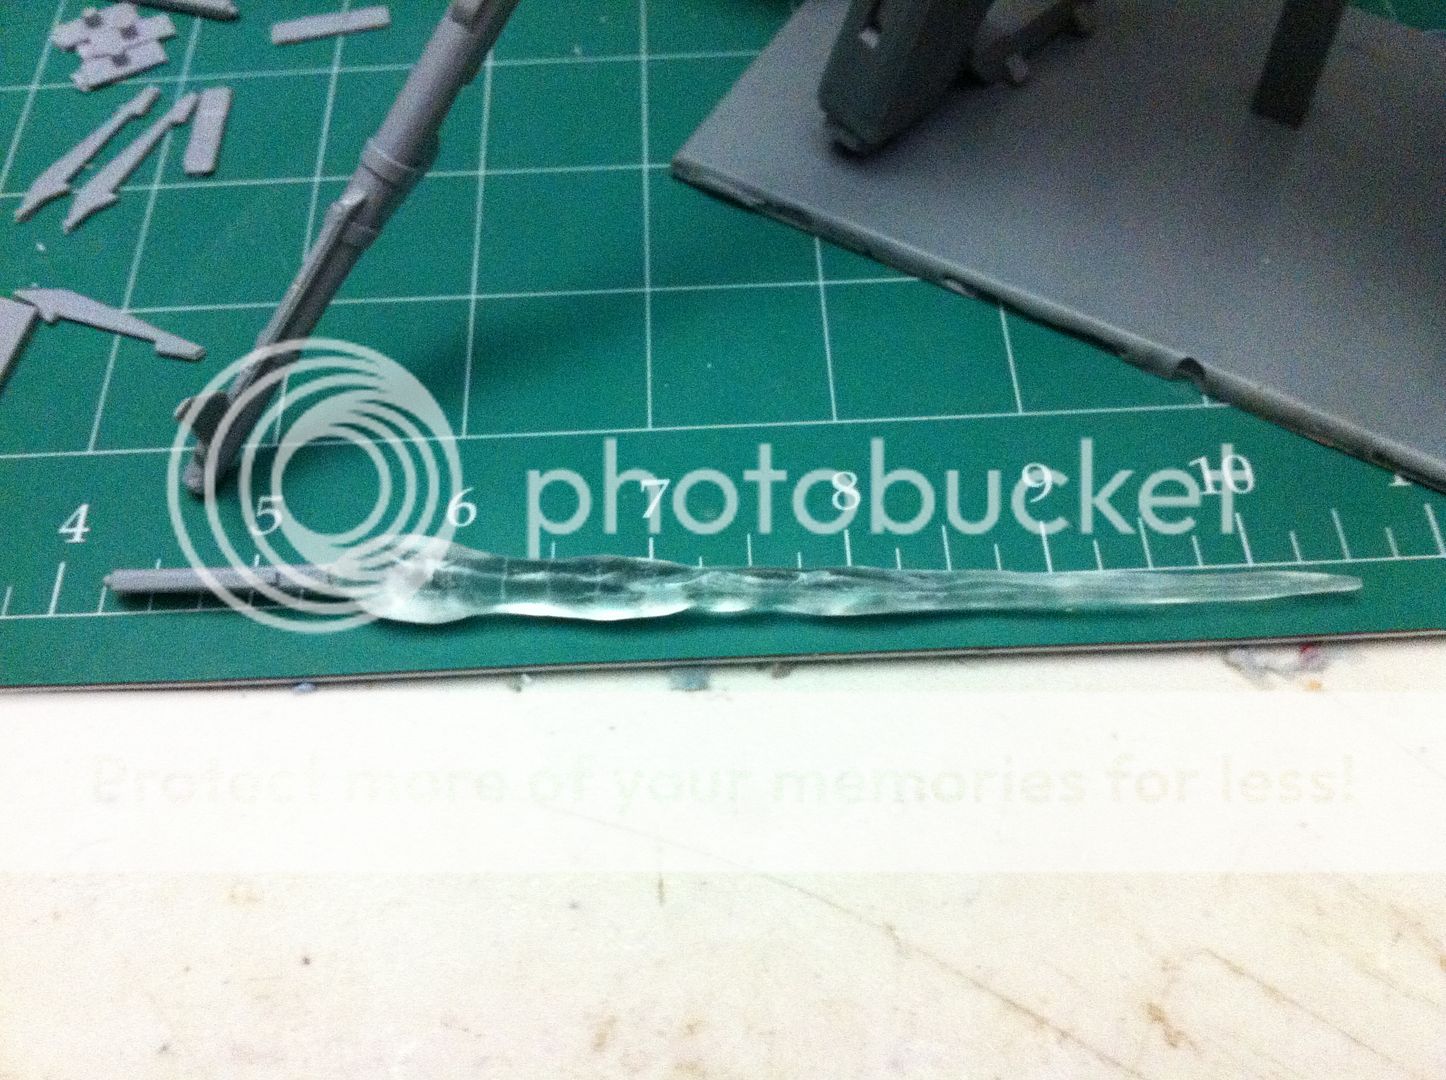
I just wanted to drop a quick post showin the clear parts I made yesterday. I just wanted to test out how the parts would end up, and overall I'm pretty satisfied. I wish the jet nose lens was a little bit shinier, but I'm not complaining, it looks pretty good. A little dunk in some future should clear it up nice, so to those getting a kit if you want a super shiny clear jet nose lens, some Future (or Pledge with Future Shine) is in your future. That was a horrible pun and I apologize. Anyway the plasma blade turned out great and clear, just like I wanted. The base stand assembly is a little bit frosted which turned out just how I wanted, although I still need to pour the stand support arm tomorrow to see how it looks. I'm not sure whether I will make the stands clear or color casted resin, but I suppose I can give the buyer the option, the clear stand may cost a couple bucks more for the expensive clear apoxy resin, and it takes like 24-36 hours for each pouring to cure of that stuff. Yeah it's a pain but it looks soo kewl! Anyway photos!
Tuesday, September 25, 2012
Some clear parts...
Hey All,
I just wanted to drop a quick post showin the clear parts I made yesterday. I just wanted to test out how the parts would end up, and overall I'm pretty satisfied. I wish the jet nose lens was a little bit shinier, but I'm not complaining, it looks pretty good. A little dunk in some future should clear it up nice, so to those getting a kit if you want a super shiny clear jet nose lens, some Future (or Pledge with Future Shine) is in your future. That was a horrible pun and I apologize. Anyway the plasma blade turned out great and clear, just like I wanted. The base stand assembly is a little bit frosted which turned out just how I wanted, although I still need to pour the stand support arm tomorrow to see how it looks. I'm not sure whether I will make the stands clear or color casted resin, but I suppose I can give the buyer the option, the clear stand may cost a couple bucks more for the expensive clear apoxy resin, and it takes like 24-36 hours for each pouring to cure of that stuff. Yeah it's a pain but it looks soo kewl! Anyway photos!
Saturday, September 15, 2012
Decal Mock-up Idea and Blog Layout
Hey all,
Yesterday I had a little bit of extra time so I decided to try to do a color scheme mock-up and layout idea for decals. Given this is just a preliminary idea before I start making any art, but I think it has potential to look pretty cool as a decal set. The colors I was pretty much set on a while back. It's kind of just like my Cairn Freya but I feel like this project is almost what that project should have looked like, but I just wasn't capable of doing this kind of sculpt then. (Hopefully in the future I can progress to a point where I think that this sculpt is amateurish haha.) Anyway here is my color and decal mock up.
I've always loved the line decals on the MG Sinanju kit, and I wanted to do something similar to that.
Yesterday I had a little bit of extra time so I decided to try to do a color scheme mock-up and layout idea for decals. Given this is just a preliminary idea before I start making any art, but I think it has potential to look pretty cool as a decal set. The colors I was pretty much set on a while back. It's kind of just like my Cairn Freya but I feel like this project is almost what that project should have looked like, but I just wasn't capable of doing this kind of sculpt then. (Hopefully in the future I can progress to a point where I think that this sculpt is amateurish haha.) Anyway here is my color and decal mock up.
Friday, September 14, 2012
Video Update!
Hey all,
I just made a video update showing off various parts of the LG. Feel free to share this with your friends! It shows off the humanoid mode, burn mode, and the inner frame some.
BTW I think I said the link to this blog incorrectly in the video. haha it's my own blog and I don't know the address. Derp. :(
Link in case of video issues: Click Here
I just made a video update showing off various parts of the LG. Feel free to share this with your friends! It shows off the humanoid mode, burn mode, and the inner frame some.
BTW I think I said the link to this blog incorrectly in the video. haha it's my own blog and I don't know the address. Derp. :(
Link in case of video issues: Click Here
Wednesday, September 12, 2012
1/100 Lanzegeist Fully Transformable Kit With Full Inner Frame
Hey All,
I have been on the forums little and less the last 6 months, and for that I apologize. However this was for a good reason, I was working on a project that I wanted to keep secret until I had the first cast completed. That project is:
Specs:
model number: MASF-OAM-LG-001
magnus arms space fleet orbital assault machine lanzegeist
power generator: immersive fusion reactor
maximum power output: unknown
armor plating: thorexium carbide
pilot accomodation: 1 pilot extended occupancy cabin
with long term life support unit
thrust potential: theoretical top speed 18.2 km/s @ orbital alt.
thrust instrumentation: dual biaxial deflected afterburners
armaments: dual long range missile bays, "gotcha" grapple claw,
dual quad cluster bomb array, Hulkatr long range high density beam cannon
quad chest unidirectional beam condensors, two 360 degree light laser turrets,
two 360 degree medium laser turrets, two plasma beam swords,
optional magnetic deflector shield array self deploying
variable modes: high speed orbital fighter jet and humanoid fighter modes
I have been on the forums little and less the last 6 months, and for that I apologize. However this was for a good reason, I was working on a project that I wanted to keep secret until I had the first cast completed. That project is:
Specs: model number: MASF-OAM-LG-001
magnus arms space fleet orbital assault machine lanzegeist
power generator: immersive fusion reactor
maximum power output: unknown
armor plating: thorexium carbide
pilot accomodation: 1 pilot extended occupancy cabin
with long term life support unit
thrust potential: theoretical top speed 18.2 km/s @ orbital alt.
thrust instrumentation: dual biaxial deflected afterburners
armaments: dual long range missile bays, "gotcha" grapple claw,
dual quad cluster bomb array, Hulkatr long range high density beam cannon
quad chest unidirectional beam condensors, two 360 degree light laser turrets,
two 360 degree medium laser turrets, two plasma beam swords,
optional magnetic deflector shield array self deploying
variable modes: high speed orbital fighter jet and humanoid fighter modes
Thursday, June 14, 2012
Drehksturm Box Art Completed! Decay is awesome.
Hey All,
I'm not dead, in fact I've been incredibly busy working on my mecha projects lately. I haven't posted them for a reason but I will fill you all in on them soon. I do however have awesome news that most of you who read this (all four of you hehe) already know; Decay has finished the first cast of the Drehksturm! Yay!!
I must say it looks amazing, the painting and weathering looks beautiful, and the decals that Decay and Kamm designed and printed are perfect. I am totally proud to be a part of the making of this kit, even though I had nothing to do with the painting or the decals, which may just be the coolest part. I have taken my two favorite photos of Decay's post on this, (which you can find here) and used them to make the top and bottom labels for the box art. There will be a cool surprise relative to the box labels that I will share soon, but for now let us just bask in the glory that is the culmination of at least three modeler's hard work. And yeah I know I'm totally feeling egotistical that I had a part in such a cool looking project. My hat is off to Marc and Kamm as well. Love you guys and great job.
BOX ART!!
Thanks to all of you guys who have shown an interest in getting one of the drehksturm conversion kits, (Russ) and know that I'm working on getting the instruction manual together now, and will be making the casts in the weeks to come. It's finally warm enough to start up castin' again. As Marc said in his post however, since this is my first kit casting it is not the most user friendly kit, and if you haven't worked with resin before I suggest you maybe hold off on getting one. I'll make the instructions as complete and thorough as I can, but I didn't use any peg guides, which would have helped a bit in assembly. Most of the part just snap on the inner frame quite well, but there are those that need to be glued that you will have to visually line up. I'll go into more detail on that for any interested parties. I'm only gonna maybe cast at most 8-10 of these, and probably only like 5 or so if there are interested people. The price is gonna be about $55-60 just for the cost of the materials used, no profit for me. I just want to see people making them. You gotta pay your own shipping though. I hope to see a couple of you guys try one of these out.
In a separate tangent I have a project that I've been working on for the last few months almost completed, and I can't wait to share it but I want it to be a surprise. Needless to say it is something that I have put all of myself into, so hopefully it will show in the work. I will hopefully be able to announce this really soon, maybe in a few weeks.
Stay tuned mechaholics...
I'm not dead, in fact I've been incredibly busy working on my mecha projects lately. I haven't posted them for a reason but I will fill you all in on them soon. I do however have awesome news that most of you who read this (all four of you hehe) already know; Decay has finished the first cast of the Drehksturm! Yay!!
I must say it looks amazing, the painting and weathering looks beautiful, and the decals that Decay and Kamm designed and printed are perfect. I am totally proud to be a part of the making of this kit, even though I had nothing to do with the painting or the decals, which may just be the coolest part. I have taken my two favorite photos of Decay's post on this, (which you can find here) and used them to make the top and bottom labels for the box art. There will be a cool surprise relative to the box labels that I will share soon, but for now let us just bask in the glory that is the culmination of at least three modeler's hard work. And yeah I know I'm totally feeling egotistical that I had a part in such a cool looking project. My hat is off to Marc and Kamm as well. Love you guys and great job.
BOX ART!!
Thanks to all of you guys who have shown an interest in getting one of the drehksturm conversion kits, (Russ) and know that I'm working on getting the instruction manual together now, and will be making the casts in the weeks to come. It's finally warm enough to start up castin' again. As Marc said in his post however, since this is my first kit casting it is not the most user friendly kit, and if you haven't worked with resin before I suggest you maybe hold off on getting one. I'll make the instructions as complete and thorough as I can, but I didn't use any peg guides, which would have helped a bit in assembly. Most of the part just snap on the inner frame quite well, but there are those that need to be glued that you will have to visually line up. I'll go into more detail on that for any interested parties. I'm only gonna maybe cast at most 8-10 of these, and probably only like 5 or so if there are interested people. The price is gonna be about $55-60 just for the cost of the materials used, no profit for me. I just want to see people making them. You gotta pay your own shipping though. I hope to see a couple of you guys try one of these out.
In a separate tangent I have a project that I've been working on for the last few months almost completed, and I can't wait to share it but I want it to be a surprise. Needless to say it is something that I have put all of myself into, so hopefully it will show in the work. I will hopefully be able to announce this really soon, maybe in a few weeks.
Stay tuned mechaholics...
Labels:
1/100,
box art,
conversion kit,
custom,
drehksturm,
engine,
garage kit,
handeye,
helmos,
mecha,
model,
modeling,
robot,
sci-fi,
thehelmosengine
Subscribe to:
Posts (Atom)


