I just had a kewl experience yesterday with an experiment I did. I had poured a bunch of clear apoxy resin for my clear parts I'm casting for the kits I'm gonna sell, and I had a bunch of extra clear apoxy left over. Let me start off by saying I hate wasting materials when I don't have to. So with that in mind I had to find something to use the material for, and I found it. Clear lenses! Now these don't look clear because I tinted them with two drops of red pigment and some yellow, pink, and red fluorescent pigment for a little brightness, but if I hadn't they would be totally clear.
So what I did was just dab a bamboo skewer flat head down into the liquid and then onto the smooth silicone until it beaded up the natural way liquids do. Some didn't turn out circular enough, but the greater majority of them are round and usable once they cure all the way.
 |
| Just showing off the various sizes that were created. |
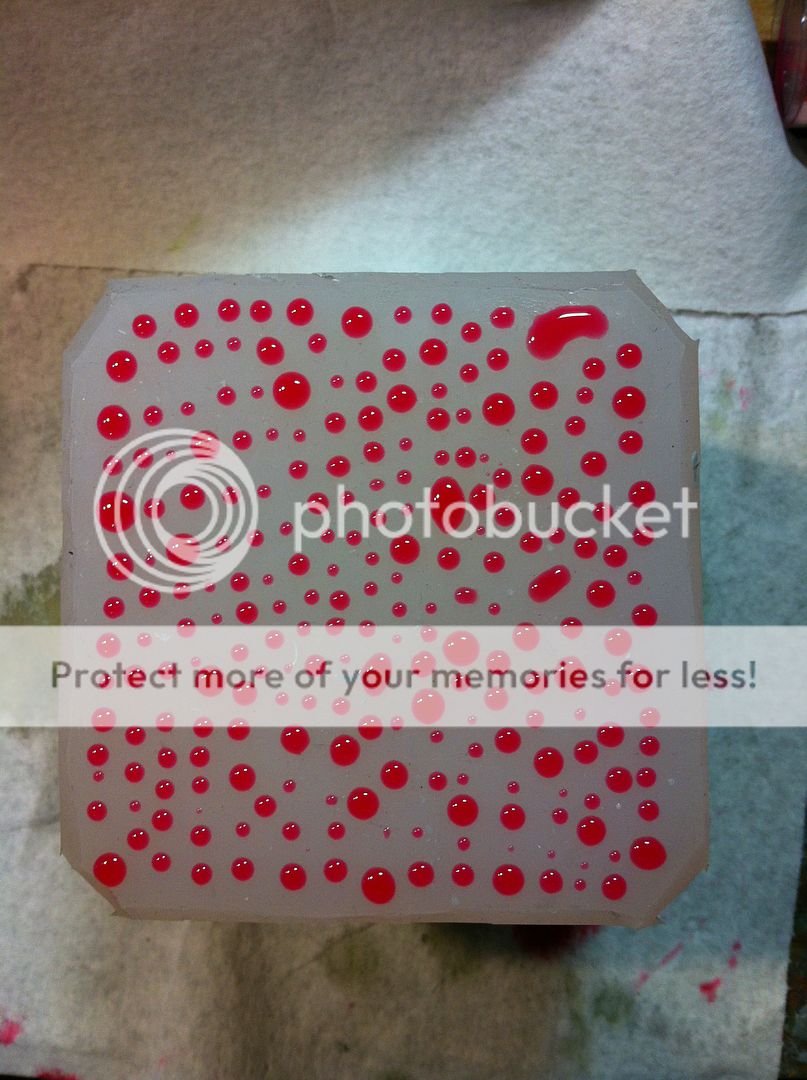 |
| This is in actuality less liquid than in a couple thimbles believe it or not. |
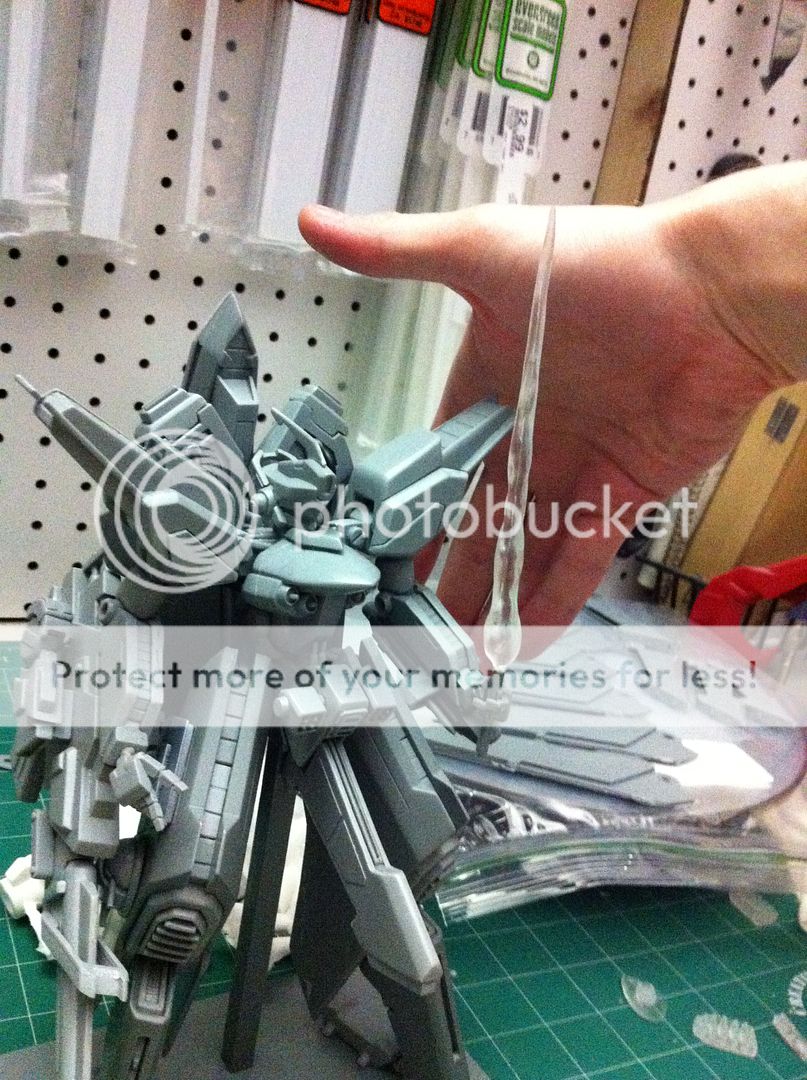
The awesome thing is I barely used enough apoxy resin to fill a couple thimbles. I can make TONS of detail lenses in clear resin now and I can color cast them in any color pretty much. I'm gonna try neon green next I think or maybe I'll do a bunch of different colors. It's a possibility that I may gather up some variety packs of the lenses in various sizes and colors and sell a few if folks want them. (They are incredibly useful and pretty I think.) Now let me show off what they look like on some otherwise kinda crappy items.
 |
| Before adding lens onto this Gundam Fix Figuration FAZZ. |
 | ||
| After adding lens onto the FAZZ. |
Here is a horrible kitbash rifle I made a while back, but with a red lens added onto the scope it looks a bit better. At least the lens does hahaha.
 | ||
| Forgive me I made this a while ago before I learned to do more sculpting. |


Stay tuned mechaholics...
Cant, wait, looks really nice XD
ReplyDeleteThank you Marc! Did you say you wanted one of the LG's? If not it's cool I just can't remember. And yeah mate the decals are almost laid out too. Thanks for your excitement!
ReplyDeleteHi there!
ReplyDeleteSince I don't have a Youtube-channel, I couldn't follow Kamm's call in his comment section, so:
RC Teach us how to scratchbuild!
I watched the Lanzegeist WIP with a mixture of amazement and discouragement
because I can't even imagine how you create your pieces without thinking "This must have taken ages to build!"
Thanks and Good luck with the Lanzegeist-Kit!
Twobad
Hey there Twobad,
DeleteI love the enthusiasm you guys have and of course I'll try my best to give you guys a decent tutorial. I may make the first one on the starting steps with stuff like "simple plastic sculpting". I have a couple of parts that I need to make for a kit of mine so I can try to do a walkthrough for it. And don't be discouraged mate, it's all learning a step by step. I am grateful that my work inspires you that much though!