

In the last few days I made casts of the right (the mecha's left) hand guard, the forearm, the bicep, and tricep armor. I was worried that since the small parts are thin and small with right angles on them that the resin may have a hard time permeating the mold space, but it turns out that with a slow curing resin the parts were perfect the first time. Here is the forearm right out of the mold.


Here is the arm with the bicep/tricep/forearm armor added.


I didn't make the other handguard yet so that's why I still have the zeta handguard on. I will make that part soon. Here are some shots of the mecha with the arm attached again with the new parts on.

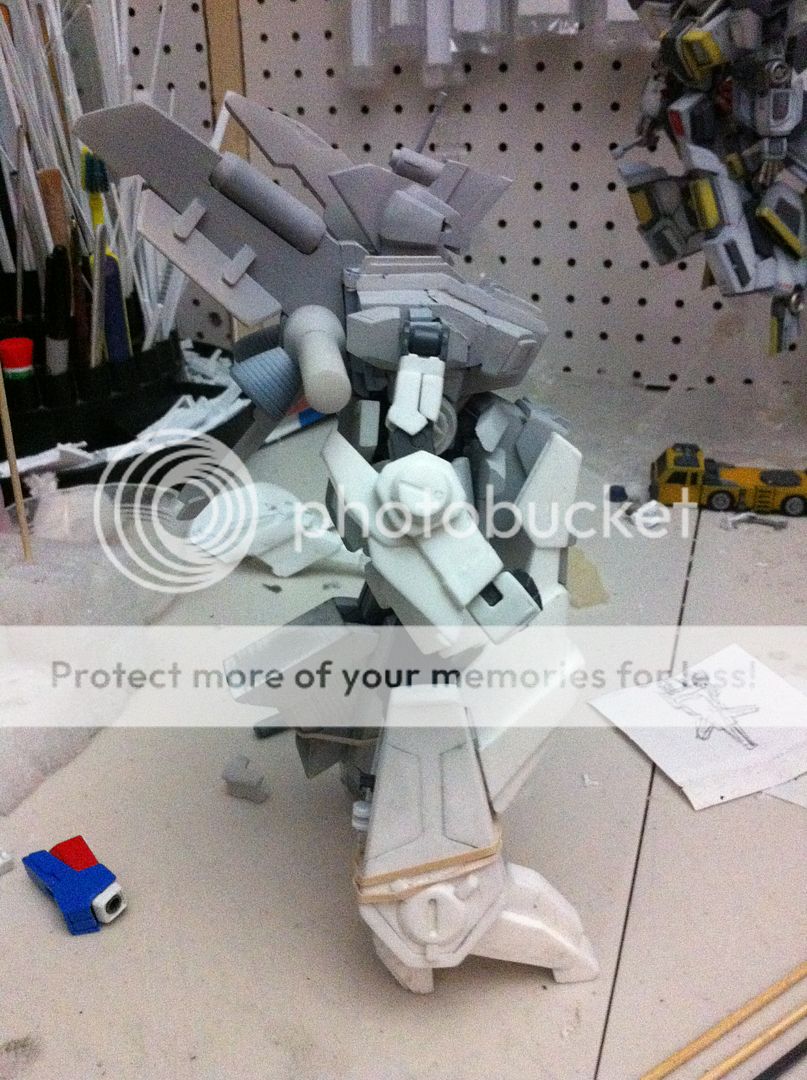

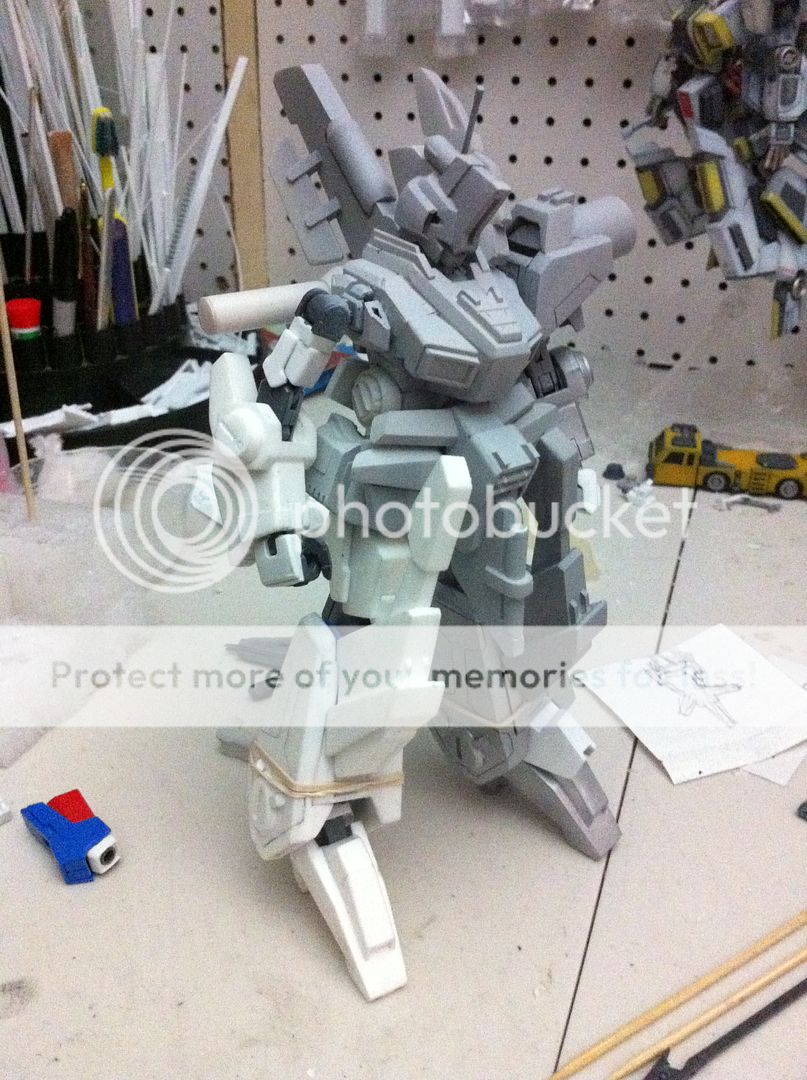
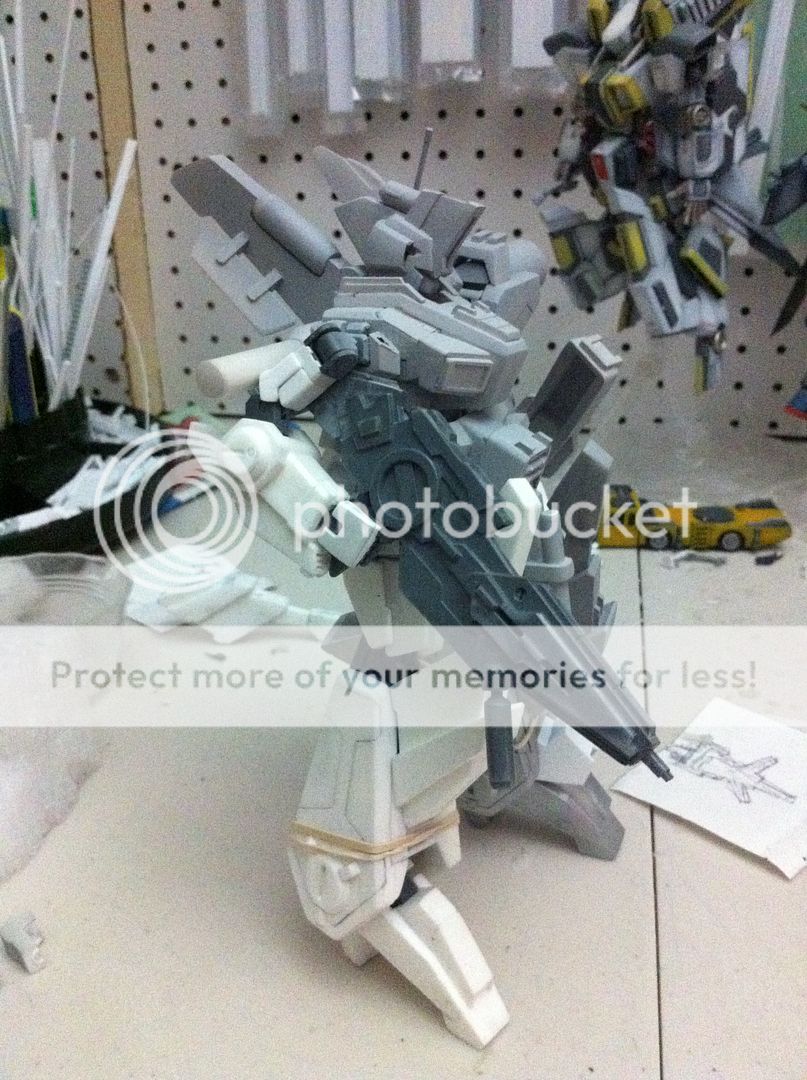
I hope you can forgive the random paint that is stuck to the new white resin parts. It was just paint that was left in the mold from the prototype parts. I sprayed them with silver tamiya synthetic lacquers before molding to help seal the parts. And to improve the surface quality of the parts. The next few casts will have less and less paint on them. I guess they will all be painted so it doesn't really matter anyway though. hehe. I still need to add some more to the backpack/stabilizer, make another thruster tail, and then clean up the stabilizer and torso. I think I need to make the detail and wiring inserts for the shield also. I really want this kit to be as awesome as I can make it the first time, so some of you guys will want to make some of your own. I will probably only make ten or less of these in total, and a couple are going to be mine, so let me know if you want me to hold you one. I think my costs will probably dictate that a complete conversion kit will cost around $50-$70 in plastic, but I'll have more details soon. (I know that's a lot of money, but I have to be able to pay for the plastic to make them and I don't have a production facility that can absorb production costs, so again if not many or noone is interested in a cast I won't take it personally, but I can't really haggle price. I'm kind of using this as a test to see if it's worth it for me to make casts of my work for other people, so if it's something you are interested in supporting, just let me know!)
Dude this looks great, let me know what you need for an order I can tell you I want one.
ReplyDeleteExcellent excellent!!
ReplyDeleteThanks for sharing the casting works, definitely good ref ! :)
Thanks TemberGundam! I will keep you up to date most assuredly.
ReplyDeleteThank you JuliusLim I am a big fan of your scratch build work! Such precision and ingenuity I am grateful for the compliment.