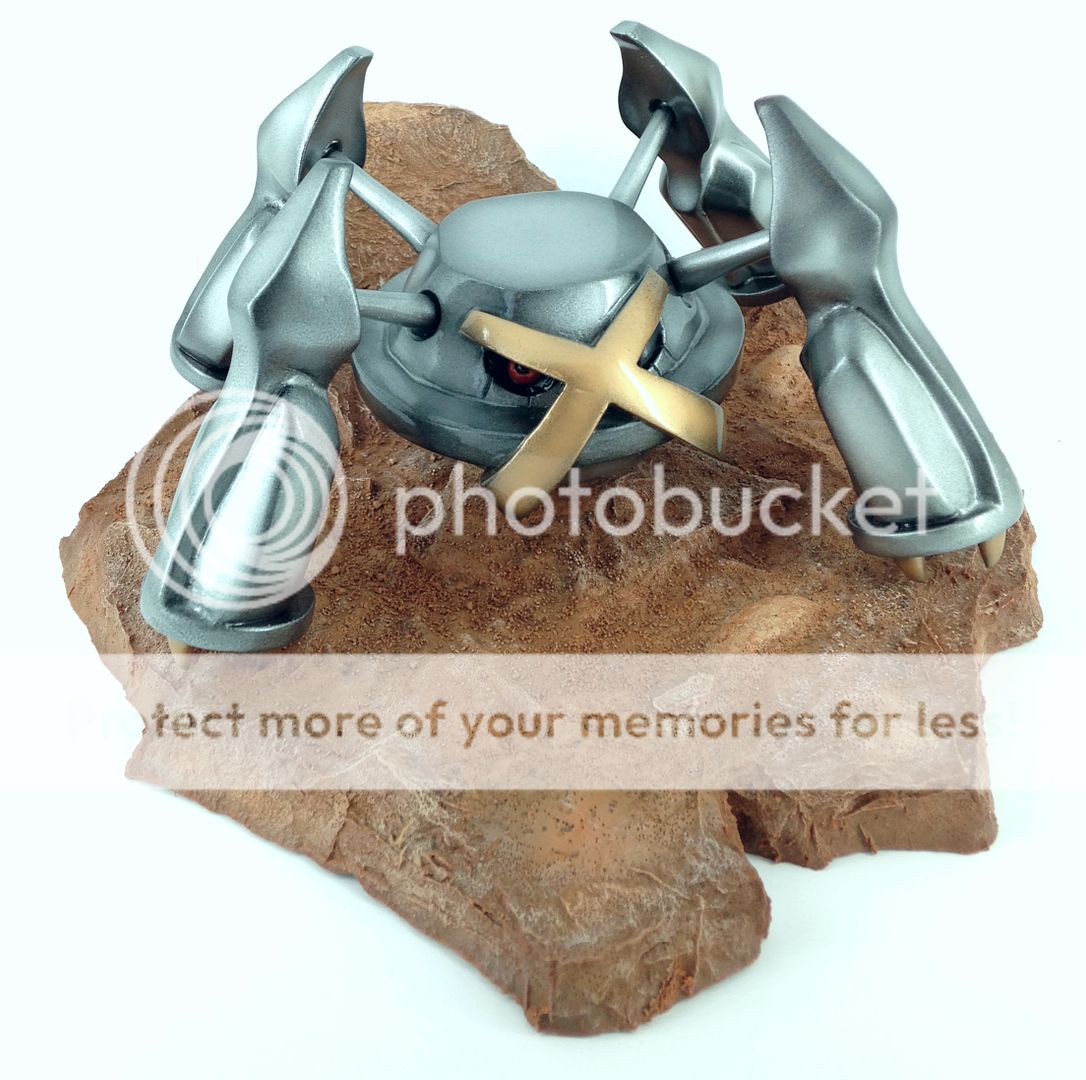
This project was first and foremost a birthday present for my brother. I asked him what his favorite pokemon was (we're into pokemon, he's much better at it than me though) and he answered me Metagross. Then without him knowing exactly why I was asking I started sculpting a large sized model of a metagross that I could cast and paint up for him. This is the final product after the master sculpt (the master sculpt is the sculpted model I made by hand and the one I used to cast, I'm not calling myself a master), the casting, the painting, and the same for the model desert base. (also resin plastic original sculpt by me.)


This is one of the images I used for my reference (not my drawing, just used for reference):

Now to explain how I made it.
I started off with making a negative impression in a lump of synthetic clay roughly in the shape of a bowl with a flat bottom. I did this twice, one being a little bit larger than the other. Then I made a disk shaped one that was flat. Then I poured quick curing urethane resin into the clay to get my rough shapes that I then sanded and ground down to my rough shape of the round Metagross body. Then I added E-400 plumbers apoxy to the top and bottom of the body to add more substance to the body and then sculpt it into shape. I sanded off the extra. Then I used a spherical dremel bit to hollow out the eye sockets and then I added the eyes. For the mouth I made a stamp in the shape of the mouth, and put plumbers putty on the mouth area and stamped it while it was still malleable. I added the "X" on the face with sculpting putty, mainly because it has a long period before it hardens and it gave me time to get the shape as best I could. (this part was really difficult to do to my satisfaction) Here is the main body after all the afforementioned steps:
As you can see there was much still to be done. The "X" needed shaping and the body needed arm sockets and cleanup. Before I did this however I started on the main leg. I sculpted one leg and just used it as the master for the four identical legs. Here is what it looked like at first:
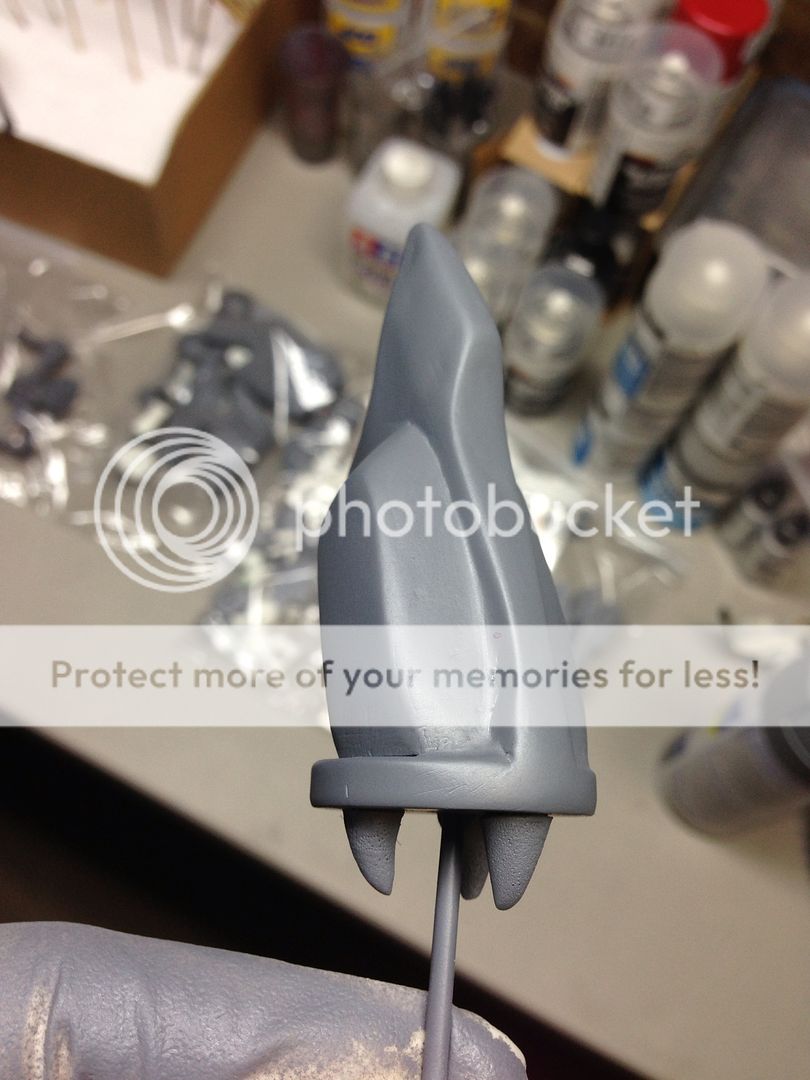
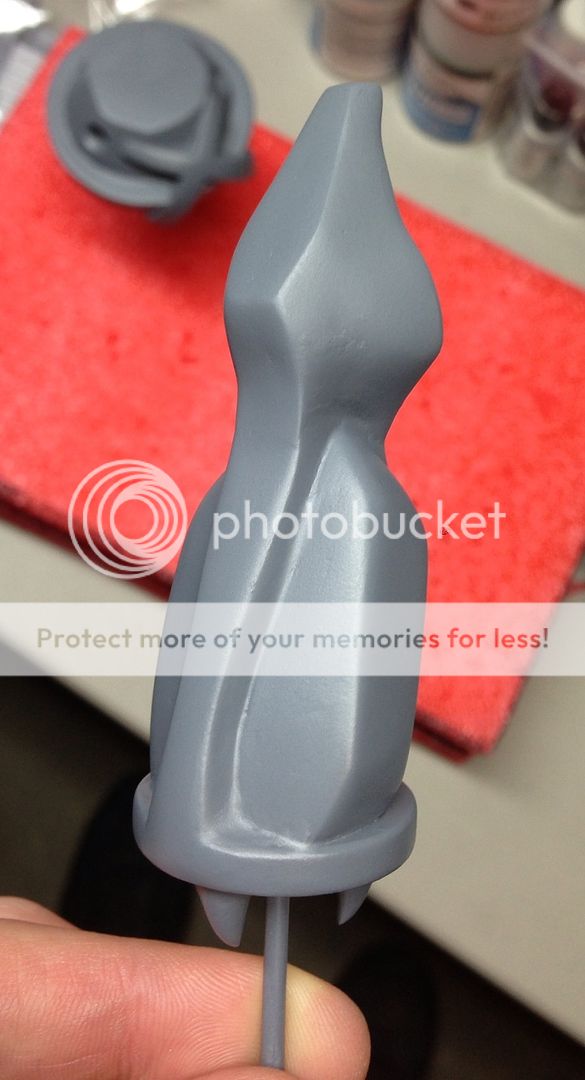
Now I wasn't happy with this after looking at it for a day so I decided to add some shape to the upper leg using sculpting putty. It turned out looking like this:


I then added the arm sockets, made the upper master arm, and cleaned up the main body some. As for the main lower leg I liked the shape and it just needed some sanding and it was ready for priming. After priming it looked like this:

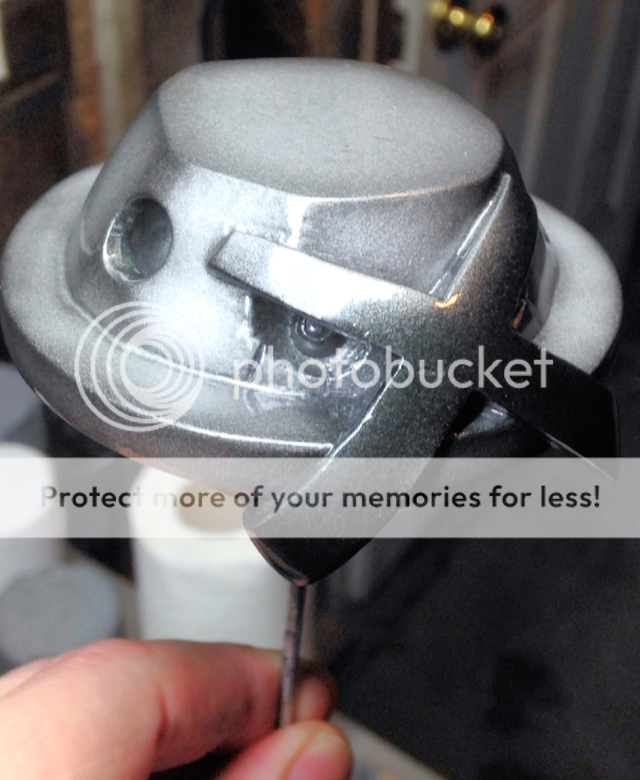
After this part was done it still looked like the parts needed tons of smoothing and such. And thus the magic of rattle cans. haha. I don't care what anybody says on the subject, if you want to smooth a project out and round the corners off easily, use a good spray can lacquer. I actually like them for when you want a solid smooth and durable paint coat, and you are good with the edges being rounded of from the surface tension of the thick paint layer. So I used testors wet look black metallic lacquer as a base coat. I sprayed it on thick and let it cure for a few days. After I recoated and waited again, I then sprayed alclad II polished aluminum on in a shading fashion. It looked like this after I clear coated using wet look clear gloss top coat:
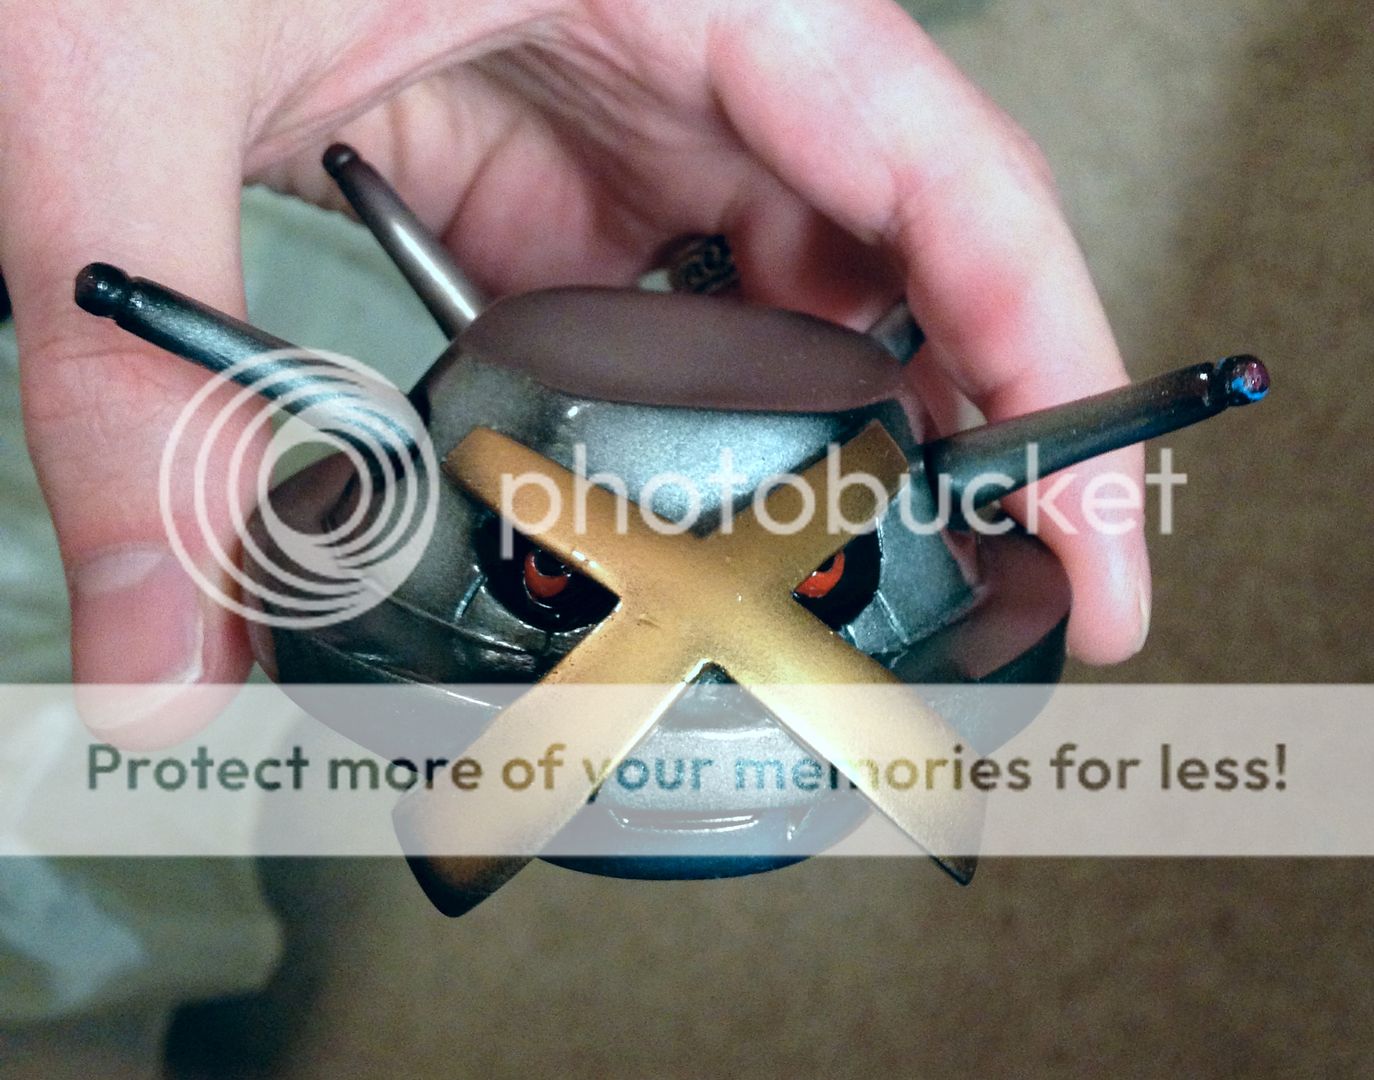
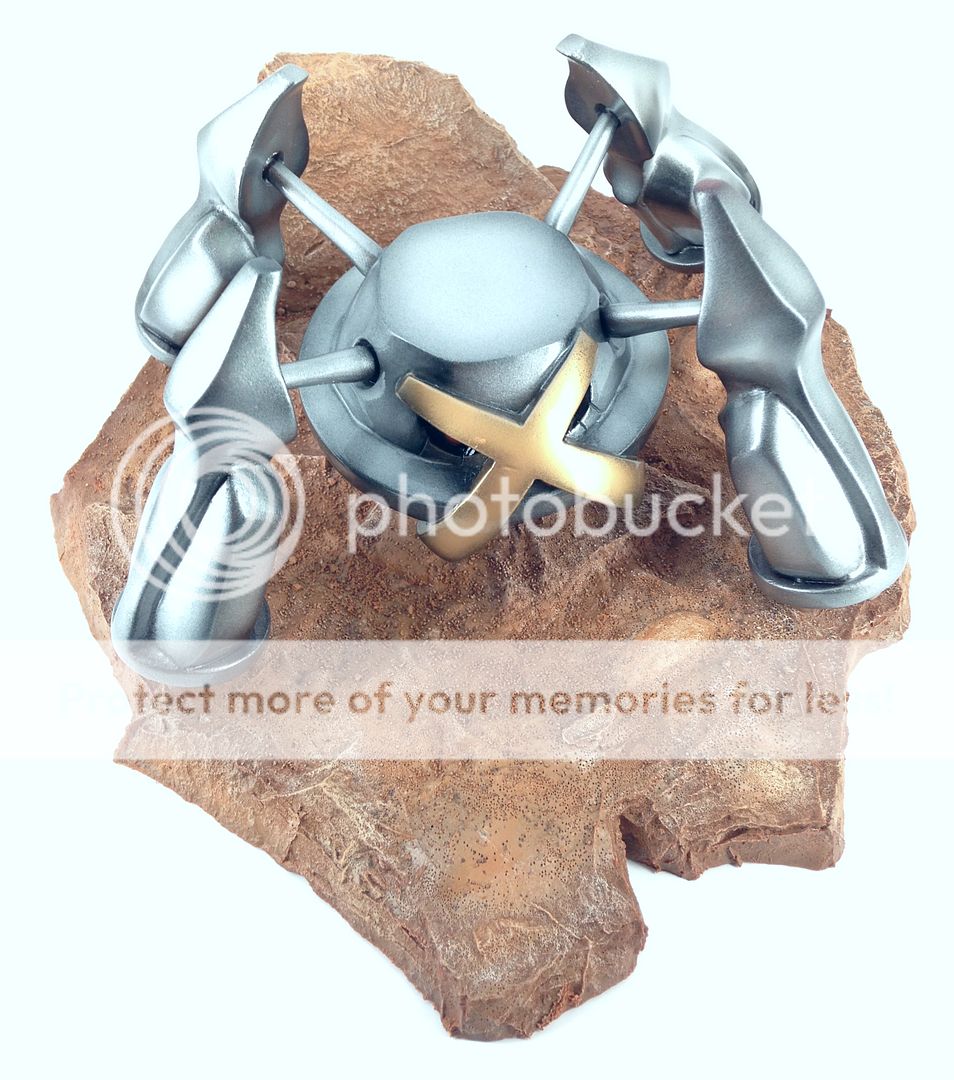
I used the top coat mainly so my brother would be able to touch his kit without the metallics rubbing off on his hands, and I just wanted to know it would hold up paint wise. It did sort of slaughter the metallic effect from what it originally looked like, but it still looked pretty cool and was more importantly quite durable and scratch resistant. I painted the legs the same way. Then I masked off the parts and painted the gold using mr metallics gold. I was planning on using the pale burnt metal from the alclad line, but it was too subdued and similar in color the aluminum, and I needed the gold to be bright enough. I then masked off the eyes and open mouth parts and painted them using semi gloss black from the mr. color gunze sangyo line. after it cured I hand painted the red irises using mr. color red. I thinned it out more than for airbrushing and just brushed on thin layers and waited for them to cure. (like Kamm taught me.) I love using my mini paint brushes. The main body looked like this after a clear coat:
The legs looked fine as well, and I then started on making the base stand. He said he wanted a base stand for the model for his desk, so I decided to do a little research. In the Pokemon anime, the shiny Metagross is encountered by Team Rocket's James in a rocky terrain, so I decided to make a rocky base stand using this as inspiration:

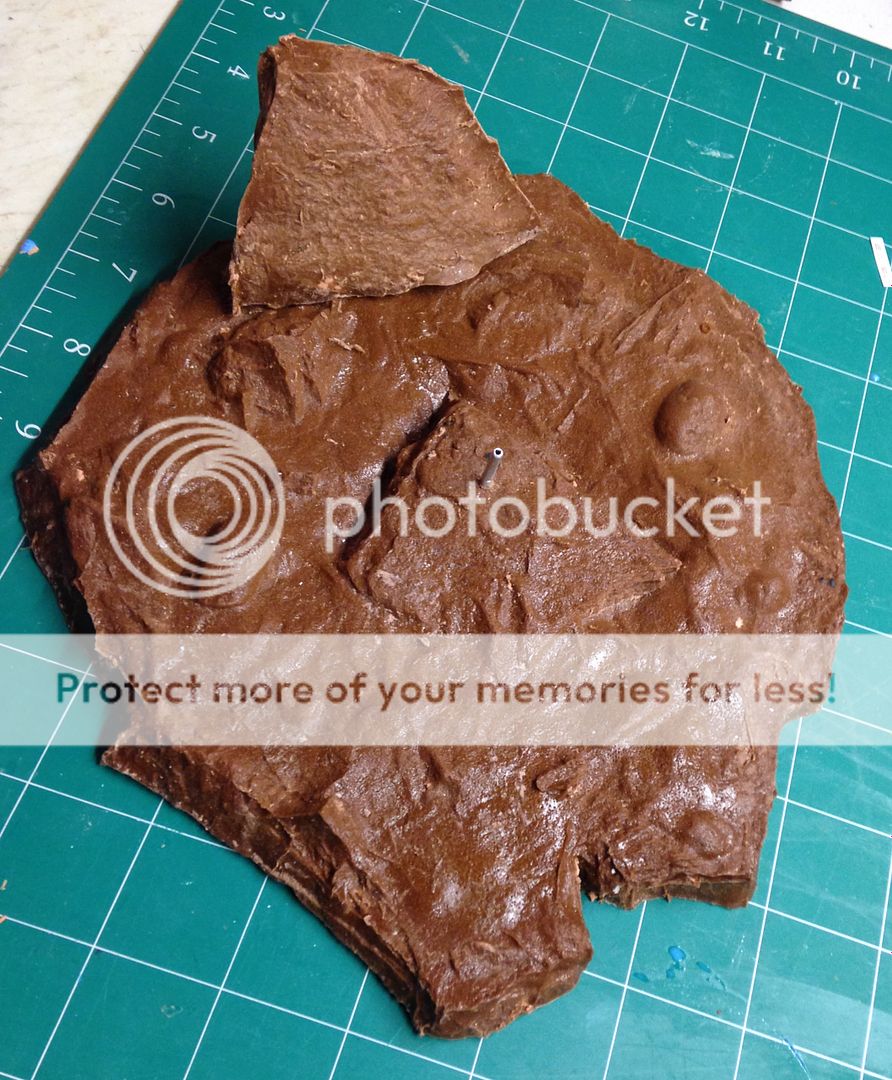
I wanted it to be realistic, so upon the advice of my wife and also a person I work with who made the same suggestion, I used real rocks to texture clay and I made a negative basin in the clay roughly in the shape of a base stand. After I finished making the negative impression in the clay and I sculpted it to the right size, shape, and surface texture I poured brown tinted liquid urethane resin into the clay and let it cure. It turned out like this: (the rock at the back was made in a separate piece of clay)
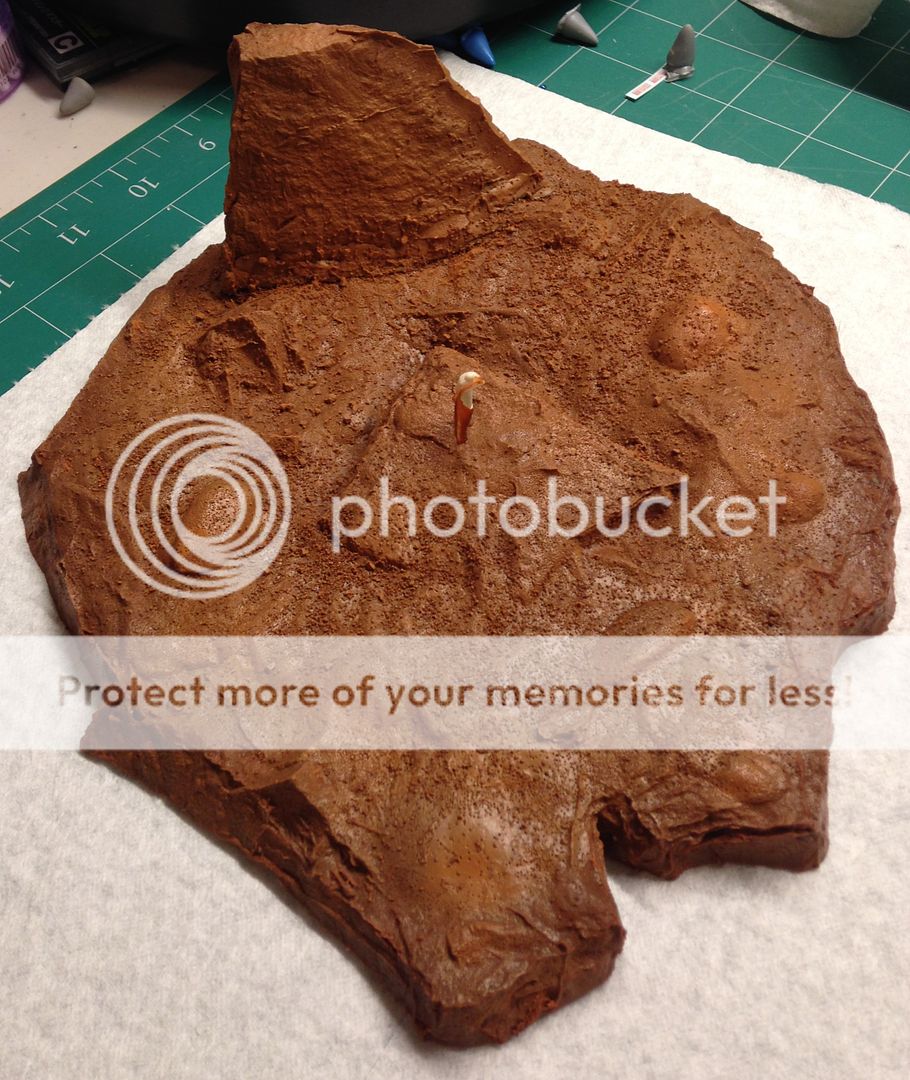
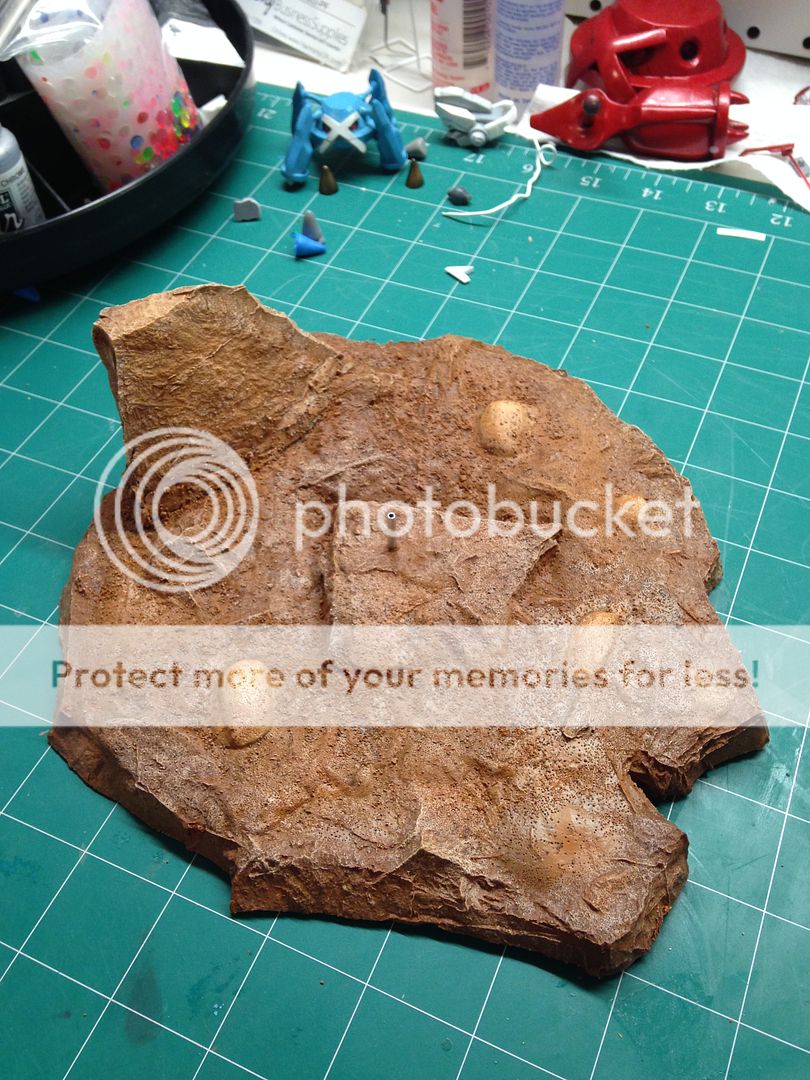
I drilled out a hole for the aluminum rod which is used to support the Metagross' body. I next used the plumbers apoxy to mold and attach the rock to the base to make it one seamless piece. It turned out pretty good. I then washed the base and sprayed it with hair spray and sprinkled some large grain and some small grain gravel on top in various spots to give it texture. Then I airbrushed the base using a dark brown as the main color, and a lighter brown as a post shading color. It turned out like this:


Stay tuned pokeholics...
Nice! looks like a master cast to me
ReplyDeleteDamn, I would pay for something as good looking as that! *hint hint wink wink*
ReplyDelete