Saturday, October 25, 2014

New spikey mirrors!

Hey all,
   For my birthday present my Mom-in-law got me a delightful gift certificate that I promptly used to get some spikey mirrors for my bike.  Thanks Mom 2.0!  They fit with my bike perfectly on my sort of batman-esque theme.  They installed pretty easy and look good.  They're smaller than my previous mirrors, which isn't necessarily a bad thing.  I took them for a drive earlier today in between rain storms and they held up well.  They didn't vibrate out of alignment, and I can see on them just fine.  I really like them a lot and I'm grateful for my latest new birthday addition to Shiki.  Hope you all like them.  Now for a photo collage!

Here are some more pics:

Saturday, October 18, 2014

Saddlebag for my bobber!

Hey all,
   Sometime this last week I realized I need a small saddlebag for my bike.  While I can throw stuff in a backpack if I need to, I don't want to always have to do that.  Especially for stuff that I always want to have with me such as a tire repair kit and a mobile compressor.  So I decided to try to find a one side small saddlebag that will fit in the small available space on the bike, and help fill out the lines of the bike.  I also thought that the left side of the bike looked a bit off as the right side has the added bulk of the exhaust and the air cleaner so I wanted to add something to fill it out just a bit.  Here is what I found; the "312L Left Side Swing Arm Leather Solo Bag" from The Leatherworks in Stockton CA.  These bags should fit any honda shadow phantom and a variety of other bikes.  The listing can be found here.  The page lists the fitment for the various bikes it fits.  The idea is that it's a bag that will attach to the swing arm of your bike and fill out the little space beneath your shock and to the right of your battery box on the left side of your bike.  A really niche shape and size, but it worked perfectly for my 2013 Honda Shadow Phantom.  Check it out:


The bag fits in the formerly available space perfectly.  Attaching it was a bit imaginative, but I imagine with something so niche in it's application it's probably expected that some creativity be applied in installation.  The bag comes with four little belts that go in four little belt slots to attach the bag.  I hooked two belts together for each side and basically made one big belt for each side.  I wound this around the swing arm and then zip tied the top of the left belt to the top of my frame using a black zip tie to keep the bag from dropping down over time.  Hopefully it works out and holds up over time, but I don't foresee any issues with it.  I think it turned out great and it holds my compressor and tire kit with a little bit of extra room for a shirt or jacket.  Wifey also suggested that behind the seat is possible available room for maybe a small bag if I can find one that will attach to the brackets available, but that's a project for another day.  (Although a great idea.  Maybe a leather cylindrical tube bag or a small rectangular bag that could hang at an angle.

Stay tuned bikeaholics...


Thursday, October 9, 2014

I bobbed out my Motorcycle!

Hey all,
   I know I've been a bit of a lazy bum lately and don't have anything new to post.  In fact I probably have a few comments to reply to as well.  Sorry to anyone who took the time to comment and didn't receive a response from me.  Anyway today I wanna post about the project I've been working on for a few months.   Bobbing out my 2013 Honda Shadow Phantom.  Here is what she looks like now.  I call her Shiki. 

I say I've been working on this for awhile as it's taken me a few months to get the money to buy all the parts and figure out how to install them.  It's never as easy as just buying things and putting them on is it?  Not in my experience.  For every modification you do there is a tool you'll need to buy, or sealant for rust prevention, or this or that.  It all adds up.  And thus the time frame for doing this all.  My bike is almost brand new as I bought it with just over 1000 miles on it.  Normally I think people wait until the bike is older to chop them, but when I make up my mind that I want something I go for it.  I am super happy with the results.  First lets start with a photo of how the bike looks stock.


Thursday, April 10, 2014

Shiny Metagross Sculpture Diorama

Hey all,
   This project was first and foremost a birthday present for my brother.  I asked him what his favorite pokemon was (we're into pokemon, he's much better at it than me though) and he answered me Metagross.  Then without him knowing exactly why I was asking I started sculpting a large sized model of a metagross that I could cast and paint up for him.  This is the final product after the master sculpt (the master sculpt is the sculpted model I made by hand and the one I used to cast, I'm not calling myself a master), the casting, the painting, and the same for the model desert base.  (also resin plastic original sculpt by me.)


This is one of the images I used for my reference (not my drawing, just used for reference):
 

Now to explain how I made it.

Thursday, October 24, 2013

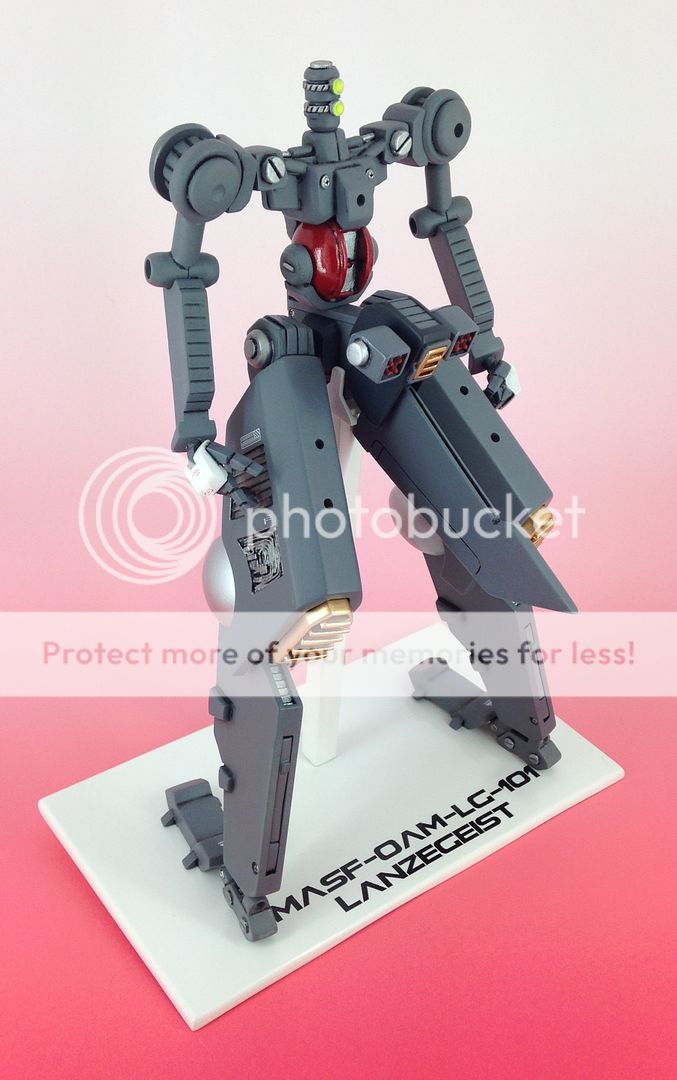
1/100 Lanzegeist Inner Frame *Official Photos*

Hey All,
   I got my new light box today for doing photoshoots, and I wanted to get the inner frame photographed so I could start putting the armor on the kit.  So without further delay here are the official inner frame box images for the kit.  (At least I think these are going to be the final images.)


I will post the full finished photos of the kit with the armor on as soon as I finish the painting process.  I still have about 5 small parts to paint and then to assemble the Hulkatr Cannon before I can do a final assembly before I take the final images.  This process has been a long time in working,and I'm nearing the finality of the box art paint up.  I will keep you all updated.

Stay tuned mechaholics...

Friday, September 27, 2013

LG Internal Frame Painted

Hey All!
   Today I finished the last of the internal frame parts.  So I thought to take some quick photos and share it with you!

The internals are finished, and I used a few decals here and there to add a hair of detail, but

Monday, September 16, 2013

Final Fantasy Chocobo Tattoo

Hey All,
   Just a tattoo post today.  My most recent addition is a chocobo!  Wark!  I've always loved Final Fantasy VII, it's something that's always brought me happiness.  I sometimes listen to the soundtrack from the game (yes all four disks) and I still play the game again and again.  I've even bought multiple copies on various game systems over the years.  Reminds me of growing up with my best friend.  Anyway I wanted to get some ink from the game, and as my best friend and I are gonna get Cloud together at one point I decided on another lovable recognizable character from the franchise; the chocobo.  I picked the game art that I liked the best and I went with it.  My tattoo artist Terry Peek did an awesome job as usual and really brought this bird to life.  I got it on my forearm so I could see it all the time and smile.  Here's what it looks like:


Sunday, September 8, 2013

Introduction to Scrach Building Part 1

Hey All,
   Since I was asked so politely by many on YouTube and finally had time, I made a tutorial on scratch building.  It's about an hour long and goes over every step of scratch building a part from nothing to a detailed primed part.  The focus isn't on painting so that parts not really as relevant I just showed it to acknowledge that the part is basically ready to paint.  Anyway I hope you guys like it, and if you find it useful or if you just love my gorgeous face share the video with someone you know.  The goal is to get more people into the hobby, and for me to get more subscribers on my YouTube page.  If I get enough subscribers or hits I will make another video teaching how to do other things such as more complicated SB methods, or perhaps how to cast replicate parts.  Here's the video:


Stay tuned mechaholics...

Wednesday, August 14, 2013

SD Gundam Tattoo Update..err...again!

Hey all,
   Just a quick update for my tattoo.  I added the shoreline behind the ball unit, and a comet/meteor with it's tail coming out of the yellow street lines.  Simple enough, but necessary as background.  I still need to get the street gray filled in beneath the hover truck, and I may add a hole in the concrete above the hover truck.  Here is the progress so far.


I'm loving how it's turning out.  I still need to plan out which objects will get thicker lines, but I will do that a little farther along when I have a better idea of how it all looks.  I know I'm gonna thicken some of them, probably the ball, and maybe the Zaku 2. 

Here are some more pics of the update.


In other news I'm working on another top secret project that I will reveal in time.  It's not another mecha yet, although I'm working on painting my LG.  (I bought fluorescent strip lights for the garage and now I've started painting again.)  This project is for my brother so I can't divulge anymore yet as in the off chance that he reads this it'll spoil the surprise, but I will say that it's gonna be a scratch built, hand sculpted piece that I'm casting and painting for him.  My hope is that he loves it.  Well I will update you all as soon as I can.  

Stay tuned mechaholics...


Monday, July 29, 2013

Fleischer Truppe Figure Sculpt: Part One

Hey All,
   I felt a bit of inspiration today so I started my sculpt for what I'm calling the Fleischer Truppe.  I think that roughly translates to butcher squad in German.  The concept is that this is a chemically enhanced and engineered human soldier who fights what are called "smiling men".  The smiling men are humanoid predators that have the ability to unhinge their jaws, making their mouths open quite wide which makes their lips and mouths always look like they are smiling.  Long story short the name Fleischer Truppe is a name given to the soldiers who fight the smiling men to embolden the humans in their fight against the superior predators they fight.  This figure I'm sculpting is going to be a 12" figure with articulation all over, and hopefully good detail.  It's my first organic looking sculpt so I may have to rework or remake certain parts as I'm going, but that's how I work anyway so nothing new there.  I'm starting with the basic muscular humanoid form, and then I'm going to add the armor on top of that after the form is finished.  Here is what I did today.


I'm using sculpey for the sculpt.  I find that the super sculpey is better for this work as it holds fine details well, and is easy to bake quickly.  For the larger forms I've just rolled up bits of aluminum foil and just sculpted a thin layer of sculpey on top of that.  

Wednesday, July 24, 2013

SD Gundam Tattoo Update

Hey all,
  Just a brief update.  I recently got a touch up on the previous work done and added a hover truck getting hit by a missile to the mix.  This part brings a ton of really beautiful color to it like the vivid orange of the explosion and the seafoam green and purples of the hover truck.  Terry did a great job on the shading and the thick outlines are looking awesome so far.  Not sure if I will thicken the other outlines on my arm already or just keep them different sizes like a weird stylized cartoon.  Either way here is the most recent addition. 

In other news I have started doing an action figure sculpt with the intent to cast it. I'm calling it the "Fleischer Truppe" or what I think is roughly Butcher Squad in German.  I have some preliminary sketches done up and I bought some sculpey and some more tools to get started.  I have the rifle, the helmet, the leg armor, and the chest armor planned, but that's it so far.  I've sculpted most of the right hand so far too.  hehe.  I'm going to make it full articulated and ball jointed where I can. 

I'm still waiting to buy a few strip fluorescent lights for the garage to finish painting my box art for the Lanzegeist which I still have every intention of selling 10.  Sorry for the long delay getting back into modeling friends, I'm just still getting adjusted after moving twice.  It won't be long now.

Stay tuned mechaholics...

Tuesday, June 25, 2013

SD Gundam Tattoo Part Deux

Current (forgive any distortion in the photo, it's a pain in the ass to take a picture of your own shoulder.)


Hey All,
   This past weekend I had a couple sessions with Terry Peek, the artist who's been working on my SD gundam piece, and he made the progress I was hoping for.  If you recall from my last post my shoulder was lookin a bit rough from the first bit of work, but now that it had healed up nice and he was back in town, we got to work on it and get the piece closer to what I want.  Now keep in mind that he is still going to do more work on it such as refilling the windows in the buildings, and doing touch ups on color fills and black, adding thicker lines here and there, but I must say I'm really happy with how this is turning out.  I still haven't decided if I want to thicken up the outer outline of the Char's Zaku II yet, but I will make up my mind before my next session.  Oh and I also got a new addition to the work, a cute lil Ball!
Ball!
 It's placed right under the crunched up car you see beneath the Char's Zaku II, and it looks all distorted because it's bending around my arm.  Now all of this looks a bit funky as my skin is puffy from the work, and the top photo is shiny from the aquaphor, but after some healing and a few more touch ups this piece will be golden.  Now I gotta start planning the next additions, and how to tie the background together!

Stay tuned mechaholics...


Monday, May 13, 2013

SD Gundam Tattoo

Hey All,
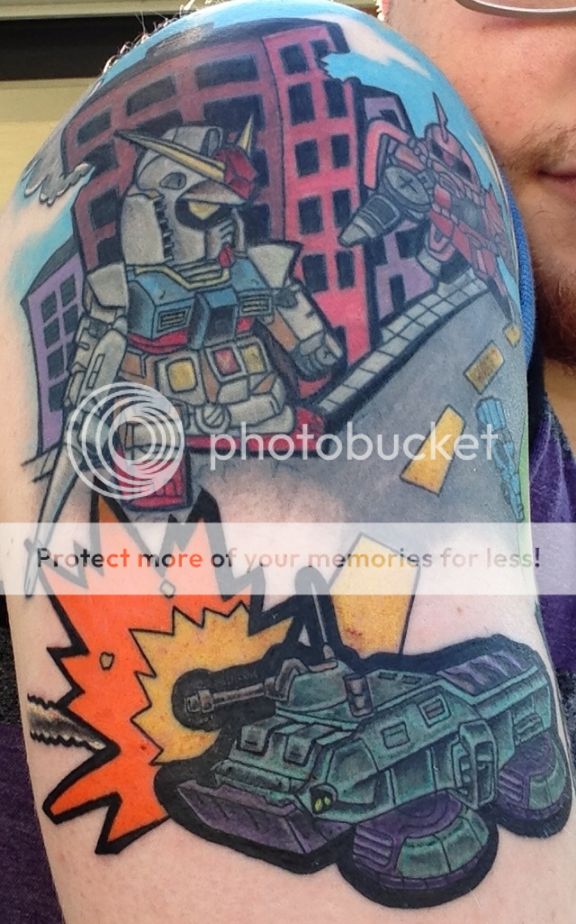
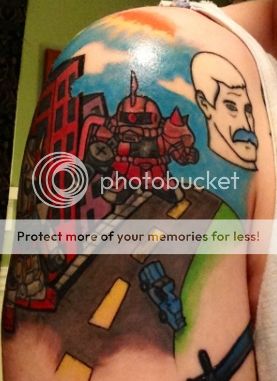
   Still don't have my workshop setup yet, but in the mean time I've gotten a sweet 1/4 sleeve tattoo started (and almost done) showing a SD RX-78-2 and a SD Char's Zaku II fighting in a cartoony city.

Current
The outlines will be done next session.

A tattoo artist name Terry Peek has been working on it for me.  He lives

Wednesday, May 1, 2013

Papercraft Metal Gear Rex.....P.S. I'm not dead!

Hey All,
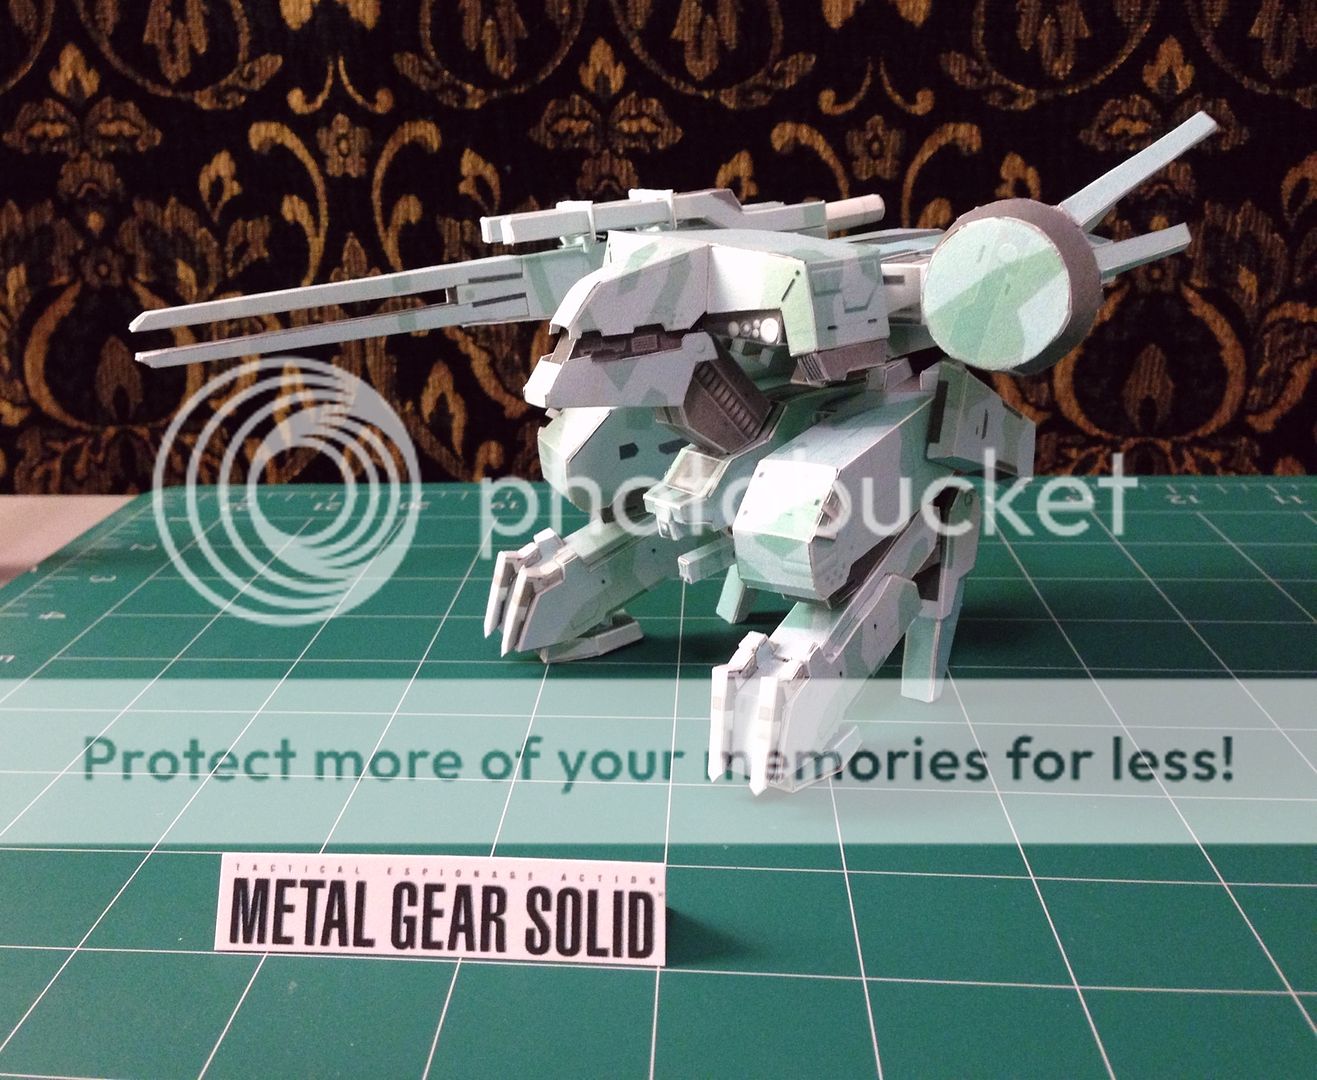
    I'm not dead, I just haven't had a chance to unpack all my modeling stuffs yet.  And yes for any of you that want it I will still make a tutorial on scratch building once I get my stuff all set up and I've practiced a bit again.  I'm just waiting on some of my close family to come visit and get settled before I get all my workshop stuff set up.  In the mean time I started doing a little fun project to get my hands readjusted to my blades and to get me in the modeling spirit; a papercraft version of the Metal Gear Rex!

  It took me a few days to do this and I must say for my first complicated piece of paper cutting I am pretty pleased.  I think I may do a few more papercraft projects soon such as Vaan from final fantasy XII, and if I feel brave maybe a papercraft Deep Striker.  Although that may kill me.  haha.  Or my printer toner.  I used 110 lb. card stock for the paper, white "elmer's" glue, and a couple Xacto blades.  It took about 6 sheets of paper for the parts, and 1 for the instructions.  It also had the experimental mech on the sheets but I dunno if I'll finish that one or not.  I think this was intended to be larger but when we printed it out we shrunk the pages down some, which added to the challenge of cutting insanely small parts.  Well I hope my fellow nerds like it!  I know a certain Sneeper who's a fellow Rex enthusiast.  Hopefully I can update you guys on my LG in the next month! More pics:


Stay tuned mechaholics...


Saturday, October 27, 2012

Decal Design

Hey all,
   I think I have the close to finalized versions of what the decal are going to look like.  This is just for the large trace line decals that I drew up in this outline sketch:

I did add some angles and variations to them as the ones in the sketch were just for a rough idea.  This of course doesn't include all the little various warnings and small text decals, it's just for those unique to this kit.  Here is the sheet, the layout of the decals may change to suit a more efficient use of page space, but you'll get the idea.

With the Part Outlines
Without the Part Outlines or Path Strokes
I'm going to work with

Saturday, October 20, 2012

Sneeper's Badass 1/48 Nu

Hey All,
   Today's post is on Sneeper1980's badass G-System Evolve Nu Gundam.  We've been waiting for him to finish this bad boy for a while now, (I think over a year) but it was worth the wait.  It looks excellent!  Here before I go any further lets see what it looks like, then discussion.  (with myself hehe.)

First off let's cover his surface smoothness.  The texture is flawless, and I'm not sure but I don't think most resin kits come that way either from pour sprues to any debris in the molds.  (Although from what I hear G-System does an exceptional job)  This means Sneeper was sanding and puttying for months to get this kit looking flawless enough to paint.  A+ on that mate.

Next is the paint and topcoat.  Gorgeous.  Now typically I favor shaded and weathered kits when given the choice, but I have to say I couldn't love this kit any more than I do now.  I don't think shading or weathering would have made this kit look better, and I think his paint job is absolutely perfect.  (Again painting is not my strong suit were I to have one, but I love this work.)  The flat coat on top is just right as well and there is no trace of silvering or hazing.  He did his homework, and took his time.


Next is the decals, decal film opacity, placement, and panel lining.  Again,
this work is top notch.  The decals are straight, well placed, and there is no silvering whatsoever.  I can't imagine how long this must've taken.  The panel lines are all solid and contiguous, which is super hard to do perfectly IMO.  (But again I'm dumb with paint so grain of salt and all that.)  It brings out every little detail of this beautiful kit and makes Sneeper's kit a shelf topping showpiece.

Overall I can't find any flaws in his execution at all.  And I can be a critical dood when I want to be.  I'm trying to pick it apart and I can't, which is why this kit gets a spot in my Wall of Awesome Stuff.

If you want to see the mechalounge forum post for this kit you can check it out here.

If you wanna check out Sneeper1980's youtube channel you can find it here.

If you like the work I suggest you go ahead and let him know you appreciate how great this work is, and as always feel free to join the forum at www.mechalounge.com.  It's where I post my work now and we welcome any and all to join us in the community.  At mechalounge we are all trying to focus on the fun and community aspect of our building, and I enjoy the people there a lot.  Again, great job Sneeper, this looks badass brother, I look forward to your next work!

Stay tuned mechaholics...

10/19/12 Update and Crowned King Sketch Concept

Hey all,
  Just dropping a little update photo of the parts we've made so far.  I had a problem with another mold having some rubber get ripped out, and it's on a crucial part, so I have to remake a few molds.  It's cool cuz I can do this simultaneously with other things so it's not too much of a drag.  Here is my photo update:


I've also been toying with what the Crowned King parts would look like.  I came up with this:

I may actually not make the crowned king parts part of the kit unless somebody asks for them, although I will make the molds just in case.  I thought about remaking a gun barrel part too to make a slightly longer range buster cannon for the Crowned King parts, which I may do eventually.  Right now I'm probably gonna focus on getting the original kit done.  Well I gotta go and do some sleepy stuffs. 

Stay tuned mechaholics...

Tuesday, October 16, 2012

10/17/12 Lanzegeist Casting Update

Hey All,
  Just a quick update tonight showing the parts we have poured so far!


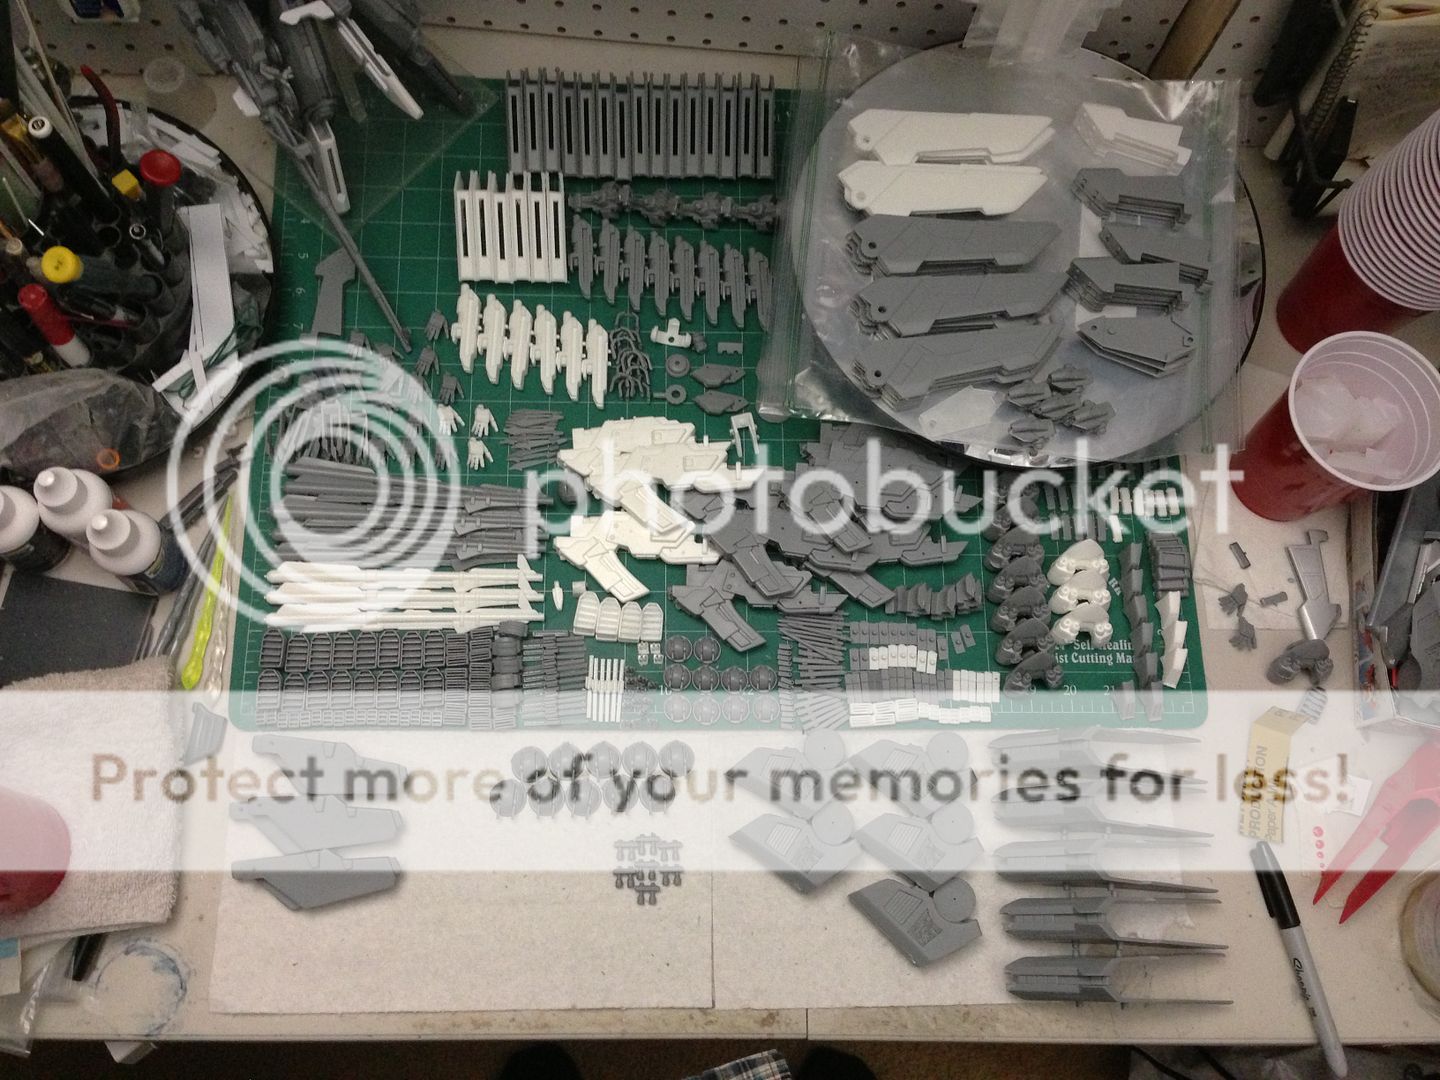
I'm gonna need another table to cover with parts!  (And then three more haha.)  I'll probably start on the instruction manual soon.  (Although I need my Wife's big smarty brain to help me figure out the layout haha.)  There are so many parts (yeah I know not compared to most kits haha), about 155+ not including screws and nuts and such.  Just keeping you guys updated on the progress, don't want ya thinking I'm just bummin about.  Wifey and I are working on the castings twice a night and her help is invaluable and allows us to make great parts stress free, and much faster.  I hope you all are as excited about this as I am!

On a side note I will be putting together a SB Tutorial soon when I have a good day to do so, just going over some basics and the tools you need to do them for any aspiring scratch builders or mecha sculptors that may want some help.  (I'm not qualifying myself as expert, advanced, or super skilled, but simply answering a request made by a bunch of cool people asking for a tutorial.)

Stay tuned mechaholics...

Friday, October 12, 2012

Crowned King ..uh...Crown Update!

Hey All,
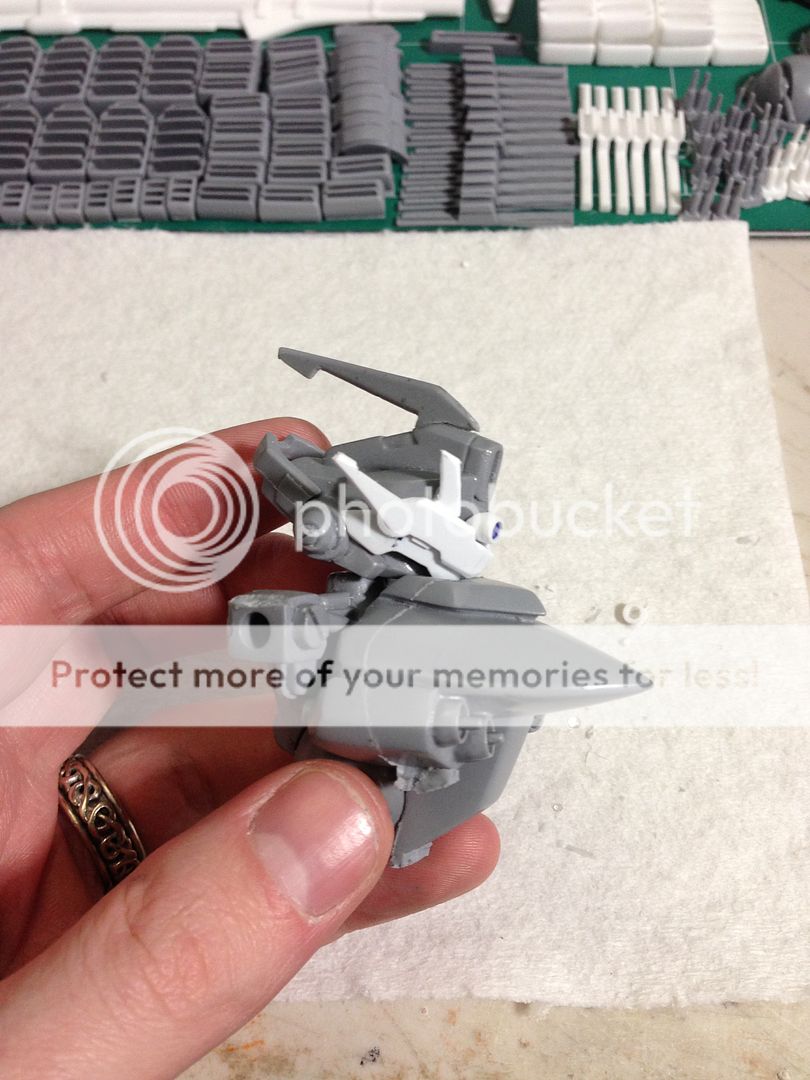
   As the wife and I are pluggin along at making casts  I decided to fiddle with the head crest a bit more tonight.  And although I wasn't gonna add anymore prongs to it (Gary had said it looked to have enough in that department and I kinda agreed) I did it anyway cuz after the shape being cut down a hair I thought there was too much empty space above the crest.  I also added a long range targeting camera which will have one of my new clear lenses in it.  The crest is gonna be cast in at least four or five pieces so I can even cast it, and hopefully then it will work.  I may add a little more detail and shave down some more, maybe not.  Either way though here is what I did tonight.  Again these parts are just fun optional parts and won't affect the kits if you guys don't wanna put the parts on, they are just extra.  (Except for the crotch/tailfin heavy armor sleeve for the white kits)

I like the new targeting camera a lot.
I added the extra normal camera/eyes also as per my little sketch plan.
I thought it would be cool to have a face within a face.
Forgive the pouring sprues still being attached, I just grabbed a couple of fresh casts for the chest parts.
I'll have a better idea of if this stuff looks cool once it's cast.  Right now the mottling of color throws it off.