Showing posts with label plastic. Show all posts

Saturday, October 20, 2012

Sneeper's Badass 1/48 Nu

Hey All,
   Today's post is on Sneeper1980's badass G-System Evolve Nu Gundam.  We've been waiting for him to finish this bad boy for a while now, (I think over a year) but it was worth the wait.  It looks excellent!  Here before I go any further lets see what it looks like, then discussion.  (with myself hehe.)

First off let's cover his surface smoothness.  The texture is flawless, and I'm not sure but I don't think most resin kits come that way either from pour sprues to any debris in the molds.  (Although from what I hear G-System does an exceptional job)  This means Sneeper was sanding and puttying for months to get this kit looking flawless enough to paint.  A+ on that mate.

Next is the paint and topcoat.  Gorgeous.  Now typically I favor shaded and weathered kits when given the choice, but I have to say I couldn't love this kit any more than I do now.  I don't think shading or weathering would have made this kit look better, and I think his paint job is absolutely perfect.  (Again painting is not my strong suit were I to have one, but I love this work.)  The flat coat on top is just right as well and there is no trace of silvering or hazing.  He did his homework, and took his time.


Next is the decals, decal film opacity, placement, and panel lining.  Again,
this work is top notch.  The decals are straight, well placed, and there is no silvering whatsoever.  I can't imagine how long this must've taken.  The panel lines are all solid and contiguous, which is super hard to do perfectly IMO.  (But again I'm dumb with paint so grain of salt and all that.)  It brings out every little detail of this beautiful kit and makes Sneeper's kit a shelf topping showpiece.

Overall I can't find any flaws in his execution at all.  And I can be a critical dood when I want to be.  I'm trying to pick it apart and I can't, which is why this kit gets a spot in my Wall of Awesome Stuff.

If you want to see the mechalounge forum post for this kit you can check it out here.

If you wanna check out Sneeper1980's youtube channel you can find it here.

If you like the work I suggest you go ahead and let him know you appreciate how great this work is, and as always feel free to join the forum at www.mechalounge.com.  It's where I post my work now and we welcome any and all to join us in the community.  At mechalounge we are all trying to focus on the fun and community aspect of our building, and I enjoy the people there a lot.  Again, great job Sneeper, this looks badass brother, I look forward to your next work!

Stay tuned mechaholics...

Tuesday, October 16, 2012

10/17/12 Lanzegeist Casting Update

Hey All,
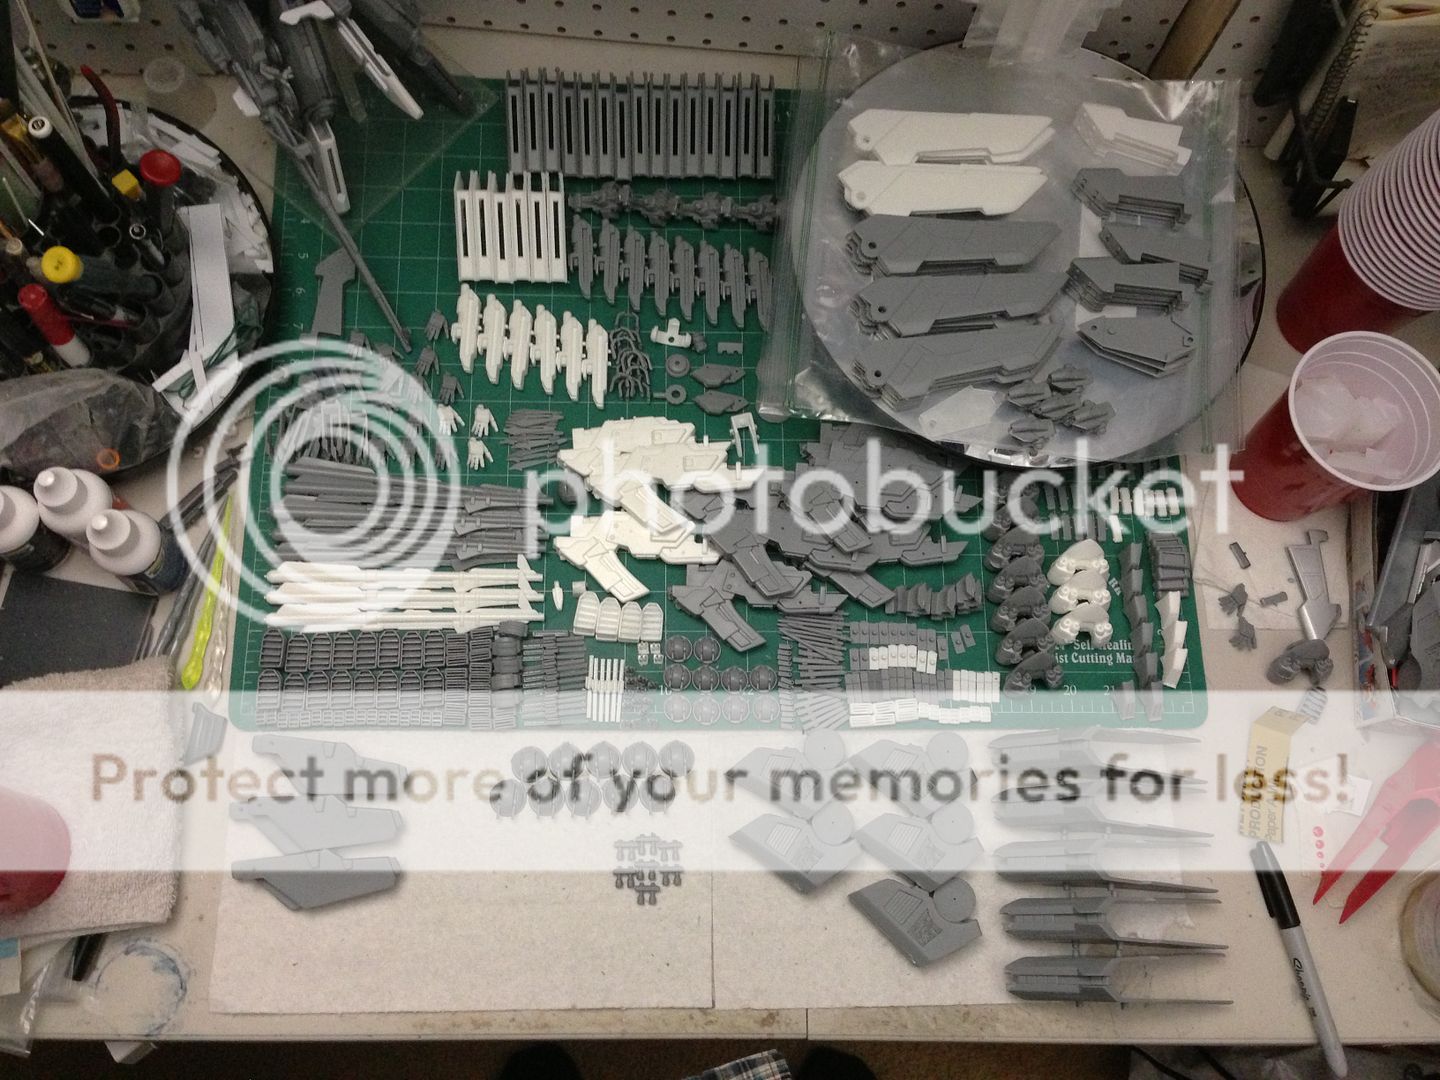
  Just a quick update tonight showing the parts we have poured so far!


I'm gonna need another table to cover with parts!  (And then three more haha.)  I'll probably start on the instruction manual soon.  (Although I need my Wife's big smarty brain to help me figure out the layout haha.)  There are so many parts (yeah I know not compared to most kits haha), about 155+ not including screws and nuts and such.  Just keeping you guys updated on the progress, don't want ya thinking I'm just bummin about.  Wifey and I are working on the castings twice a night and her help is invaluable and allows us to make great parts stress free, and much faster.  I hope you all are as excited about this as I am!

On a side note I will be putting together a SB Tutorial soon when I have a good day to do so, just going over some basics and the tools you need to do them for any aspiring scratch builders or mecha sculptors that may want some help.  (I'm not qualifying myself as expert, advanced, or super skilled, but simply answering a request made by a bunch of cool people asking for a tutorial.)

Stay tuned mechaholics...

Friday, October 12, 2012

Crowned King ..uh...Crown Update!

Hey All,
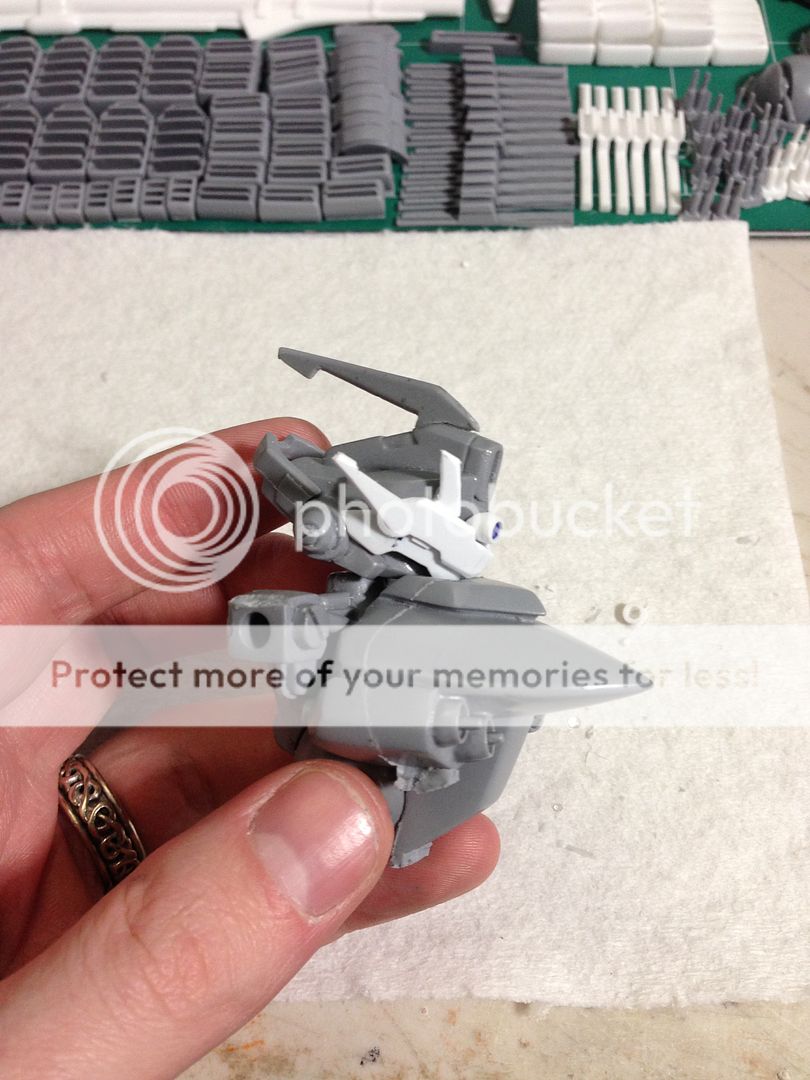
   As the wife and I are pluggin along at making casts  I decided to fiddle with the head crest a bit more tonight.  And although I wasn't gonna add anymore prongs to it (Gary had said it looked to have enough in that department and I kinda agreed) I did it anyway cuz after the shape being cut down a hair I thought there was too much empty space above the crest.  I also added a long range targeting camera which will have one of my new clear lenses in it.  The crest is gonna be cast in at least four or five pieces so I can even cast it, and hopefully then it will work.  I may add a little more detail and shave down some more, maybe not.  Either way though here is what I did tonight.  Again these parts are just fun optional parts and won't affect the kits if you guys don't wanna put the parts on, they are just extra.  (Except for the crotch/tailfin heavy armor sleeve for the white kits)

I like the new targeting camera a lot.
I added the extra normal camera/eyes also as per my little sketch plan.
I thought it would be cool to have a face within a face.
Forgive the pouring sprues still being attached, I just grabbed a couple of fresh casts for the chest parts.
I'll have a better idea of if this stuff looks cool once it's cast.  Right now the mottling of color throws it off.

Wednesday, September 26, 2012

DIY Clear Tinted Detail Lenses

Hey All,
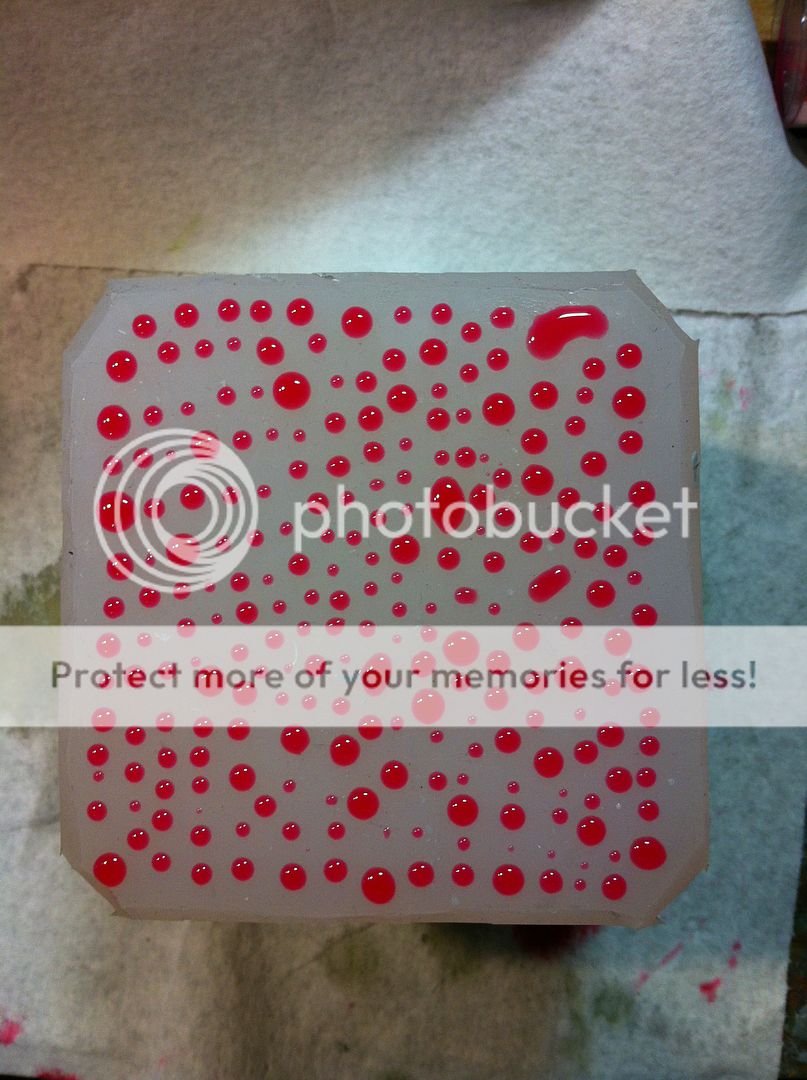
   I just had a kewl experience yesterday with an experiment I did.  I had poured a bunch of clear apoxy resin for my clear parts I'm casting for the kits I'm gonna sell, and I had a bunch of extra clear apoxy left over.  Let me start off by saying I hate wasting materials when I don't have to.  So with that in mind I had to find something to use the material for, and I found it.  Clear lenses!  Now these don't look clear because I tinted them with two drops of red pigment and some yellow, pink, and red fluorescent pigment for a little brightness, but if I hadn't they would be totally clear.

So what I did was just dab a bamboo skewer flat head down into the liquid and then onto the smooth silicone until it beaded up the natural way liquids do.  Some didn't turn out circular enough, but the greater majority of them are round and usable once they cure all the way.
Just showing off the various sizes that were created.


This is in actuality less liquid than in a couple thimbles believe it or not.

The awesome thing is I barely used enough apoxy resin to fill a couple thimbles.  I can make TONS of detail lenses in clear resin now and I can color cast them in any color pretty much.  I'm gonna try neon green next I think or maybe I'll do a bunch of different colors.  It's a possibility that I may gather up some variety packs of the lenses in various sizes and colors and sell a few if folks want them.  (They are incredibly useful and pretty I think.)  Now let me show off what they look like on some otherwise kinda crappy items.


Before adding lens onto this Gundam Fix Figuration FAZZ.
After adding lens onto the FAZZ.