Showing posts with label model. Show all posts

Thursday, April 10, 2014

Shiny Metagross Sculpture Diorama

Hey all,
   This project was first and foremost a birthday present for my brother.  I asked him what his favorite pokemon was (we're into pokemon, he's much better at it than me though) and he answered me Metagross.  Then without him knowing exactly why I was asking I started sculpting a large sized model of a metagross that I could cast and paint up for him.  This is the final product after the master sculpt (the master sculpt is the sculpted model I made by hand and the one I used to cast, I'm not calling myself a master), the casting, the painting, and the same for the model desert base.  (also resin plastic original sculpt by me.)


This is one of the images I used for my reference (not my drawing, just used for reference):
 

Now to explain how I made it.

Friday, September 27, 2013

LG Internal Frame Painted

Hey All!
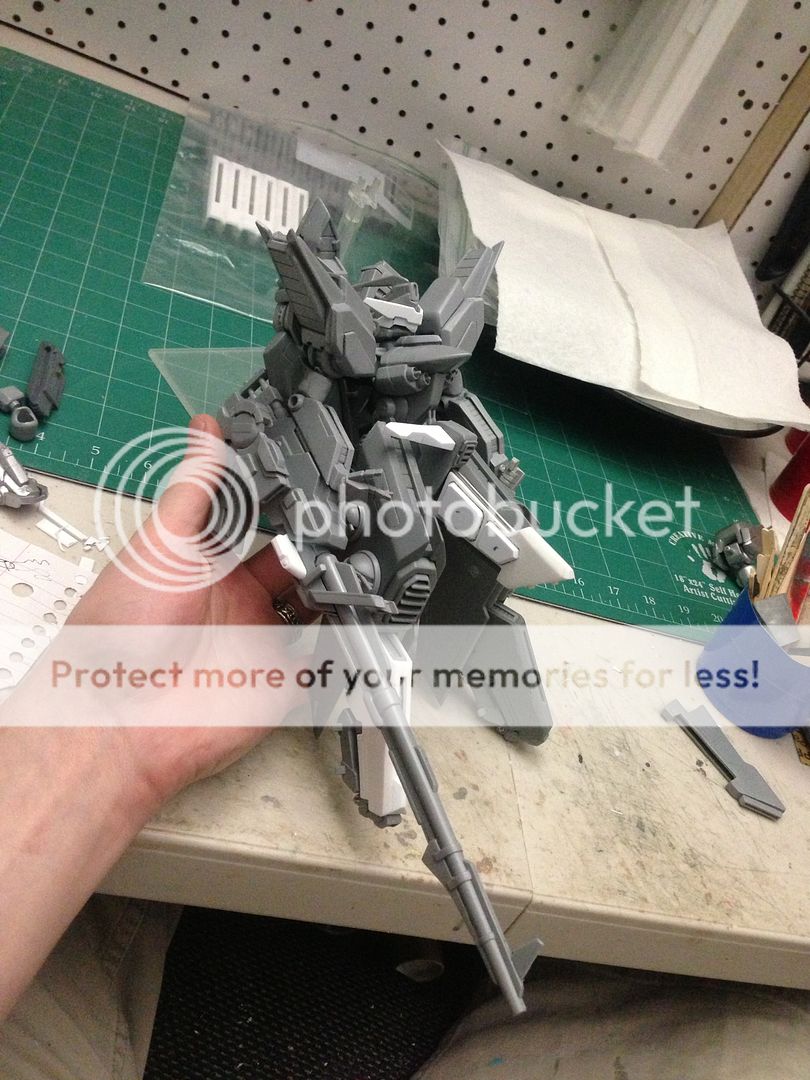
   Today I finished the last of the internal frame parts.  So I thought to take some quick photos and share it with you!

The internals are finished, and I used a few decals here and there to add a hair of detail, but

Saturday, October 27, 2012

Decal Design

Hey all,
   I think I have the close to finalized versions of what the decal are going to look like.  This is just for the large trace line decals that I drew up in this outline sketch:

I did add some angles and variations to them as the ones in the sketch were just for a rough idea.  This of course doesn't include all the little various warnings and small text decals, it's just for those unique to this kit.  Here is the sheet, the layout of the decals may change to suit a more efficient use of page space, but you'll get the idea.

With the Part Outlines
Without the Part Outlines or Path Strokes
I'm going to work with

Saturday, October 20, 2012

Sneeper's Badass 1/48 Nu

Hey All,
   Today's post is on Sneeper1980's badass G-System Evolve Nu Gundam.  We've been waiting for him to finish this bad boy for a while now, (I think over a year) but it was worth the wait.  It looks excellent!  Here before I go any further lets see what it looks like, then discussion.  (with myself hehe.)

First off let's cover his surface smoothness.  The texture is flawless, and I'm not sure but I don't think most resin kits come that way either from pour sprues to any debris in the molds.  (Although from what I hear G-System does an exceptional job)  This means Sneeper was sanding and puttying for months to get this kit looking flawless enough to paint.  A+ on that mate.

Next is the paint and topcoat.  Gorgeous.  Now typically I favor shaded and weathered kits when given the choice, but I have to say I couldn't love this kit any more than I do now.  I don't think shading or weathering would have made this kit look better, and I think his paint job is absolutely perfect.  (Again painting is not my strong suit were I to have one, but I love this work.)  The flat coat on top is just right as well and there is no trace of silvering or hazing.  He did his homework, and took his time.


Next is the decals, decal film opacity, placement, and panel lining.  Again,
this work is top notch.  The decals are straight, well placed, and there is no silvering whatsoever.  I can't imagine how long this must've taken.  The panel lines are all solid and contiguous, which is super hard to do perfectly IMO.  (But again I'm dumb with paint so grain of salt and all that.)  It brings out every little detail of this beautiful kit and makes Sneeper's kit a shelf topping showpiece.

Overall I can't find any flaws in his execution at all.  And I can be a critical dood when I want to be.  I'm trying to pick it apart and I can't, which is why this kit gets a spot in my Wall of Awesome Stuff.

If you want to see the mechalounge forum post for this kit you can check it out here.

If you wanna check out Sneeper1980's youtube channel you can find it here.

If you like the work I suggest you go ahead and let him know you appreciate how great this work is, and as always feel free to join the forum at www.mechalounge.com.  It's where I post my work now and we welcome any and all to join us in the community.  At mechalounge we are all trying to focus on the fun and community aspect of our building, and I enjoy the people there a lot.  Again, great job Sneeper, this looks badass brother, I look forward to your next work!

Stay tuned mechaholics...

Tuesday, October 16, 2012

10/17/12 Lanzegeist Casting Update

Hey All,
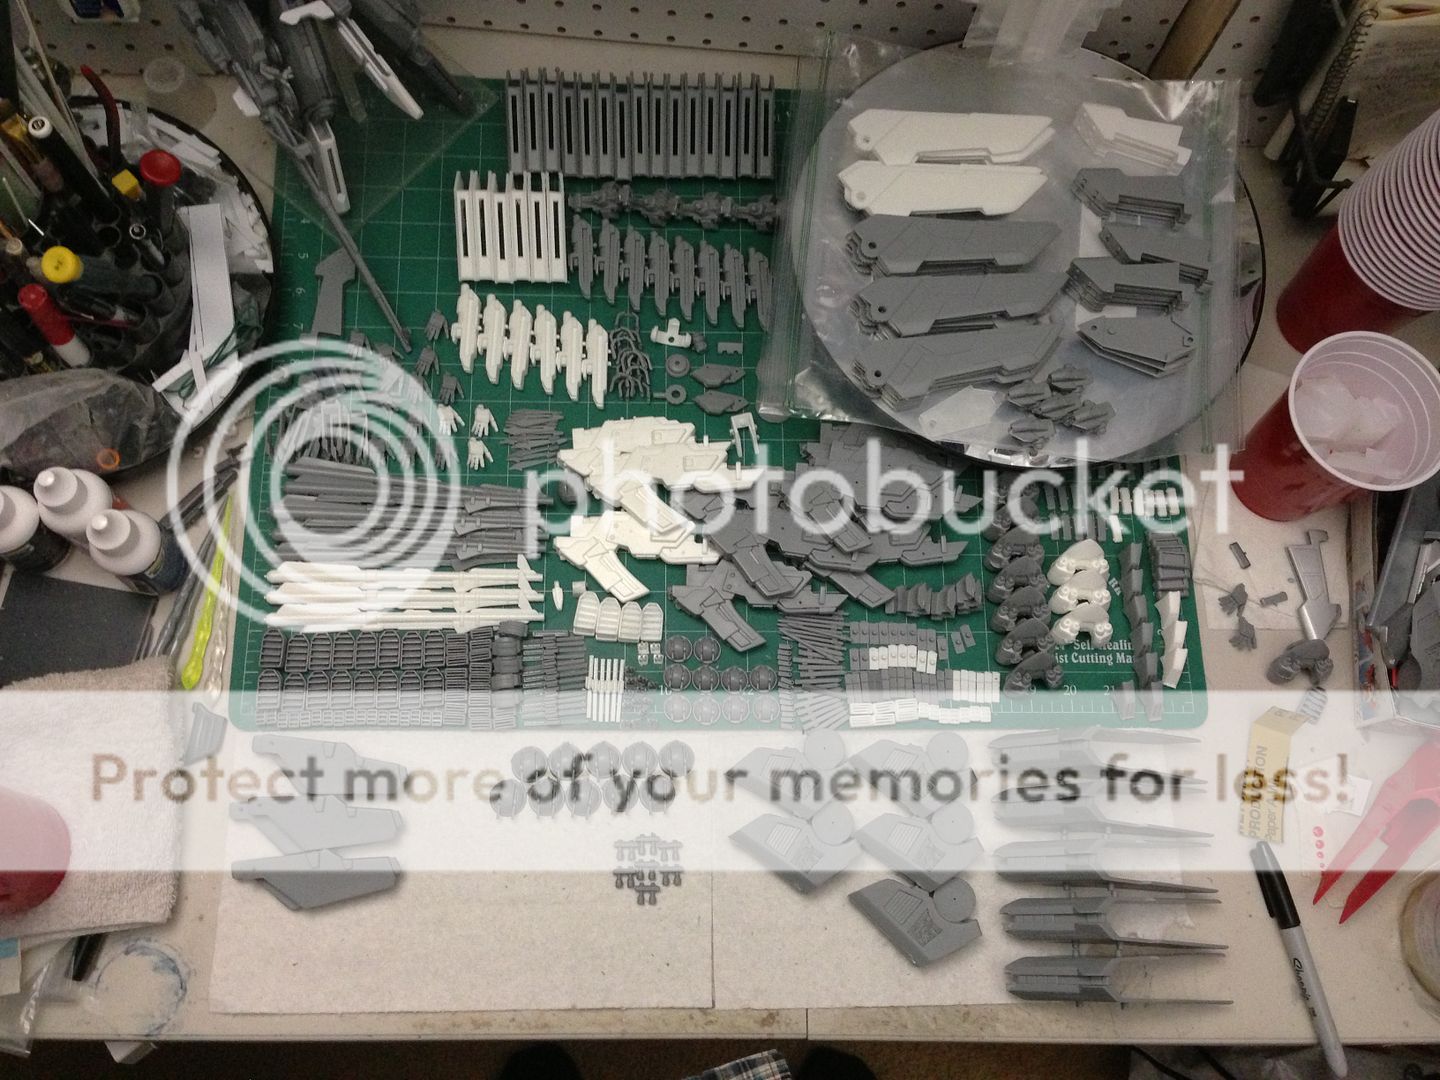
  Just a quick update tonight showing the parts we have poured so far!


I'm gonna need another table to cover with parts!  (And then three more haha.)  I'll probably start on the instruction manual soon.  (Although I need my Wife's big smarty brain to help me figure out the layout haha.)  There are so many parts (yeah I know not compared to most kits haha), about 155+ not including screws and nuts and such.  Just keeping you guys updated on the progress, don't want ya thinking I'm just bummin about.  Wifey and I are working on the castings twice a night and her help is invaluable and allows us to make great parts stress free, and much faster.  I hope you all are as excited about this as I am!

On a side note I will be putting together a SB Tutorial soon when I have a good day to do so, just going over some basics and the tools you need to do them for any aspiring scratch builders or mecha sculptors that may want some help.  (I'm not qualifying myself as expert, advanced, or super skilled, but simply answering a request made by a bunch of cool people asking for a tutorial.)

Stay tuned mechaholics...

Thursday, October 11, 2012

LG Crowned King Armor pack and Casting Update

Hey all,
   I recently had an issue with one of the molds where a piece of the mold rubber just broke off.  The part was the crotch/tailfin armor and that mold was a pain to make.  So I had a little soul searching to do to decide how to proceed.  I basically just decided to remake the mold as it was, and the molds for a few other parts where the mold was getting worn out for some reason or another.  This is what I spent the last weekend doing with wifey between other things.  The problem came in on Monday night when I went to separate the molds.  They had sealed together.  It turns out that I had used Mann Ease release 300 mold release instead of 200, and the silicone had basically just cured to itself right through the release, since the 300 isn't made for releasing rubber from rubber.  After I had a major rage spell, I tried to cut the parts out of the molds.  I ended up snapping the prototype for the crotch armor altogether.  I really only needed to still make the casts for the white versions of the kit with this mold, but still now no mold, no parts.  Well I came up with a solution that I liked so I went with it.  The Crowned King Armor pack.  The deal is that the white casts of the kit are going to come with a few extra add ons that have a little bit heavier armor than the gray casts.  This solution allowed me to make a new crotch armor piece with a little bit thicker plating for the armor, and to make a few new neat extra parts that will basically just be a neat difference between the gray and white casts.  Here are the basics parts of the Armor Pack.

-New optional head crest
-New optional bicep armor
-New optional front skirt armor
-New optional Hulkatr Cannon weight block
-New optional lower leg armor
-for the white kits a mandatory different heavy armor tailfin cover

Also here is my casting update photo keeping in mind that I'm two and a half weekend (more casting on weekend days) days behind schedule:


Friday, October 5, 2012

Lanzegeist Casting Update!

Hey all,
   I just wanted to do an update showing my progress with the kit casting.  Here is a photo of the parts that the wife and I have poured so far.

What we are doing is basically pouring the entire quantity that we need for each part to make 10 kits, and then moving on to the next set of parts.  It seems to be the most efficient way.  Like I said I am going to be casting 10 copies of the kit before we move, and so far I have to say 8 of them are reserved.  If you have let me know that you want one I appreciate it, but you may want to do so again so I know for sure.  If the number of kits requested is above 10 I may make a few exceptions up to maybe 12-14, but no promises as I do have time constraints and such.  So again if you want a kit cast, make sure to either comment below or better yet email me at onecoldnight@yahoo.com and use the subject header "lanzegeist kit".  That way I'll know to add you to my list and make sure yours is reserved.

Here is a video update showing basically what you see above, but with the moving pictures of a cinematograph!


Video link in case video is not embedded correctly:  Lanzegeist Casting Update Video!


Tuesday, October 2, 2012

Good news and bad news

Hey all,
    I guess the blog title sounds a bit more ominous than it really is, but it's been a day of mixed things.  I had planned to print out the drekky instruction manual and finish up the packing for sending out, but that was before our male ferret started having seizures and had to be put down.  It's been a rough year for relatives passing away.  Le sigh.  And the not necessarily comparable but still downer problem I was having with a particular mold today just compounded my already kinda crappy day.  (I have a particular mold where the surface of the mold keeps getting a weird matte surface quality to a part that is usually pretty glossy, the parts are still good but it just makes it look like there is a surface quality flaw and I don't know why it's happening.)  So today I just haven't really felt much in the mood to do anything productive. 

  I did, however decide that it would be a good day to maybe start rounding up the cured lenses and toy with them for a few minutes.

I'm pleased that a good portion of the lenses came out wonderful.  Some were oddly shaped or distorted and gotta be tossed out, but most were good.

I took one of my old kits that I modified a little bit when I was first learning to model (an old crappish kampfer mod I did) and cemented on a little bit oversized pink lens.  I used pink as in the animations usually the mono eyed mobile suits have pink eyes when the suit is on.  I used a slightly oversized eye because it catches the light a little better and shows off the clarity.  The smaller better sized version is harder to photograph well, but I do have plenty of those too.  I think I'm gonna use these for my SMS Kampfer conversion kit I'm gonna build soon.  Anyhow here are some eye lens photos.

DISCLAIMER: The work and paint on this kampfer head is old and I just grabbed it to test out the mono eye lens, it's not my current work.  

Saturday, September 29, 2012

These took four hours, but they're pretty!

Hey all,
   I decided to go ahead and make a small mountain of mono eyes, lenses, and random round things tonight.  Not that I just had tons of extra time, but I couldn't wait to test the colors and get some small lenses cured.  I made sure to make tons of the pink ones for zeon mono eyes for any future builds like that sms kampfer conversion I got a little while ago.  I also have a neat idea for the clear lenses that I haven't seen done before that I plan to share soon once I make a test version.  (possible detail up add on part kit accessory)  But anyway here is my bunch of curing colored clear apoxy resin.

I mixed up the clear apoxy resin and since it has a 5 hour pot life (really more like 3.5 with the conditions in this room) I had plenty of time to color tint the various little pallets of apoxy.  I carefully used a bamboo skewer and dabbed it into the liquid and let gravity do the rest when I dabbed it again onto a smooth mold top.  I use the tops of various molds because they are smooth number one, and two because the apoxy won't cure to it.  Now there are some oblong shapes and circles that merged or were made mishapen, but no worries as if even half of them are good its a crapload of good lenses of various sizes and colors, and this in reality only took 65 grams of apoxy.  Yeah and I had a ton leftover because I'm stupid and always mix too much.  hehe.  So it would require even less than I used by half.  But you do need a certain amount of material just to make sure your mix ratio has a little play.

Thursday, September 27, 2012

Neon Clear Casting!

Hey All,
    The neon yellow clear beam saber blade finally cured enough to demold and I wanted to show it off. 

I gotta say I like the coloring.  I think it will look sweeter once it's dunked in future floor polish.  I'm gonna try out a pink one next I think. 

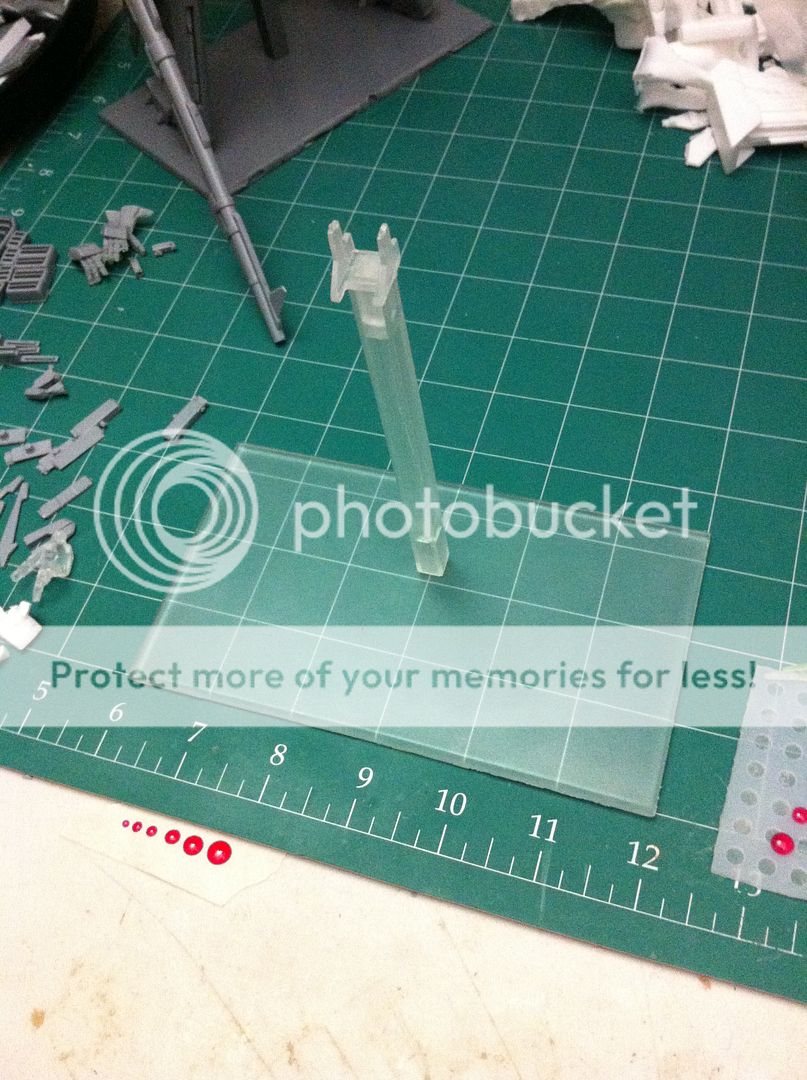
The clear stand was cured enough to demold too.  I gotta say I really like it!

It still needs a little bit more cure time to harden all the way as this clear stuff takes FOEVAH!  But it will add to the kit presentation a lot and I think I really may use these for the sellable kits.  I am going to try to have an update on the different color casts of the clear lens parts next.  I may pour those tomorrow night in a variety of colors and sizes.  I also have a friend who is starting up working with aluminum so we all may have the capability of designing and making our own custom aluminum parts soon!  But I'll fill you all in as that happens.  He's working on making the LG thruster vents in aluminum right now, but I'll fill you all in as that happens.

Stay tuned mechaholics...

Friday, September 14, 2012

Video Update!

Hey all,
   I just made a video update showing off various parts of the LG.  Feel free to share this with your friends!  It shows off the humanoid mode, burn mode, and the inner frame some.


BTW I think I said the link to this blog incorrectly in the video.  haha it's my own blog and I don't know the address.  Derp.  :(

 Link in case of video issues: Click Here

Wednesday, September 12, 2012

1/100 Lanzegeist Fully Transformable Kit With Full Inner Frame

Hey All,
   I have been on the forums little and less the last 6 months, and for that I apologize.  However this was for a good reason, I was working on a project that I wanted to keep secret until I had the first cast completed.  That project is:


Specs:


model number: MASF-OAM-LG-001
magnus arms space fleet orbital assault machine lanzegeist
power generator: immersive fusion reactor
maximum power output: unknown
armor plating: thorexium carbide
pilot accomodation: 1 pilot extended occupancy cabin
with long term life support unit
thrust potential: theoretical top speed 18.2 km/s @ orbital alt.
thrust instrumentation: dual biaxial deflected afterburners
armaments: dual long range missile bays, "gotcha" grapple claw,
dual quad cluster bomb array, Hulkatr long range high density beam cannon
quad chest unidirectional beam condensors, two 360 degree light laser turrets,
two 360 degree medium laser turrets, two plasma beam swords,
optional magnetic deflector shield array self deploying
variable modes: high speed orbital fighter jet and humanoid fighter modes

Thursday, June 14, 2012

Drehksturm Box Art Completed! Decay is awesome.

Hey All,
   I'm not dead, in fact I've been incredibly busy working on my mecha projects lately.  I haven't posted them for a reason but I will fill you all in on them soon.  I do however have awesome news that most of you who read this (all four of you hehe) already know; Decay has finished the first cast of the Drehksturm!  Yay!!

I must say it looks amazing, the painting and weathering looks beautiful, and the decals that Decay and Kamm designed and printed are perfect.  I am totally proud to be a part of the making of this kit, even though I had nothing to do with the painting or the decals, which may just be the coolest part.  I have taken my two favorite photos of Decay's post on this, (which you can find here) and used them to make the top and bottom labels for the box art.  There will be a cool surprise relative to the box labels that I will share soon, but for now let us just bask in the glory that is the culmination of at least three modeler's hard work.  And yeah I know I'm totally feeling egotistical that I had a part in such a cool looking project.  My hat is off to Marc and Kamm as well.  Love you guys and great job.

BOX ART!!


Thanks to all of you guys who have shown an interest in getting one of the drehksturm conversion kits, (Russ) and know that I'm working on getting the instruction manual together now, and will be making the casts in the weeks to come.  It's finally warm enough to start up castin' again.  As Marc said in his post however, since this is my first kit casting it is not the most user friendly kit, and if you haven't worked with resin before I suggest you maybe hold off on getting one.  I'll make the instructions as complete and thorough as I can, but I didn't use any peg guides, which would have helped a bit in assembly.  Most of the part just snap on the inner frame quite well, but there are those that need to be glued that you will have to visually line up.  I'll go into more detail on that for any interested parties.  I'm only gonna maybe cast at most 8-10 of these, and probably only like 5 or so if there are interested people.  The price is gonna be about $55-60 just for the cost of the materials used, no profit for me.  I just want to see people making them.  You gotta pay your own shipping though.  I hope to see a couple of you guys try one of these out.

In a separate tangent I have a project that I've been working on for the last few months almost completed, and I can't wait to share it but I want it to be a surprise.  Needless to say it is something that I have put all of myself into, so hopefully it will show in the work.  I will hopefully be able to announce this really soon, maybe in a few weeks.

Stay tuned mechaholics...