|
| Size Comparison with MG Infinite Justice w/Beam Rifle |
 |
| Size Comparison with MG Infinite Justice |
Hey all,
I did an overhaul of the kit yesterday, just kind of changing the proportions again and also building some new stuff like the thrusters on the backpack. Here's a list of what I did:
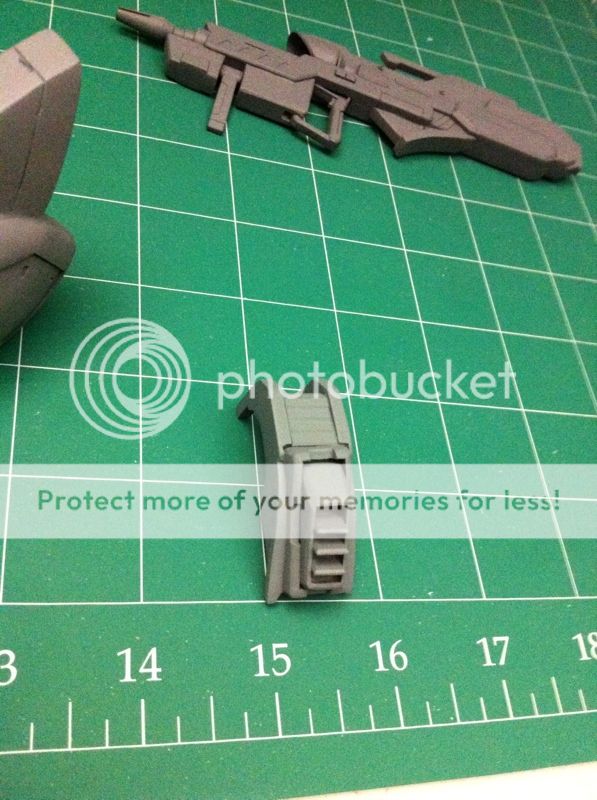
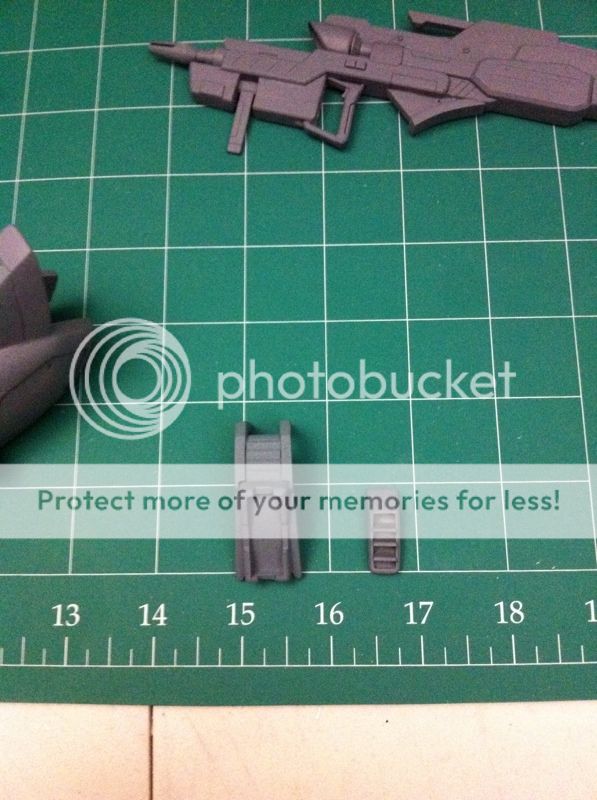
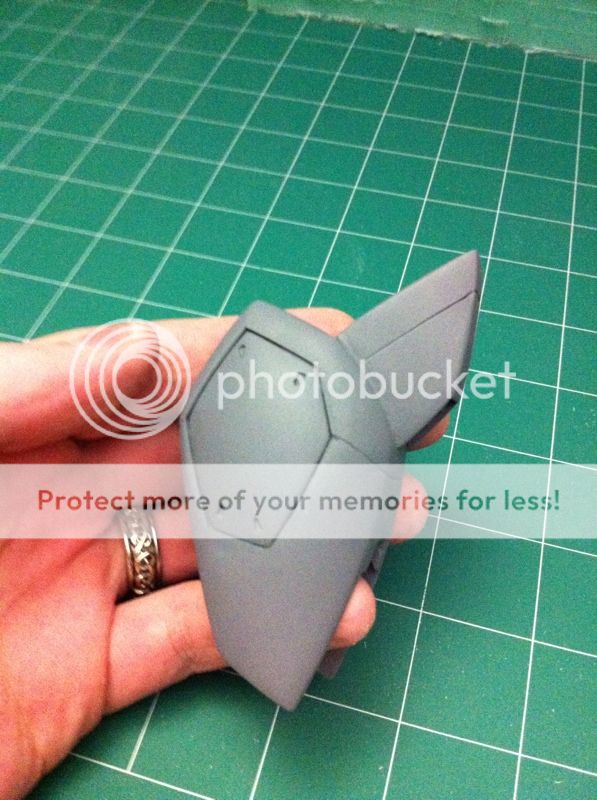
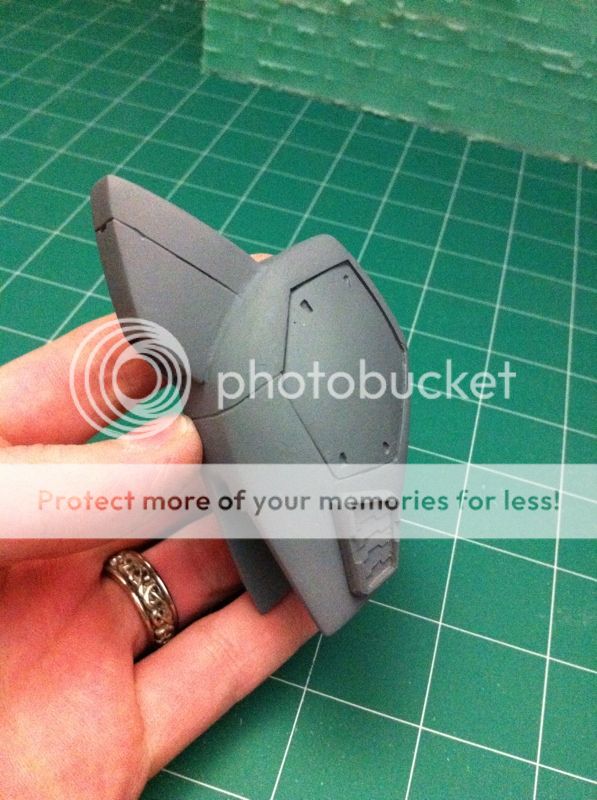
-made backpack thrusters basic shape and added thruster bell aluminum parts
-raised height of hip skirt housing
-shaved down front skirts to be a little shorter and angled the sides more
-added some to the crotch intake
-thickened the funnels on the rear skirt armor
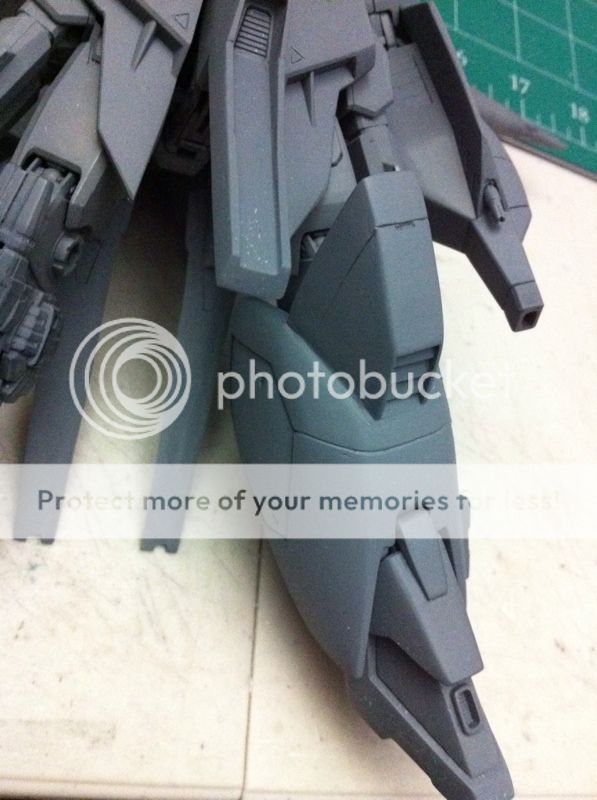
-thickened the upper leg armor
-made vent for outer leg armor
Now I didn't finish the backpack thrusters I just made the basic shape and added the thrusters, but I'm pretty happy with it so far. The thrusters were some metal detail parts I ordered from mechaskunk a ways back and I've been itching to use them, and it just so happened that I had the exact right amount in the exact right proportion. So yay! To be honest I may even cast them to use on some of my future fun builds. (No not for resale that would be wrong.) Plus resin is easier to paint than metal so there. hehe.


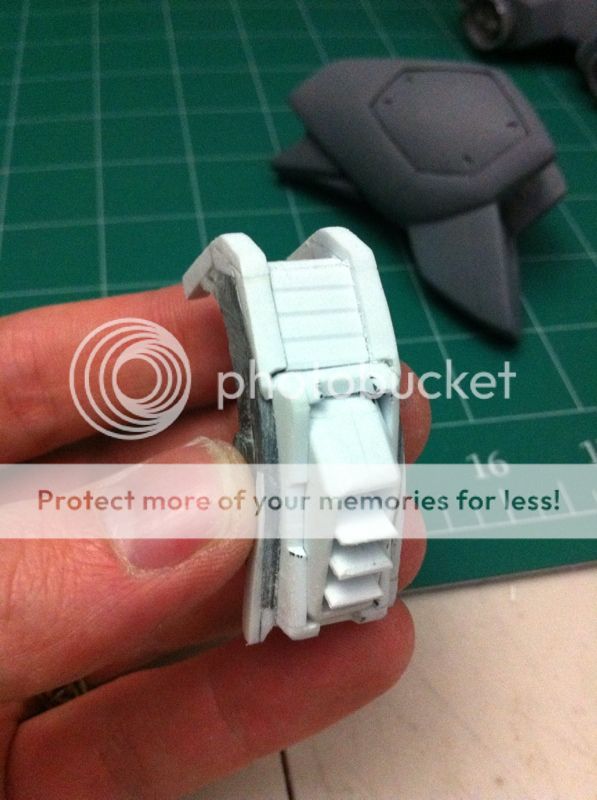
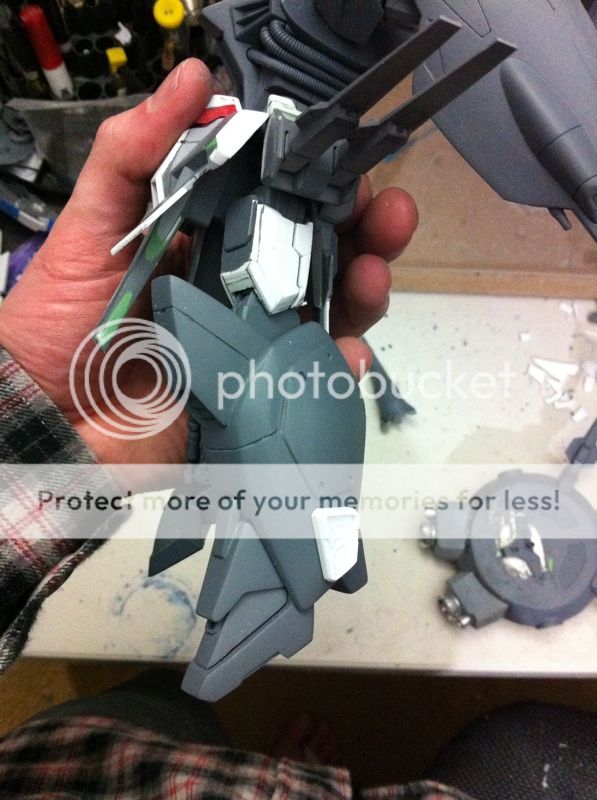
This is before I did any cleanup on the seams and such. The putty I use does make it a little bit heavier, but if I ever decide to cast my conversion kit it won't matter much. I'm trying to make the kit really close to the anime design, with a few kind of subtle changes that won't make it look like a different kit. The backpack being one of the notable features of the kit is crucial to look similar to the anime. That's why I haven't made any major changes to the design, I just scratch built a new larger backpack. I gotta say I'm really proud of how it's turning out so far. If you've ever tried sculpting a circle by hand it's difficult I think, so it makes the achievement that much greater. Here is what it looks like after priming attached to the chest and back:

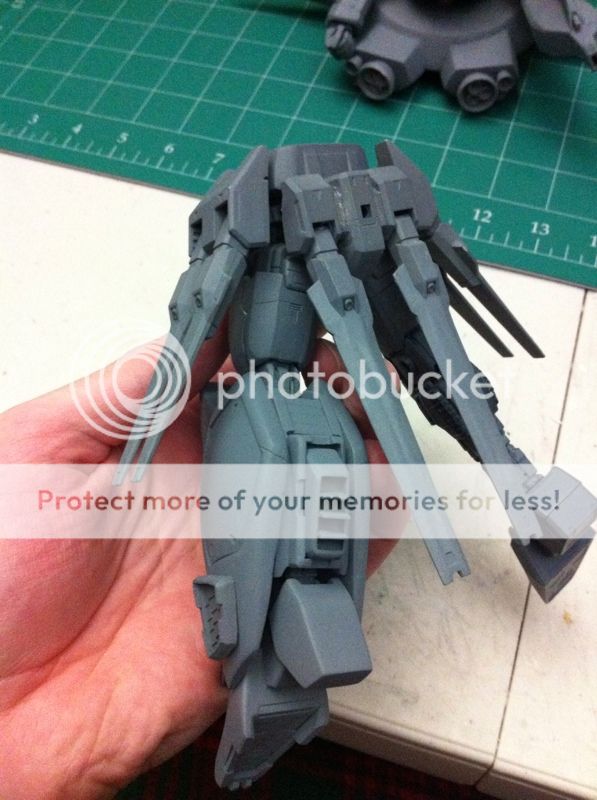
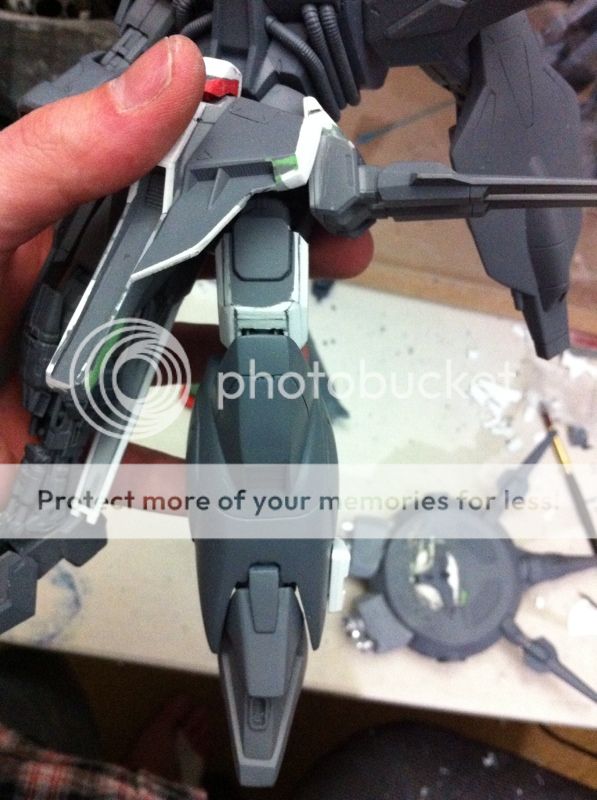
For the proportion overhaul I decided that the crotch intake needed some depth so I added to the frame of it, I shortened the front skirts and changed their shape some to reveal more of the upper leg and I shaved in their sides some. I raised the height of the side skirts to come above the front skirts some as well. The funnels on the rear skirt armor were widened a bit and I added a little shape to them. They just seemed to need it. I also thickened the upper leg armor to be more proportionate to the lower leg armor. The front and back pieces were both thickened. I also made a vent for the leg as the design requires.
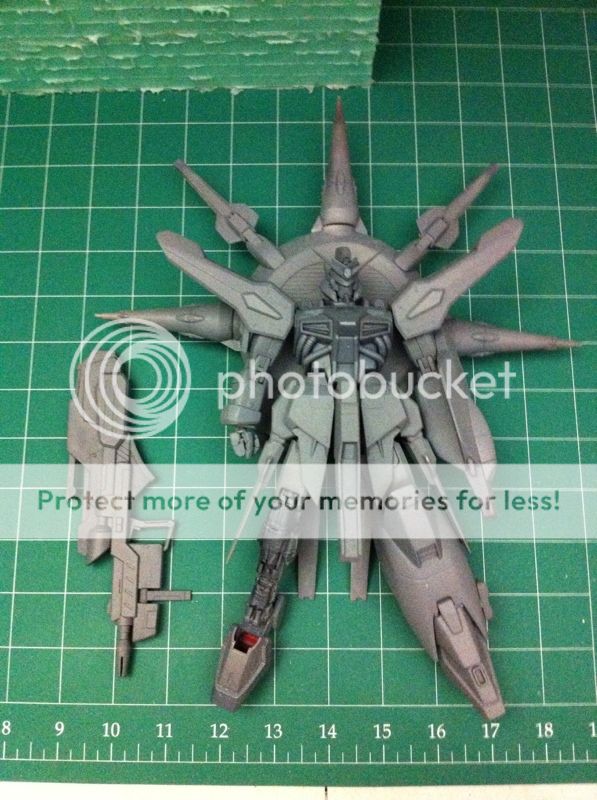
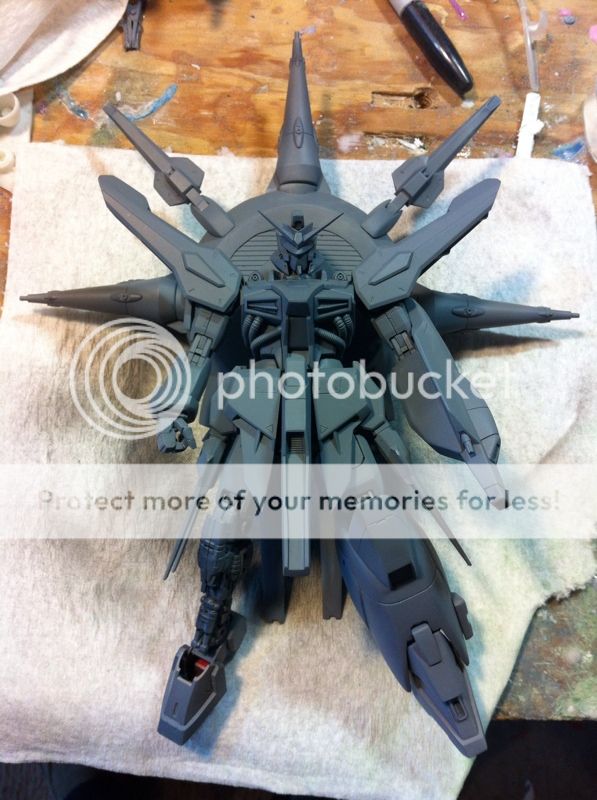
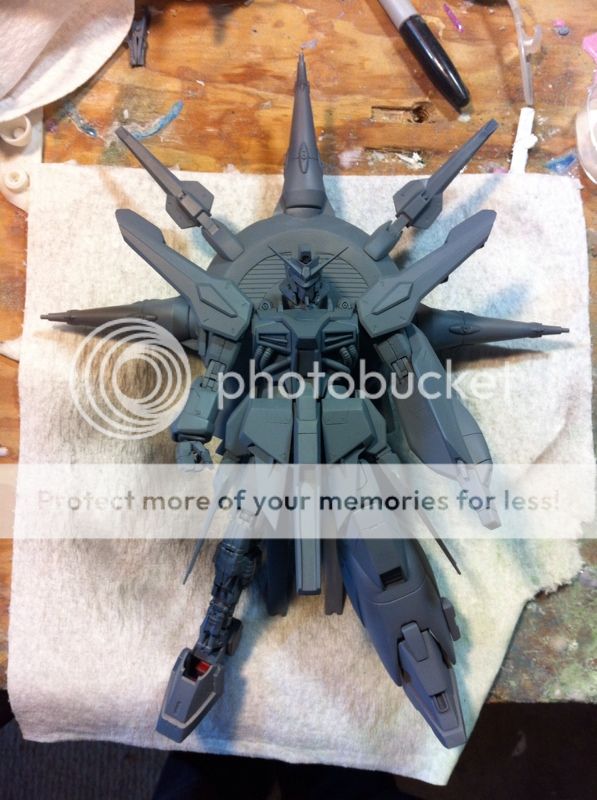
Here is after priming:
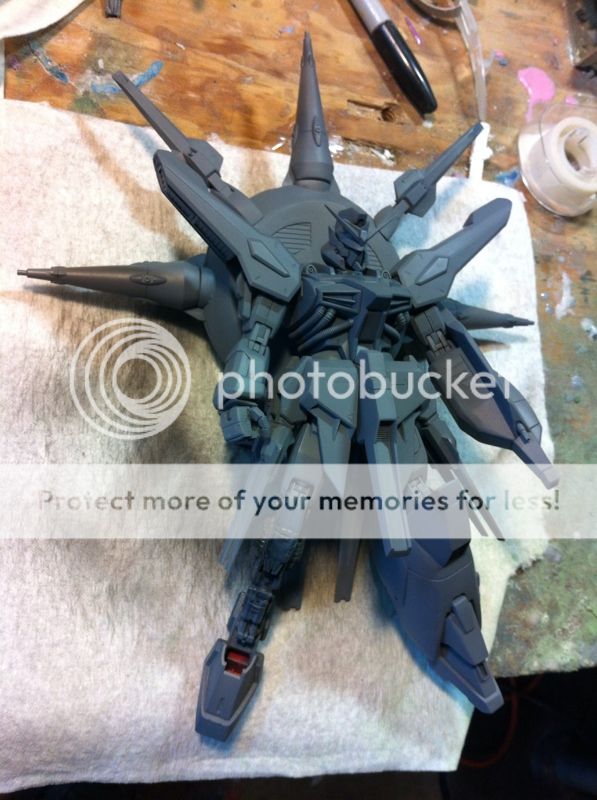
And some shots of the unit put together:
I am really happy with how everything turned out today so I'm gonna go take a much needed video game day. haha. Hope you guys like it! Stay tuned mechaholics!