
Thursday, June 30, 2011
1/100 Hangar Lift Truck Part VI
Wednesday, June 29, 2011
1/100 Drehksturm WIP Part I and 1/2
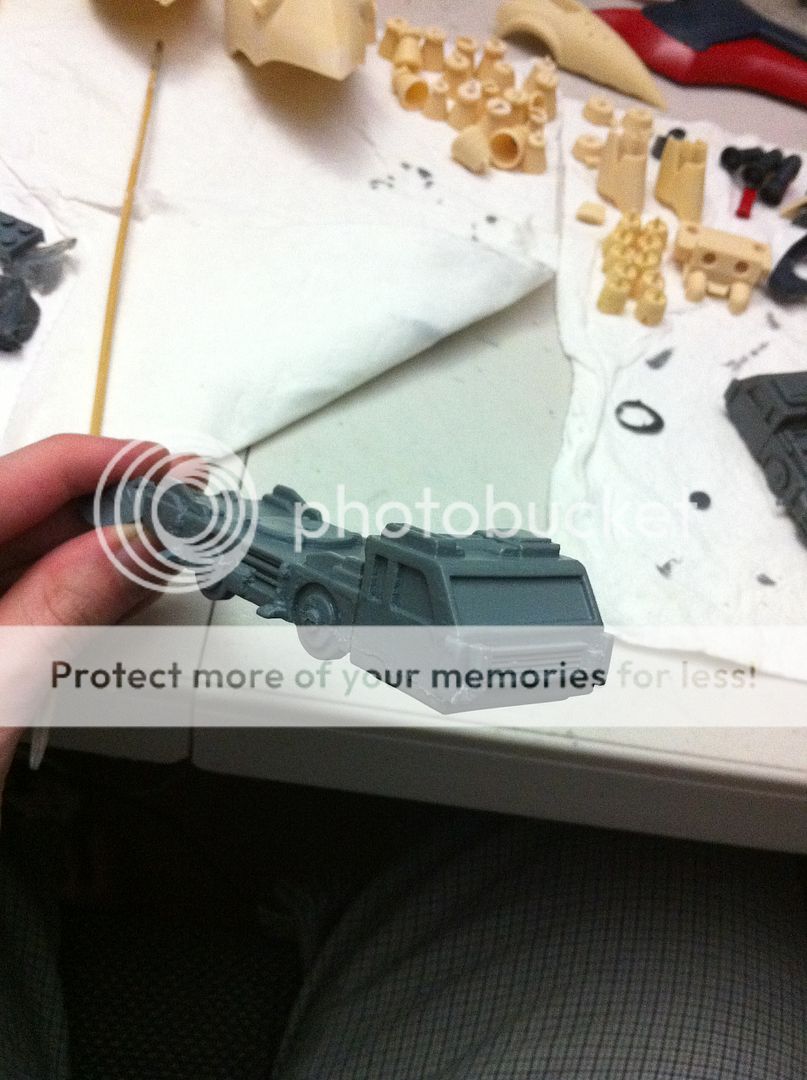
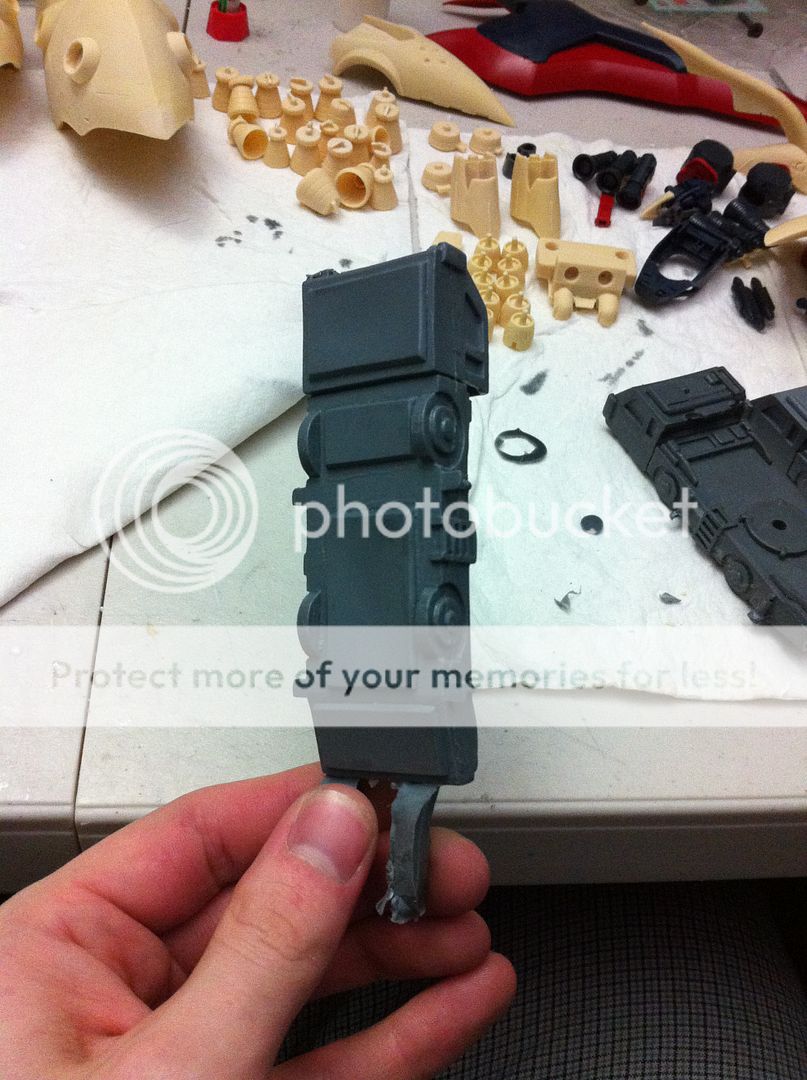
I wanted to post this just because the 3D printers send me these photos of my Drehksturm Rifles asking me if the discoloration was acceptable. I ordered the part in a material that is supposed to be clear and with ultra detail, however the only thing I care about really is getting the part structurally sound, with it's detail, and smooth. So I said ship em! I'm gonna use them to make casts almost immediately anyway so it's no big deal. Kinda looks funny in the photos, but once these bad boys are cast they will look delicious. DELICIOUS! The rifle with the plasma canister add-on on the bottom is the one I will probably use since I updated the other one to make it. Wifey also weighed in on it and that means it was made by two amazing brains instead of one! Hah! Take that modesty! Anyway I should hopefully receive them soon. After I get all the Drehksturm stuff done, cast, replicated and then painted I will move on to my long running project the 1/100 Cairn Loki. I've gotten a few people wanting to see that one done, as well as myself so I will get on it at that time. PHOTO! (thanks to Christel Hagens from shapeways for the photo!)

1/100 Hangar Lift Truck Part V
So the oil paint was a bad idea after all. It didn't stick to anything really, so I decided to wipe it off with turpenoid. This process left a black wash effect on the yellow though which looks pretty awesome I think so it was a win after all. I then masked off everything except what is to be black and then painted. Turned out great, but I still have the gray, dark gray, and silver parts to paint, then decals and the black panel wash. I still need to make the boom arm mold too. I'm still thinking if I want to make a clamshell mold for it. I just might honestly. Here is today's painting.

Tuesday, June 28, 2011
T-Shirt Designs and Rant on "Deep" People
This is kind of off-topic, but recently I decided to create some T-Shirt designs and have them printed. I am a fan of DIY stuff whenever possible, as I make my models, my animations, music, storyboard, etc., so I thought having T-Shirts printed was a cool idea. I made three kinda neat ideas, the first is just a movie T-Shirt of my Movie with the main battleship cruising above Earth. The second and third are just goofy ones for me and the wife. Here are the actual logos I made.
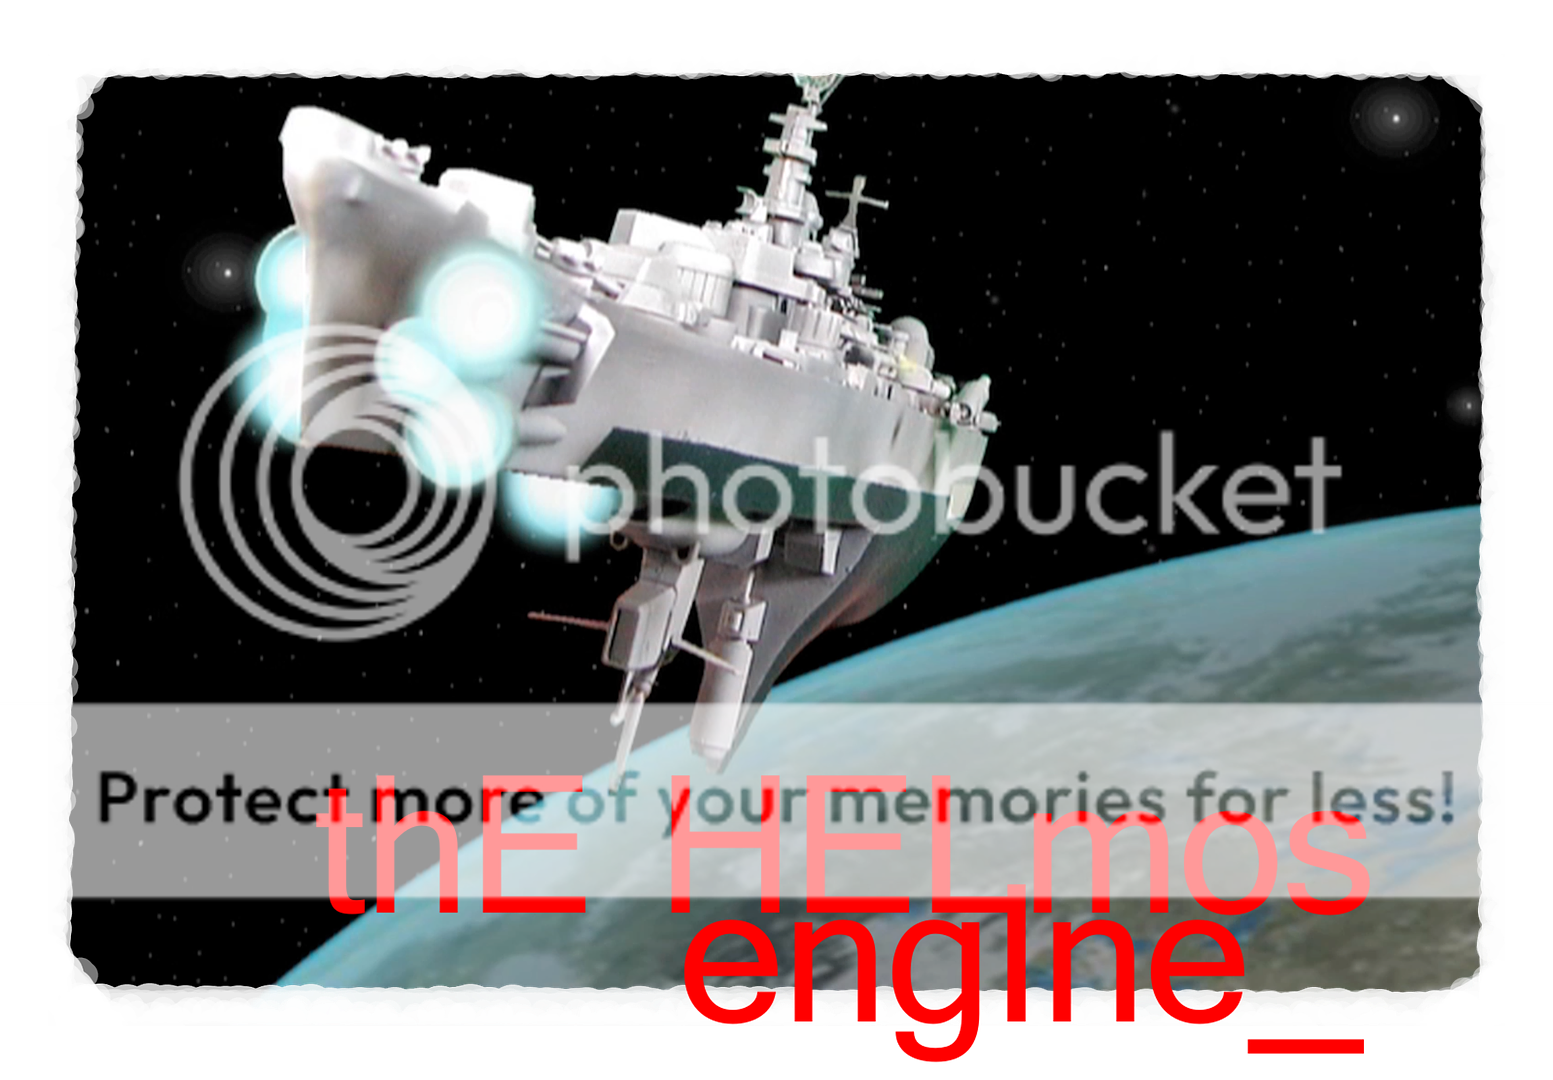

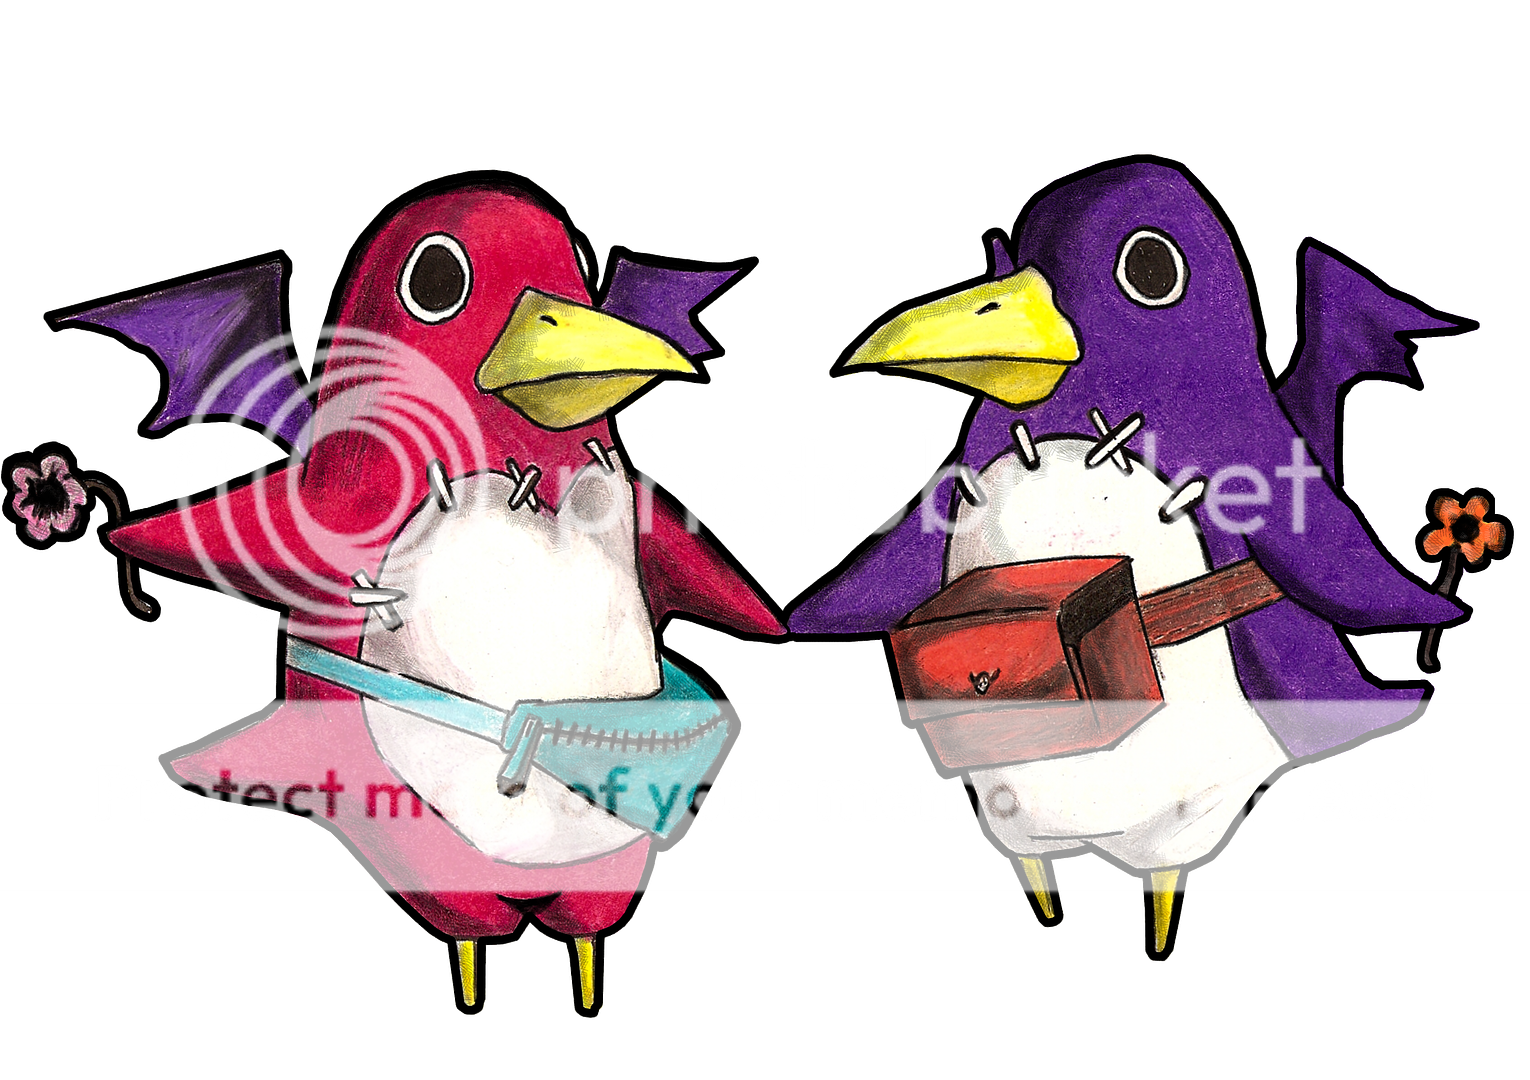 The movie logo is just as I explained, pretty simple. Just a plug. The Buh Buh-Shiba logo is a modification of the Japanese stop-motion commercials for baby-shiba, but I drew up a version that looks like our dog Butter that we call Buh Buh. Just kinda funny I thought. The third design is one I sketched up originally as a tattoo idea, then I scanned it onto the computer, then I used GIMP to darken the borders and add some shading and clarifying lines. The meaning is kinda silly but I love it, I'll explain. The demon penguins are from a game called Disgaea and they are supposedly the souls of those that have gone to hell, and in hell they earn reincarnation by working off their debt to buy back life. Since the wife and I think religion is silly, (and thus by some we are labeled the damned) I thought that having representations of us as these guys would be funny. I also made the pink one myself as my wife is more man than me. (haha no seriously she hits harder than me.) I also have a fanny pak that I use to hold all my modeling tools that I thought would identify me. We also are holding the flowers for peace and for another inside joke. Here are what a couple of them look like on the website before ordering.

 Again just an off-topic kinda day, but it made me happy and I wanted to share it.
I still may get the prinnies tattooed on my inner arm soon. I think it looks cool, and I've made a serious commitment to not get too serious tattoos. No people names, no "this skull is for my dead gramma" crap. No "The butterfly represents my Great Uncle's love of nature nevermind that it's on my upper buttocks" shite. That stuff is stupid. And what my wife and I think of as somebody trying way too hard to be deep. I ain't claiming to know all there is to know, but I do know that I like being happy and I think people that take all this stuff too seriously are no fun. Just like when musicians try to describe their music by saying "it doens't sound like anything else I've heard" or "we don't like to define ourselves" I just kinda chuckle. Nothin new under the sun mate. Nothin new. Being deep and mysterious is way overrated, and the bipolar side effects of folks being that way are equally so. hehe. Sorry for the rant, but sometimes it's good to remind myself not to take most things seriously.
I still may get the prinnies tattooed on my inner arm soon. I think it looks cool, and I've made a serious commitment to not get too serious tattoos. No people names, no "this skull is for my dead gramma" crap. No "The butterfly represents my Great Uncle's love of nature nevermind that it's on my upper buttocks" shite. That stuff is stupid. And what my wife and I think of as somebody trying way too hard to be deep. I ain't claiming to know all there is to know, but I do know that I like being happy and I think people that take all this stuff too seriously are no fun. Just like when musicians try to describe their music by saying "it doens't sound like anything else I've heard" or "we don't like to define ourselves" I just kinda chuckle. Nothin new under the sun mate. Nothin new. Being deep and mysterious is way overrated, and the bipolar side effects of folks being that way are equally so. hehe. Sorry for the rant, but sometimes it's good to remind myself not to take most things seriously.
1/100 Hangar Lift Truck Part IV

Sunday, June 26, 2011
1/100 Hangar Lift Truck Part III

After a couple agonizing tries with the mold I came to the (what should have been obvious) conclusion that the mold had a deep under cut that wasnt filling in due to gravity. Picture that you have made a mold of the letter "J". Now picture you are pouring in the resin at the top of the "J". The lower part that loops up again is the part that doesn't fill in, mainly just from gravity and/or trapped air. Now I could up the pressure I'm using to cast, but that has a tendency to warp the mold due to lack of registration bumps. Can't stress how important a step that part is. (that I skipped like a genius.) Anyway my only other option to avoid the problem is doing a pre-pouring. This is what I've done here. I poured the problem are and let it cure before I pour the rest. The resin will stick to itself when I pour the rest, as long as I don't add any more mold release. After I took the photo I poured the rest and I'm waiting for it to cure now. For the pigmentation of the resin I poured a half dose of resin (8 drams) so I used one drop of black pigment to make my gray. For the full batch (16 drams) I used two drops. You get it. Anyhow it's not exact when it comes to "drops" and volume, so hopefully the color will match, but I don't really know why I care as I'm going to paint it anyway. I'm just trying to figure out the best way to make the replicas exact and nice with little waste. I'll update more later tonight if I don't decide that my pillow takes precedence.
Okay so Micky Loves Ya and decided to post. Success! The pre pouring worked. To give a few more details the prepouring was done under 40 psi, and the final pouring was done after the pre pouring cured, and was done under 32 psi. I may up it a little next time, but the part came out whole and mostly problem free. Just needs some love on the seam flash. Here is the pure sex that is the part.


Friday, June 24, 2011
1/100 Hangar Lift Truck Part II
The truck mold turned out pretty good, I could've possibly engineered the seams to be in a better spot, but besides the annoying flash to clean up the mold should work well. Here is the mold before I carved the pour spout and air exchange spout.

I did a test pouring with some 20 minute curing alumilite resin where I used the smooth-on pigment. It turned out pretty good, except for it wasn't poured under pressure so the parts that need the pressure to fill in pretty much just didn't. BOO! But the coloration turned out cool. I used three drops of black pigment with the resin naturally being white it made a sweet gray. That was my goal and at least that part worked. I also made a boo boo in that I didn't add registration bumps to the mold, although to be honest it's bumpy enough that it may not be an issue. But I'm not sure
when it comes to pressure casting. Here is my first trial, without pressurization and using alumilite resin.
 Forgive the flash, it really couldn't be helped with the way
I did a test pouring with some 20 minute curing alumilite resin where I used the smooth-on pigment. It turned out pretty good, except for it wasn't poured under pressure so the parts that need the pressure to fill in pretty much just didn't. BOO! But the coloration turned out cool. I used three drops of black pigment with the resin naturally being white it made a sweet gray. That was my goal and at least that part worked. I also made a boo boo in that I didn't add registration bumps to the mold, although to be honest it's bumpy enough that it may not be an issue. But I'm not sure
when it comes to pressure casting. Here is my first trial, without pressurization and using alumilite resin.
Thursday, June 23, 2011
1/100 Hangar Lift Truck
Since this is my blog, I can start a sentence as if we were having a conversation you were a part of (even though that's not the case) and you can do nothing about it but read it and choke on my grammar! Hahaha! This was a project of mine from a few months ago, and it's a to scale hangar lift truck for my Dio-Ready Hangar. I am in the process of casting it right now, or at least making a cast of it right now. I may have to re-tool the resin cast to get a smoother one, since the prototype I had 3D printed isn't the best material for casting. I first made this design on Sketchup a few months ago like I said, and I had it printed by www.shapeways.com in a their White Detail UV Curable Plastic. Here is my 3D design and some pics of the print.


I didn't add the lift arm onto this part as I wanted to make that by hand because it's really supposed to be able to move for my movie production, and
I didn't add the lift arm onto this part as I wanted to make that by hand because it's really supposed to be able to move for my movie production, and
Thursday, June 16, 2011
Char's Counterattack Diorama Part III
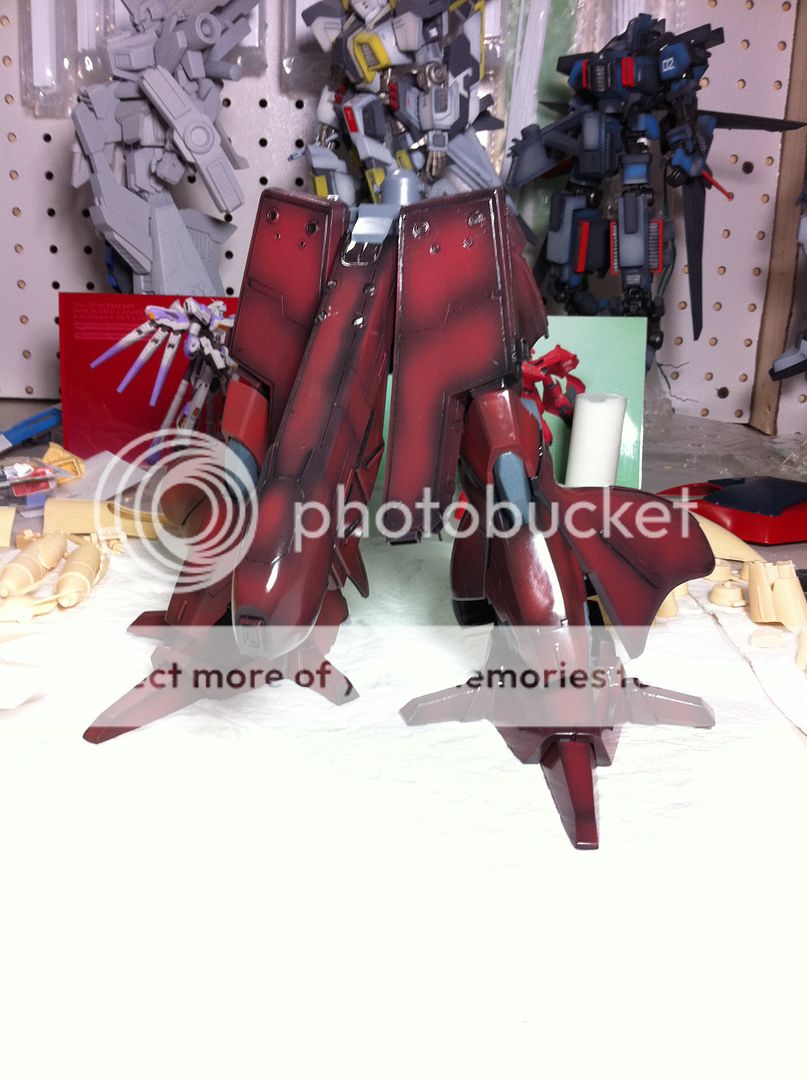
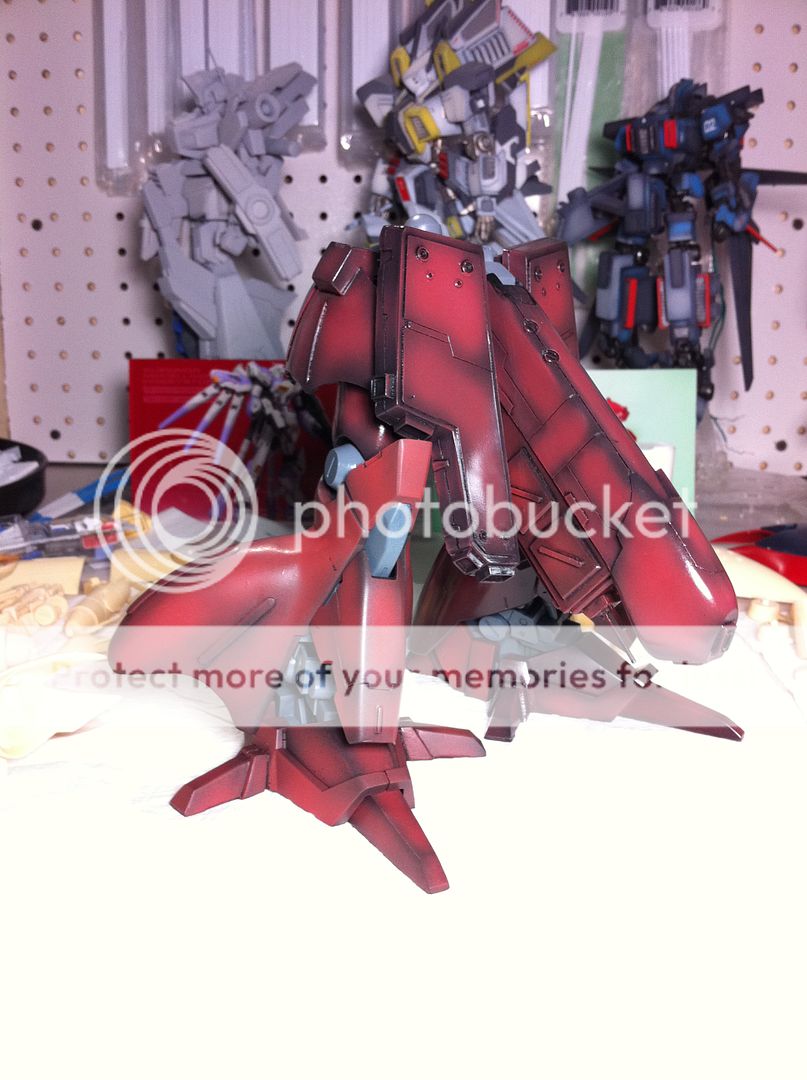
Today I was feeling sick still, and I slept wrong so my neck hurt a bunch, but besides my whining I decided to make use of the day and paint some. Again not my favorite thing to do but it does help get closer to the goal of the finished diorama. I must say before I go on that I ran out of flat top coat, so the difference in the color you see is just from that. The red color
I used for shading is from the same exact mixture bottle, the newer coats just don't have flat coat on them to diffuse the light. Once topcoated it will look the same.
Anyway the legs were a challenge to do because the upper leg armor didn't meet flush and it had to be painted after being glue on top of the gray knee parts, so I had to efficiently mask the knee off. Since I've had such bad luck in the past with paint coming off I was scared it would just peel right off with the tape, bot NOPE! It seems the 24 hour purple power bath and subsequent dishsoap rinse did wonders for cleaning up the surface. One would think it would as that's the purpose of that crap, but still I was so happy when I pulled the tape off and the paint was as pristine as when I put the tape down. (pssst in the past I didn't wash the parts well enough to disastrous effect, so if you are reading and you think you can get by painting without washing parts first, think again, you're just wasting your time painting if the paint won't stick from mold release.) Anyway after the preshading (the red is 3 parts red to 1 part white) I clear coated the parts and did my oil paint wash for the panel lines. Then after it dried and I used the turpenoid to clean up, I clear coated again. It's really shiny, but it will be matte when I'm done. I think anyway. Although shiny does look really neat. I dunno. Anyway pictures, enjoy.
Char's Counterattack Diorama Part II
Tonight I started on the nightingale by taking the resin out of the purple power soak and then washed the parts with the rest of the styrene parts in warm soapy water. It took forever. No seriously it took so long that time actually started over and history ran up until now in a giant loop. I have a giant beard and an AARP card now. I used a toothbrush to clean the parts too. Oh well it was worth it as the parts were clean when I went to paint. Painting this thing is gonna take a lil' while, I started on the legs feeling ambitious because the parts are large, I thought painting would be easier cuz the preshading is not so difficult on large parts, but it still took forever and I only got mostly done with one leg, and I didn't even get to the upper leg armor. So here is what I have. I still didn't add the decals or weathering yet. I've been battling a cold, but I've been trying to stay active nonetheless. I guess this is a good compromise. The mods turned out looking pretty good and integrated, but my paint scheme ended up much darker than I initially intended cuz I used a black base coat. I was gonna do medium gray with a light red/pinkish shading, but now tha I did the dark red I like it more and I wanna keep it. Well that's all for tonight, enjoy.


Wednesday, June 15, 2011
1/100 Drehksturm WIP
This work in progress is called the Drehksturm. You've probably seen in on the forums if you are visiting, but if not that's great cause you'll get to see something new. This is another of my scratchbuilds where I use a MG Gundam frame for the skeleton and make a conversion kit. This kit I actually intend to cast and make a few kits to sell, but right now I'm waiting on the rifle to be prototyped. I made a 3D design of it and I had it sent to a 3D printing company that does that sort of thing. I should get the prototype back soon.
For the kit itself I have mainly finished most of the body that I need to cast, with a few minor exceptions. When I do builds like this it's important to know that I generally make one side of the body and then cast that armor for the other side. This way I only need to make a few molds and it saves me aggravation in making sure the parts are symmetrical. Well for this guys I used a MG Zeta 2.0 as the base kit. Here is a WIP video that shows what the build up to this point looked like through the weeks.
Since this update video I also made a shield and it's on a ball joint, and snaps right onto the wrist. I think it goes well with the design. Here is the video of the shield.
Then I primed it and took some more photos.


Monday, June 13, 2011
Char's Counterattack Diorama
Well to start with on this build, I gotta throw in some pics and give the premise. I had some kits lying around that I wanted to work on, since I'm waiting for my Drehksturm rifle to be printed and sent to me. Saying as I like to make use of my time I figured I should do a fun build, or at least start it. I decided to use my 1/100 SMS Nightingale and 1/100 SMS Hi-Nu Gundam conversion kits in an epic dual straight out of Manga history. Given I haven't read the Manga, or even seen much of the Char's Counterattack OVA (which I know featured two different mecha the Sazabi and Nu Gundam) but I know the basic storyline. I am going to have these two kits fighting over top of the Axis meteor base. The base itself will be mainly all made of cellu-clay for the rock parts, and the docking bay will be styrene. I intend to have a few scale astronauts coming out of the docking bay through some smalller hatches and to have some LEDs for lighting in it. The mobile suits themselves will be modified somewhat, kind of my way of adding my touch to the kits. I can't help myself I love to scratchbuild stuff. Anyway here are the two kits I'm using:

I have already started modifying the Nightingale, mainly as I like it more and I wanted to do the fun stuff first. I figured the kit needed the leg armor flared out, extra toes to match the original design, and the funnels needed to be in an action pose, and that meant they needed smoke trails to support the wires that hold them suspended above the shoulders. Here were my rough sketches of the areas in question that I doodled on my phone:


I also planned to replicate the smoke trail effect I had previously done on another of my dioramas which looks like this:

So I gathered up my materials for the smoke trails first as it's the easiest to do.

Here is what it looks like with the funnels suspended with the unpainted styro-foam smoke trails.

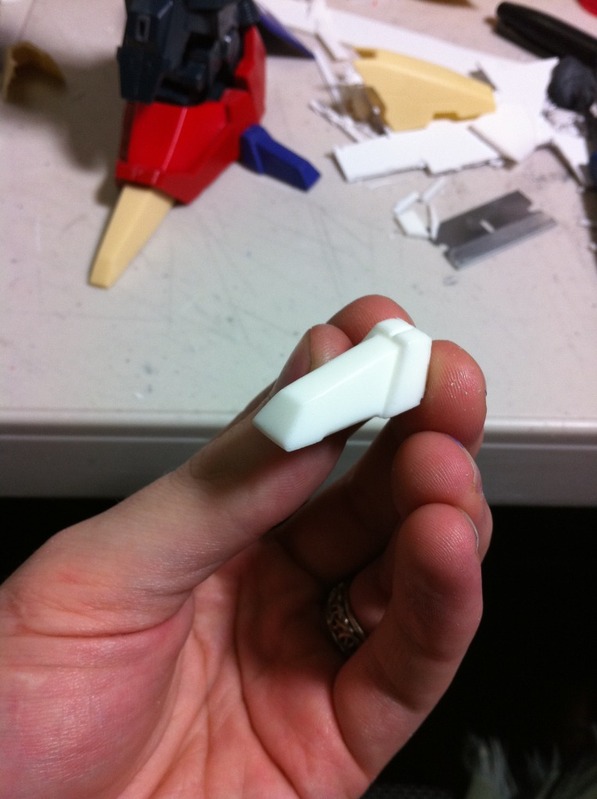
Next I made a rough toe shape to make the extras.

I also decided to add some machinery and bulk under the crotch armor, cuz quite frankly it looks like a huge penis. I wanted to lessen what I call the Giant Mechanical Dong Effect by changing the shape some, so I made this.


I think it was a good choice and it looks good. It actually just slides in under the resin part and can stay in by friction alone. Course I will glue it, but I'm glad to know I can make a snug fit.
Next I used some E-400 Plumber's Apoxy to flare out the leg armor. It's a two part mix that you knead together and it cures hard as rock in a few minutes. Then you can sand it or cut it or whatever you want.
 I did this to both sides, and then I wanted to smooth out the seam of the putty so I used filler putty and then painted the parts to make them one color. I had a purple can of tamiya sythetics laying around so I used that. I will paint over it later, but it works as a primer of sorts, and no need to set up the airbrush.


 Next I made the toe defined in shape and detail, and did the same for the rear heel claw I made. I also added some ridges to the leg armor to continue the shape that is on the inner leg armor. At this juncture I also made some casts of the toes to use on the other foot.


So the Nightingale is pretty much done being modified, and I want to move on to painting, so I just took apart the resin parts to soak in it's purple power bath for 24 hours.

I will get back and update this as soon as the soak is finished. For now that is all!

I have already started modifying the Nightingale, mainly as I like it more and I wanted to do the fun stuff first. I figured the kit needed the leg armor flared out, extra toes to match the original design, and the funnels needed to be in an action pose, and that meant they needed smoke trails to support the wires that hold them suspended above the shoulders. Here were my rough sketches of the areas in question that I doodled on my phone:


I also planned to replicate the smoke trail effect I had previously done on another of my dioramas which looks like this:

So I gathered up my materials for the smoke trails first as it's the easiest to do.

Here is what it looks like with the funnels suspended with the unpainted styro-foam smoke trails.

Next I made a rough toe shape to make the extras.

I also decided to add some machinery and bulk under the crotch armor, cuz quite frankly it looks like a huge penis. I wanted to lessen what I call the Giant Mechanical Dong Effect by changing the shape some, so I made this.


I think it was a good choice and it looks good. It actually just slides in under the resin part and can stay in by friction alone. Course I will glue it, but I'm glad to know I can make a snug fit.
Next I used some E-400 Plumber's Apoxy to flare out the leg armor. It's a two part mix that you knead together and it cures hard as rock in a few minutes. Then you can sand it or cut it or whatever you want.


So the Nightingale is pretty much done being modified, and I want to move on to painting, so I just took apart the resin parts to soak in it's purple power bath for 24 hours.

I will get back and update this as soon as the soak is finished. For now that is all!
Subscribe to:
Posts (Atom)